
How to Make a Bow Without a Bow Maker
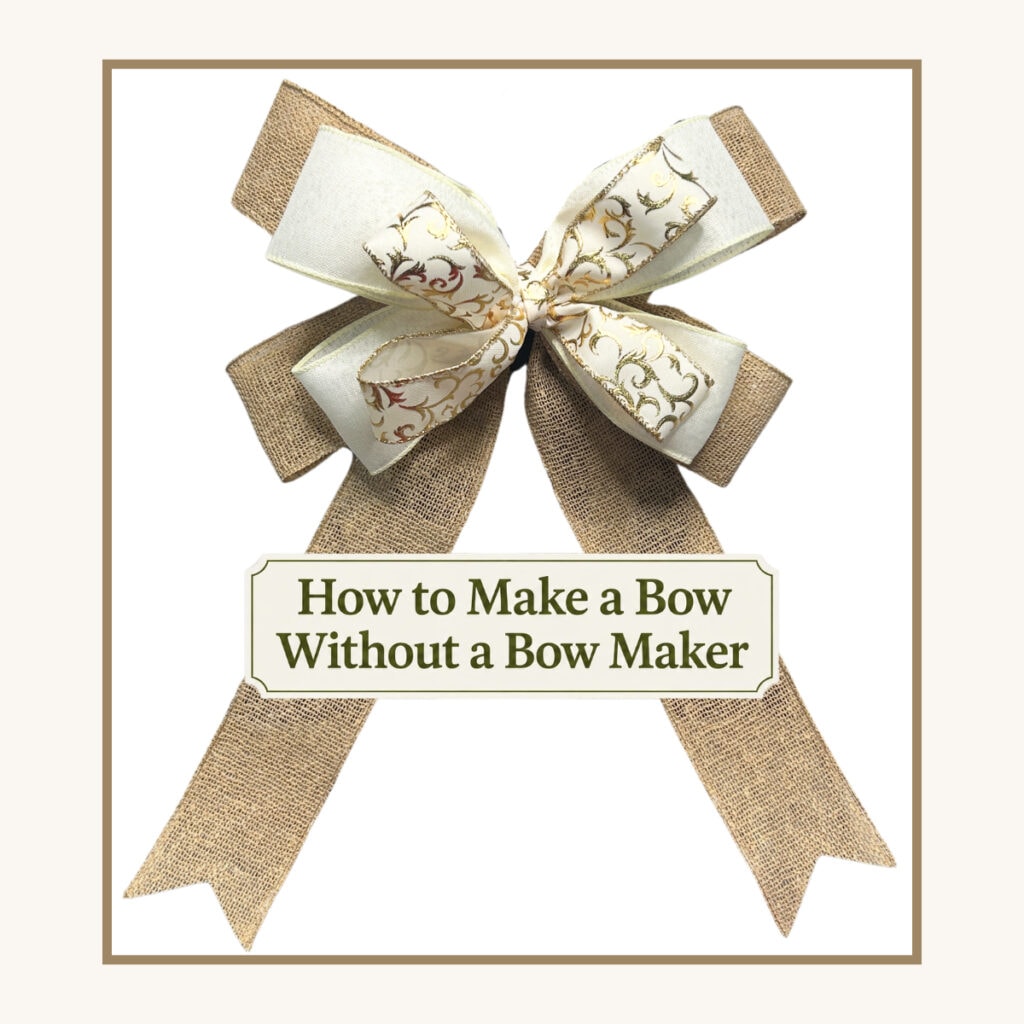
Lots of people can make a freehand bow without measuring. I’m not one of them! My secret is to measure and cut all my ribbon first. It makes a freehand bow so much easier.
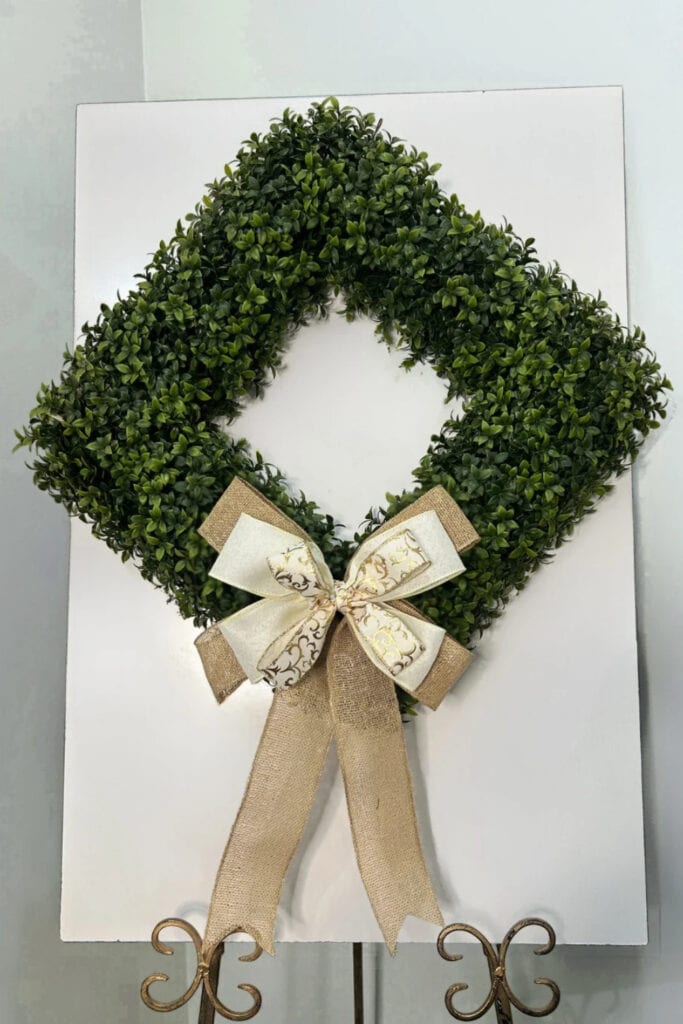
What You’ll Need
- 2.5″ Faux Natural Burlap Ribbon, X501440-32B
- 2.5″ Ivory Poly Linen Ribbon, X314840-18
- 1.5″ Ivory & Gold Embossed Swirl Ribbon, 71696-09-18
- Zip ties or floral wire
- Optional – Paper Wrapped Rustic Wire (my favorite, here’s my Amazon link) https://link.amazon/A0gwMuEwt
My ribbon came from Trendy Tree and they. have hundreds of styles to choose from. All the ribbon was wired which is important.
Ribbon Measurements for a 12″ Bow
- Tails: 1 piece, 28″
- 12″ loops: 2 pieces, 26″
- 10″ loops: 2 pieces, 22″
- 8″ loops: 2 pieces, 18″
Adjust as needed. I usually make my wreath bows 12″ to 14″ wide.
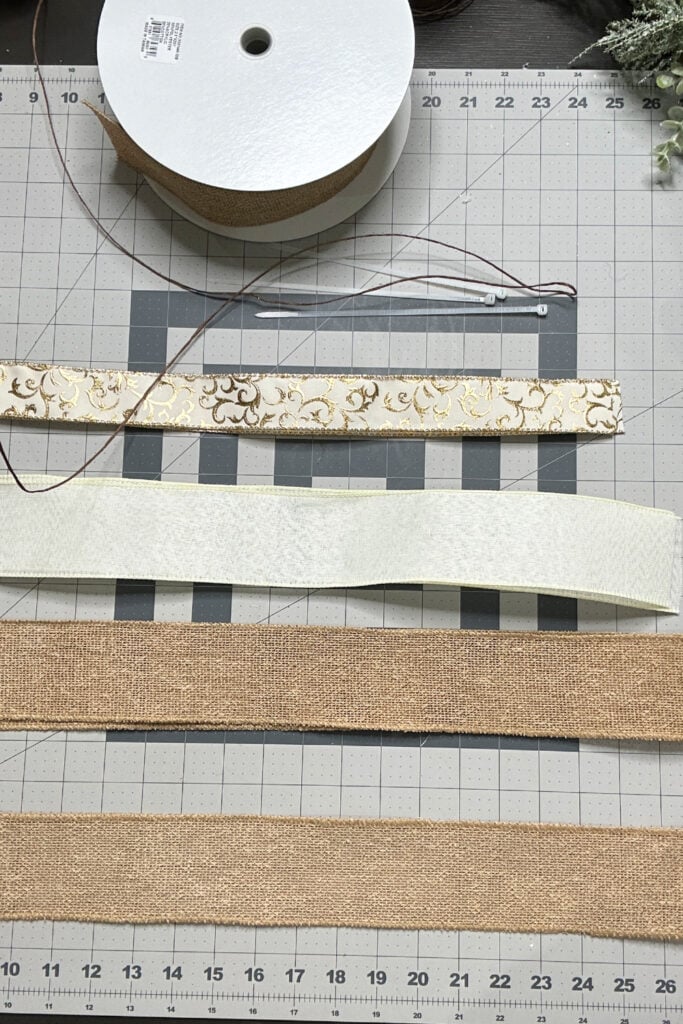
Why Cut Your Ribbon First?
It keeps your ribbon from twisting, shows you right away if you have enough, and uses up short pieces with no waste. Short on ribbon? Make one loop and a tail. Bows don’t need two of everything!
Step by Step
- Set aside the 28″ piece for the tails.
- Make a 12″ loop with a 26″ piece by overlapping the ends. Pinch the center and secure with a zip tie or floral wire. (Heavier ribbons hold better with a zip tie.)
- Make the rest of your loops with the remaining pieces.
- Stack from the bottom up: 12″ loops in an X, then the 10″ loops, then the 8″ loops. Alternate them so each one shows.
- Wire it all together.
- Add the tails. Cut the ends at an angle or dovetail, fold and pinch the center, and wire it to the back.
- Right side up! Make sure any patterned side faces out.
- Fluff and add to your wreath.
Watch the Video
A Note for Beginners
Practice with and without a bow maker until you find what feels right. Use wired ribbon while you learn, and don’t be afraid to take a bow apart and try again. I’ve even pressed ribbon from old bows and reused it!
Want to try it with a bow maker? See some other tutorials here: Bow Tutorials

