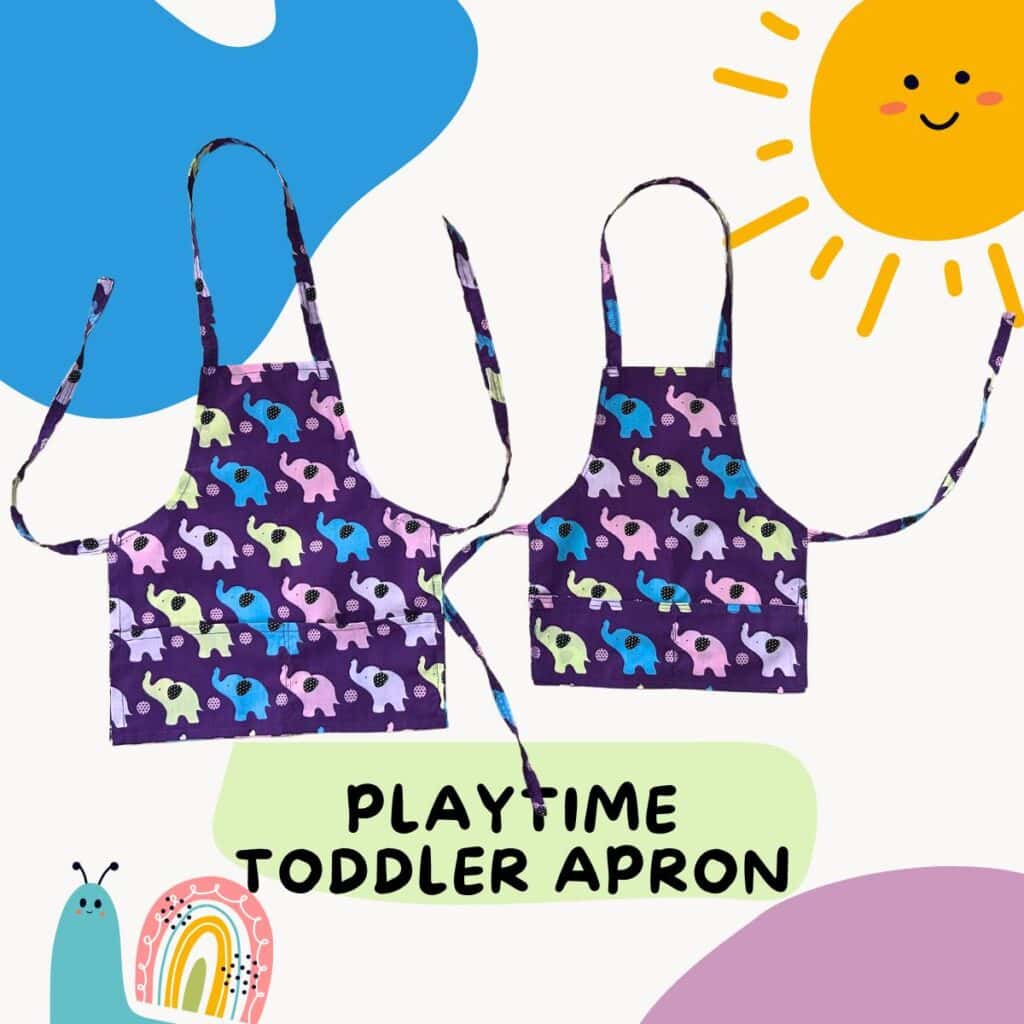
How to Make a Toddler Apron
A Sweet Throwback Project for Little Ones
While reminiscing about the dress-up trunk I made for my granddaughter years ago, I found myself digging through old photos—hoping to share that project with you soon once I locate the images. Along the way, I came across this little post I wrote a couple of years back, and it felt like the perfect time to bring it out again. With summer just around the corner, what toddler or preschooler doesn’t need a fun play apron for all their messy adventures?
Toddler Apron (Originally Posted 2023)
Looking for a cute little apron for a toddler to wear during playtime or while helping in the kitchen? This one is super easy to make, and you don’t need a store-bought pattern!
When I say “no pattern,” I mean you won’t have to buy anything special. Of course, you can use a pattern if you’d like to get fancy, but this version is all about keeping it simple. It’s the perfect little project for using up leftover fabric and getting some extra sewing practice in, especially if you’re just starting out.
Spoiler Alert
I’m not a professional seamstress, and this isn’t meant to be a detailed, step-by-step tutorial. Think of it more as inspiration and a few helpful tips for making a toddler apron without much fuss.
I used to sew quite a bit—first for myself, then for my daughter when she was little. I made everything from play clothes to sweet little dresses. And when the grandkids came along, the sewing continued with dress-up outfits and fun things like aprons. It’s always been something I’ve loved doing when time allows.
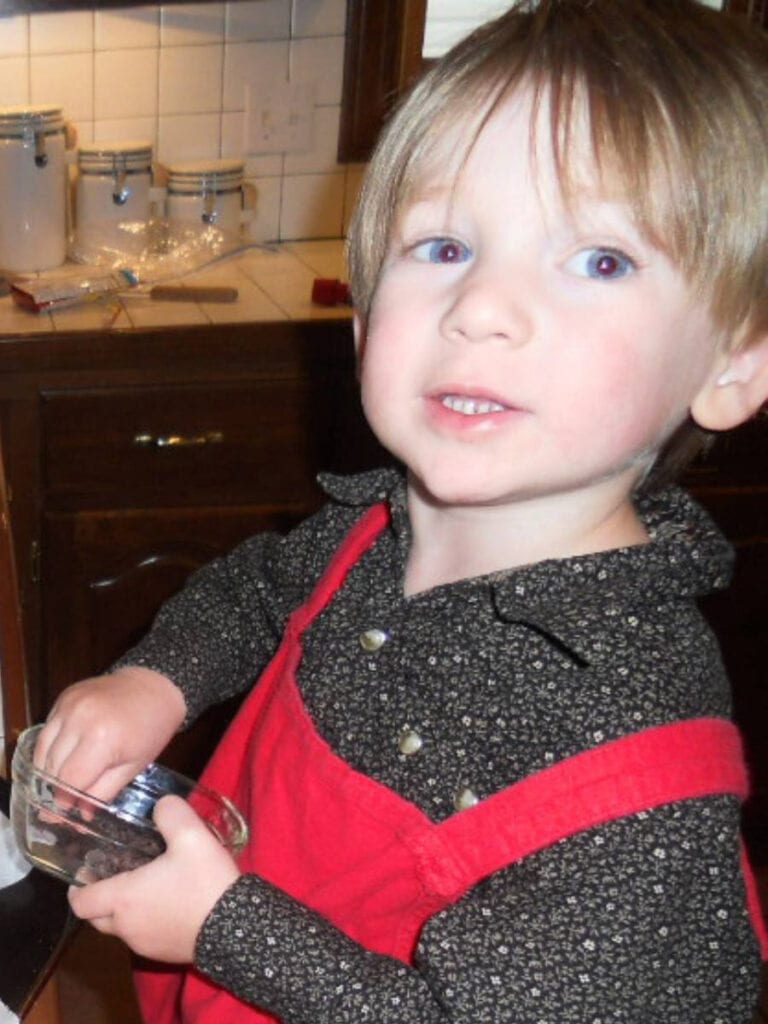
This little guy will be a high school senior next year—how did that happen so fast? It feels like just yesterday we were making cookies together at our old house. Those sweet, simple moments go by in the blink of an eye.
A Little Sewing History
I hate to admit it, but my very first sewing projects were tiny doll clothes, all hand-stitched. Eventually, I graduated to my grandmother’s treadle sewing machine—and let me tell you, I broke so many needles by accidentally backpedaling!
If you’re not familiar, a treadle machine is powered entirely by your feet—no electricity required. And would you believe they’re making a comeback? I just saw one listed on Amazon for around $350! Funny how we think old things are outdated, only to see them circle back again. A no-electricity sewing machine might not be such a bad thing to have on hand these days… right alongside knowing how to plant a garden. But I digress—back to the apron! 😊
Making Patterns with Newspaper
My mother taught me to make sewing patterns using newspaper—something I’ve never forgotten. The first pieces of clothing I made for myself were simple straight or A-line skirts. She showed me how to sew in a zipper, make a bias facing, or add a waistband. Looking back, I shudder to think how they really looked (though I was pretty proud of them at the time!). And yes, she let me wear them out in public—hopefully, they weren’t too bad!
Instead of pinning down patterns like we were taught in Home Ec, my mother would just lay the tissue or newspaper pattern pieces on the fabric and place case knives around the edges to hold them in place. Then she’d start cutting—no fuss, just confidence.
For the toddler apron, I used the same newspaper trick. I simply folded a sheet of newspaper in half and freehanded the shape. I didn’t have measurements to go by since I was making the aprons for my sweet little great-nieces who had recently visited and lived out of state. It was total guesswork! But if you’re making your own, you can definitely measure: just note the chest width and the length you’d like the apron to be.
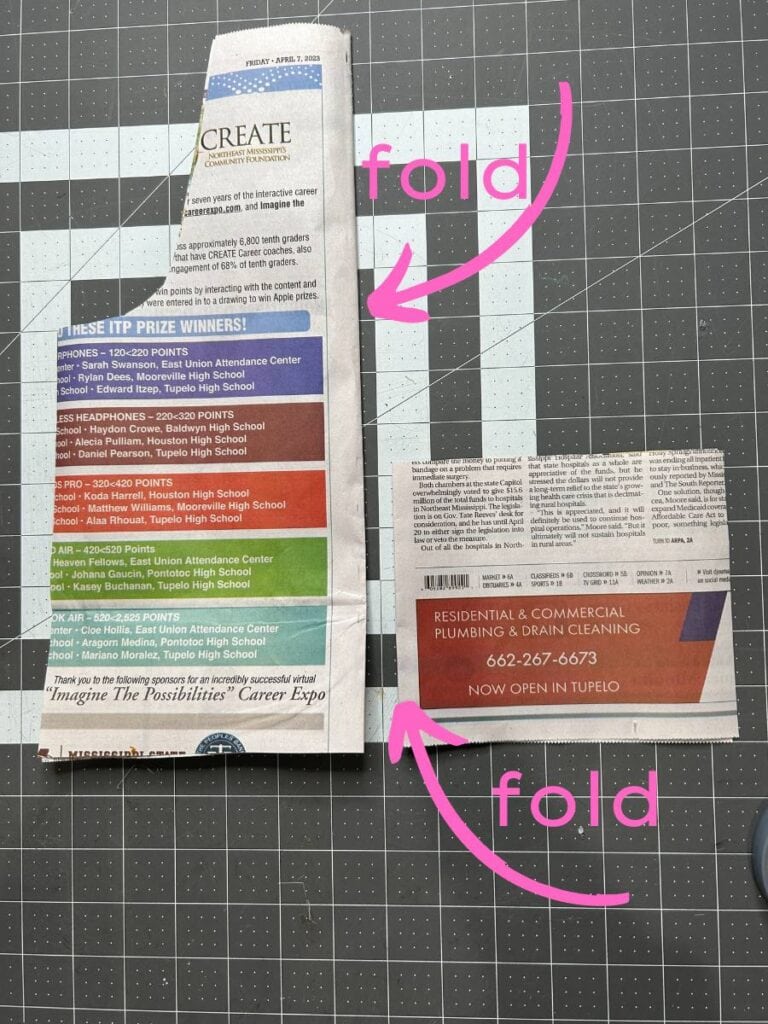
The larger piece on the left is the apron itself, and the smaller piece on the right—cut to the same width—will be used for the pockets. It’s a simple layout, but it works perfectly for a little play apron.
Choosing Your Fabric
You can absolutely use 100% cotton for this project—those “fat quarters” from Walmart are usually more than enough for a toddler-sized apron. But keep in mind, cotton tends to wrinkle, especially straight out of the dryer.
Since these aprons are meant for play and getting messy, it’s best to choose a fabric that’s low maintenance. A cotton-polyester blend is a great choice—it washes well and comes out of the dryer looking nice without needing to be ironed every time.
To cut the apron, fold the edge of your fabric so it’s about the same width as your newspaper pattern. Place the folded edge of the newspaper along the fold of the fabric. It may look like you’re only cutting half the apron, but once you unfold it—voilà! You’ve got the full apron front. Just make sure not to cut along the folded side! 😉
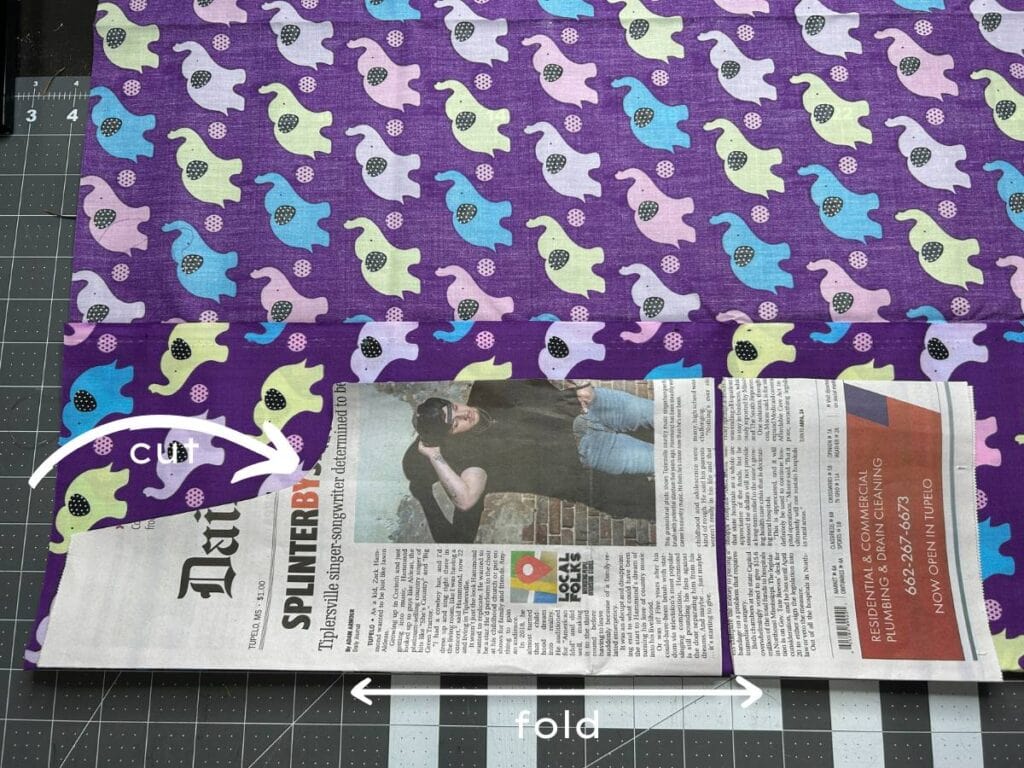
The first piece of newspaper is the apron, and the second part is to be the apron pocket.
Did you Know? A fat quarter is a popular fabric cut for sewing and quilting. Instead of a long ¼-yard strip (9″ x 44″), it’s cut into a more usable shape—about 18″ x 22″. It’s called a fat quarter because it’s wider and more square-shaped, making it perfect for small projects like aprons.
Let the Iron Do the Work
The iron is your friend here! 😊 Start by folding the edges of the apron (wrong sides together) about 5/8″ and pressing them flat. This makes it much easier to stitch everything neatly later.
If you want a little extra help holding things in place, you can use Stitch Witchery. It’s a heat-activated bonding tape—just place it inside the fold and iron over it. It melts and seals the seam nicely, no pins needed.
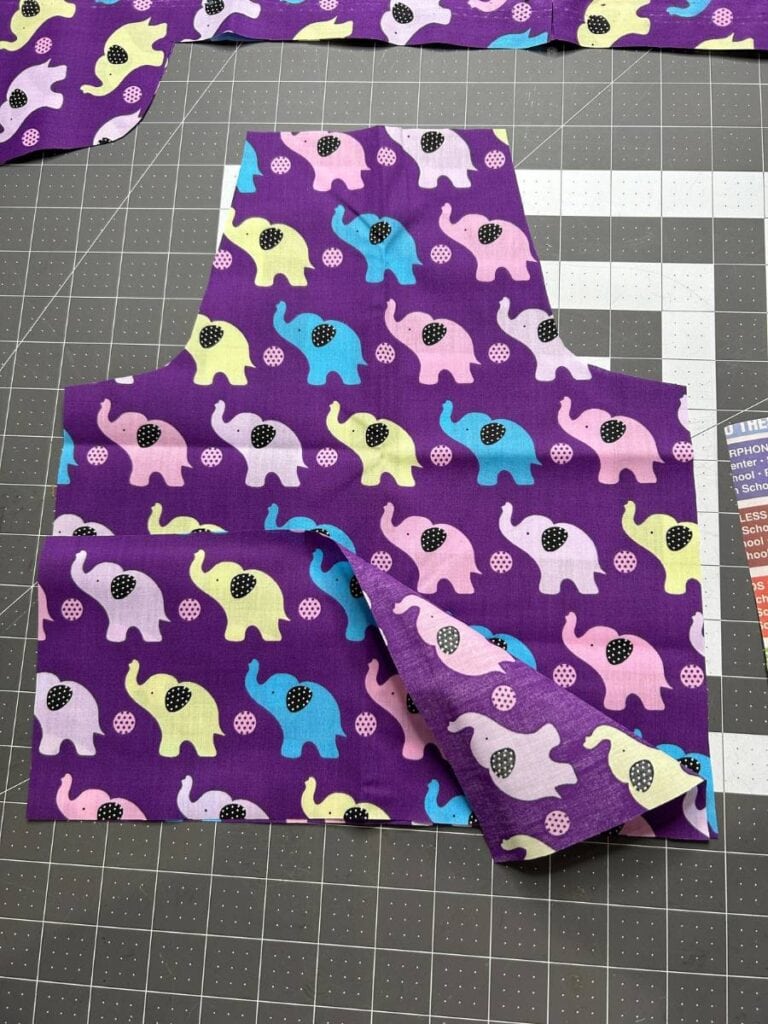
For the pocket piece, fold the bottom edge up about 5/8″ to 1″, and the top edge about 5/8″ as well. Go ahead and top-stitch the top edge: fold it over once more to enclose the raw edge, then stitch close to the fold, and again about 1/4″ down. This gives a clean, finished look and helps the pocket hold up to playtime.

For any curved areas, make small clips along the edge—just shy of the 5/8″ fold. This helps the fabric lay flat and smooth when stitched.
To attach the pocket, place the wrong side of the pocket piece against the right side of the apron. Line it up where you’d like it to sit, then stitch along the bottom and both sides. To create two handy pockets, find the center of the pocket and sew a straight line from top to bottom, double-stitching for extra strength. Kids love having a place to tuck their treasures!
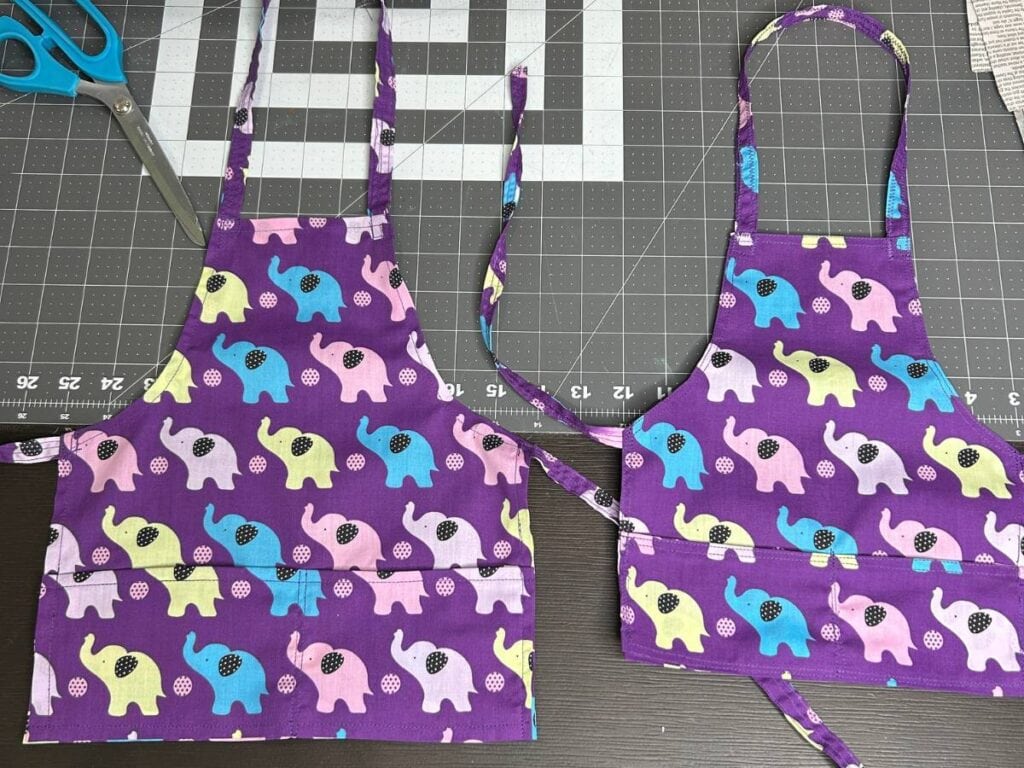
Making the Ties
Measure the length you need to make a loop to slip the toddler apron over the child’s head and allow a couple of inches. Make the side ties long enough to be able to tie them in a bow.
Take long pieces of material about 1-1/2″ in width, fold in the raw edges, and double stitch. Use these pieces for the ties and stitch them to the sides and top of the apron.
A Little Grace, Please 😊
As I mentioned earlier, this isn’t a detailed step-by-step tutorial—so I hope you’ll give me a little grace here! Honestly, you can probably get the gist of how to make this toddler apron just by looking at the photos. Sometimes when you try to describe every little detail, it can sound more complicated than it really is—especially if you’re new to sewing. Just take it one step at a time and enjoy the process!
Considerations for the Toddler Apron
More Crafts
Face masks are easy to find now, but back during the first wave of COVID, that wasn’t the case! I wrote a post over on Trendy Tree at the time that shows more detail on how to make fabric ties—or even use shoelaces, which also work great for aprons like this. I’m sharing it here in case you’d like to check it out for extra tips and ideas.

Don’t Miss the Dress-Up Trunk Story!
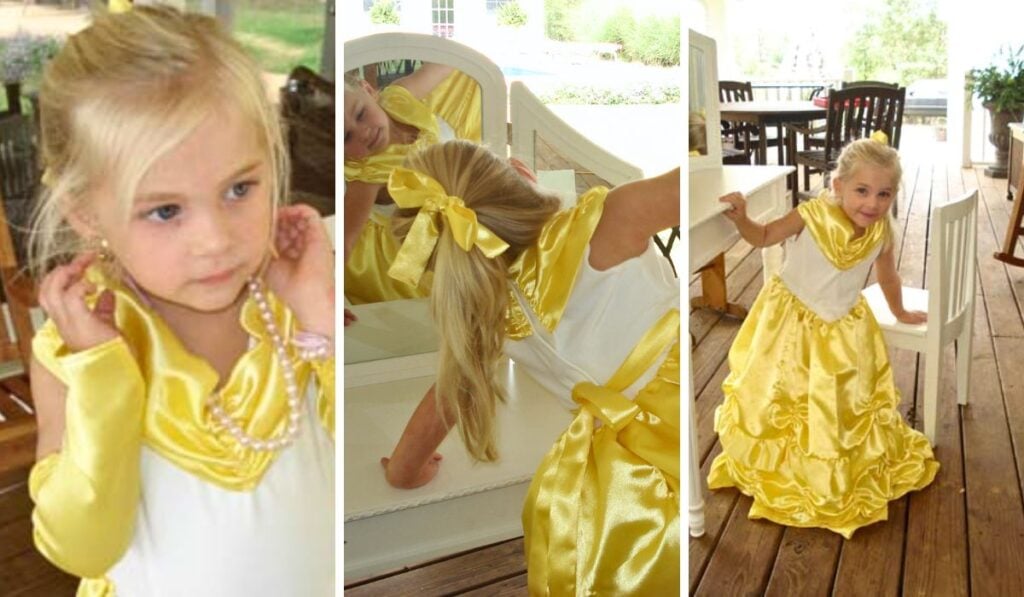
If you enjoyed this little throwback project, I’d love for you to follow along—there’s always more to share! Stay tuned, because I’m hoping to post about the dress-up trunk I made for my granddaughter Maggie when she was around four years old. I made all the princess dresses by hand—and of course, that was about 20 years ago, so I’m sure the royal lineup has grown quite a bit since then! 😊 It’s a project close to my heart, and I can’t wait to take a trip down memory lane with you.