How to Split Cake Layers
Getting Ready for Birthday Cake Season! 🎂
We have three family birthdays coming up in the next couple of months, and I’m already wondering what the cake requests will be! 😊 I’m hoping for something I haven’t tried before—maybe I should give them a list of options to shake things up a bit? What do you do? Do you bake whatever they want or encourage them to choose something new? Either way, I’m looking forward to getting in the kitchen! In the meantime, here’s a tutorial from last year on how to split cake layers like a pro. 🎂✨

An Easy Way to Split Cake Layers! 🎂
Want to know a simple trick for splitting cake layers? This is how my mother taught me! 😊
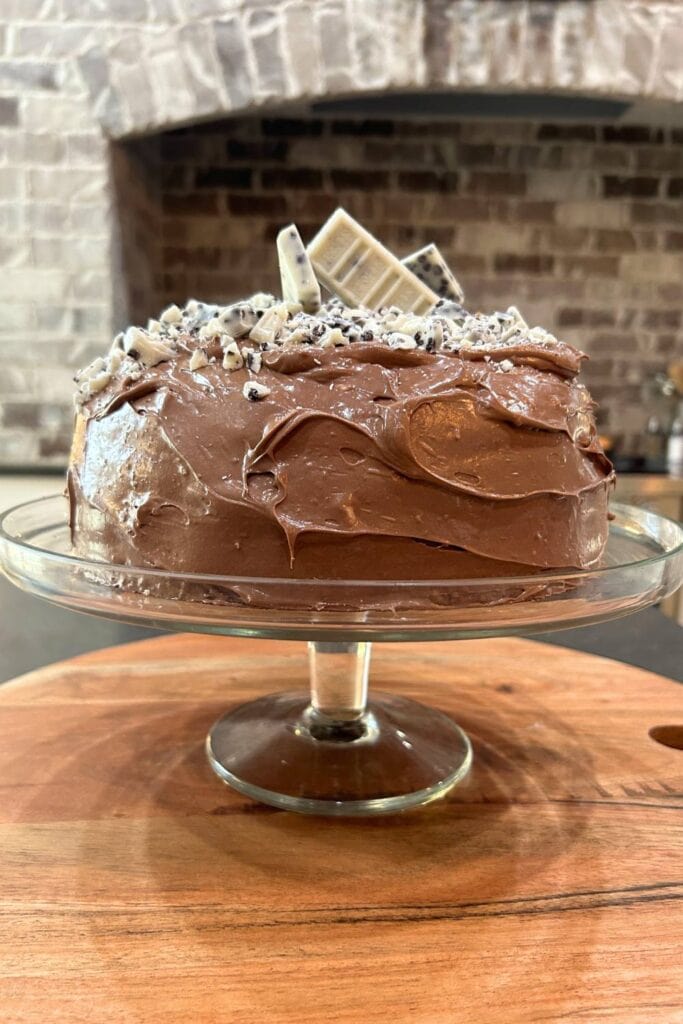
Our grandson, Matt, celebrated his birthday this week and requested a classic chocolate cake—chocolate layers with chocolate icing. So, I got to work! 🎂 This post isn’t about the recipe, though—it’s just a quick tip for how to easily split cake layers for a perfect, even stack.
Cake Layers – A Simple Way to Split Them
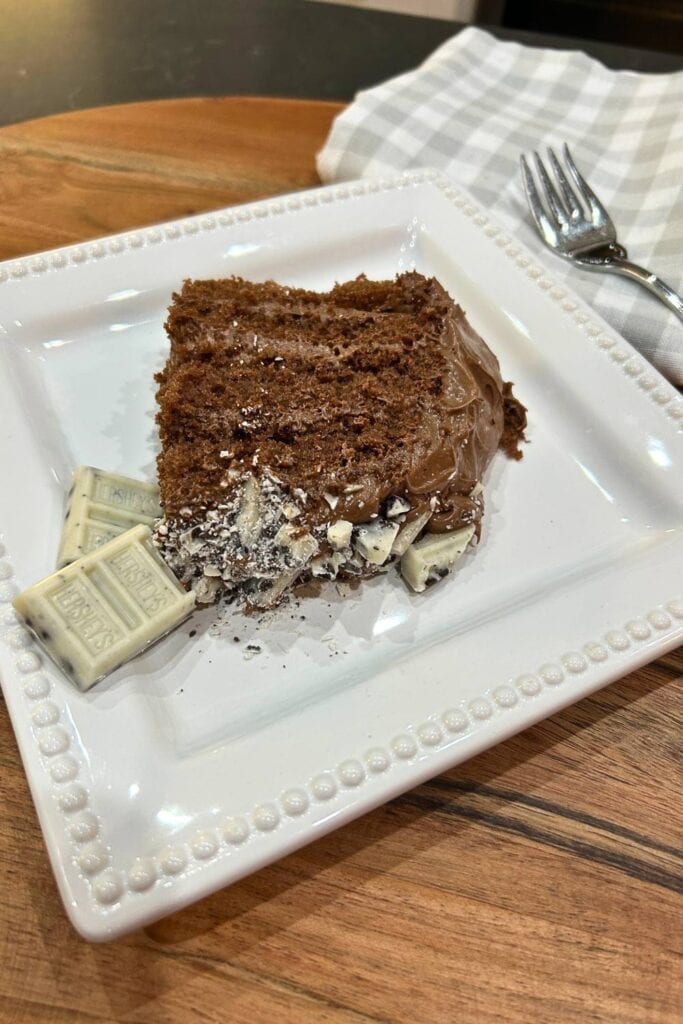
I wanted to make a four-layer cake, so I decided to split my two cake layers in half. Nothing fancy—just a Duncan Hines milk chocolate cake mix, baked according to the package directions.
Once the layers had cooled a bit in the pans and then on cooling racks, it was time to split them. No special tools required! All you need are toothpicks and a long, thin knife.
Sure, there are tools like cake levelers and slicing rings designed for this, but I don’t bake cakes often enough to justify having them. Plus, who has the extra space to store gadgets you barely use? This simple method works just as well! 😊🎂
What My Mother Did….
My mother loved to bake, and she made the prettiest cakes that always tasted amazing. She never had any formal cake-decorating training—she simply made do with what she had and made it work. Her frostings were always homemade from scratch, though she’d use a cake mix every now and then.
When it came to splitting cake layers, she showed me the simplest way to do it—no fancy tools, just a steady hand, a few toothpicks, and a good knife. And let me tell you, it works just as well today as it did back then! 😊🎂.
Splitting the Layers
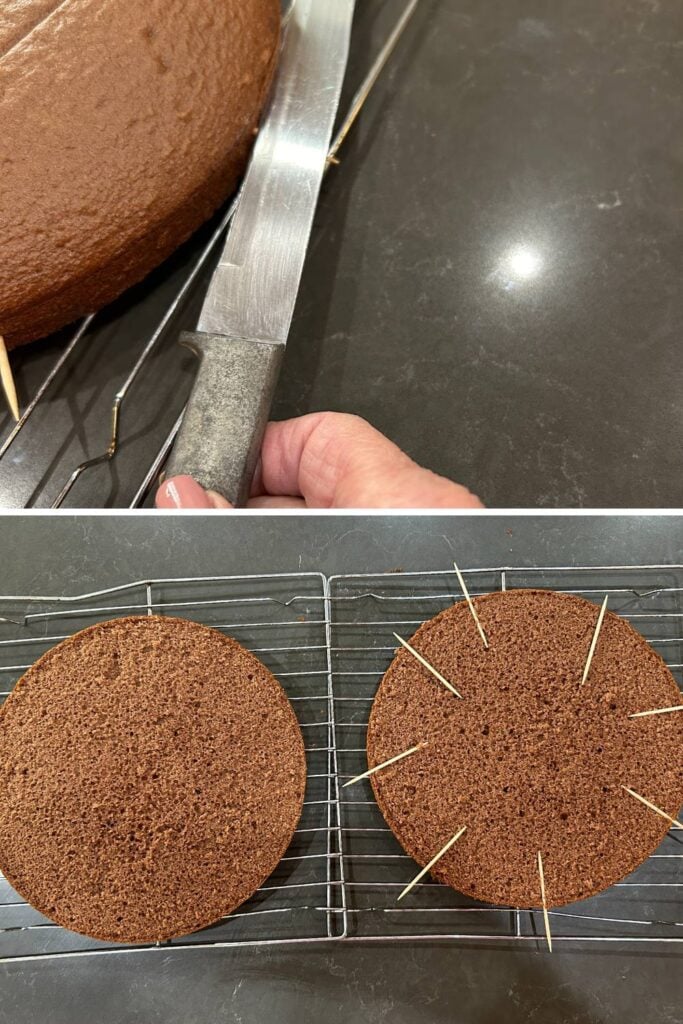
Once your cake layers have cooled completely, keep them on the cooling rack and grab a handful of toothpicks—this simple trick makes splitting them a breeze!
1️⃣ Insert toothpicks halfway up the cake layer, spacing them about 3 inches apart around the edge. Leave about an inch of the toothpick sticking out.
2️⃣ Grab a long, thin knife and rest it on top of the toothpicks.
3️⃣ Slowly slice through the cake, using the toothpicks as a guide. Gently turn the cake as you go to keep your cut even.
That’s it! You’ll end up with perfectly even layers—no special tools required. 😊🎂
Finishing Up & A Few Extra Tips 🎂
Once you’ve sliced through the layer, gently lift it off and set it aside. Remove the toothpicks, and you’re ready to frost! No fancy tools needed—just a simple trick that gets the job done.
This wasn’t a special recipe, just a cake mix and store-bought frosting. Since I split the layers, I used two cans of frosting to make sure there was plenty to go around. Of course, you can doctor up store-bought frosting to make it even better! I mixed in cream cheese and a little coconut syrup for extra flavor.
Here are a few more tips to make your cake even better! ⬇️😊🎂
frosting tips
Upgrade Canned Frosting
Canned frosting is perfectly fine to use, but a few simple tweaks can make it even better! Here are some easy ways to enhance the flavor, texture, and versatility of store-bought frosting:
- Whip it with a mixer to make it fluffier.
- Thin it out with a little cream if needed.
- Add a bit of butter to cut the sweetness..
- Add extracts like almond or lemon, for extra flavor.
- Use flavored coffee syrups for a unique twist
- Mix in crushed cookies or nuts for extra texture.
- Warm in the microwave for a drizzle consistency.
- Blend in whipped cream or cream cheese for a lighter, fluffier texture..
- A pinch of salt helps balance the sweetness..
- Tint with dry Jello for colors and a hint of flavor..
- Store leftovers in the fridge, but let them come to room temperature before using.
With these quick tricks, no one will ever guess your frosting came from a can! 😉🎂✨
Birthday Cakes
Speaking of birthday cakes… last year, Matt wanted a fresh coconut cake. This year? Just a simple chocolate cake—and I was more than happy to make it! 😉
Our granddaughter, Maggie, is turning twenty-one next week! Her cake request just came in—a Milky Way Cake. Lucky for me, I have a recipe for that in my mom’s collection, so I’ll be back in the kitchen baking again this weekend! 😊🎂