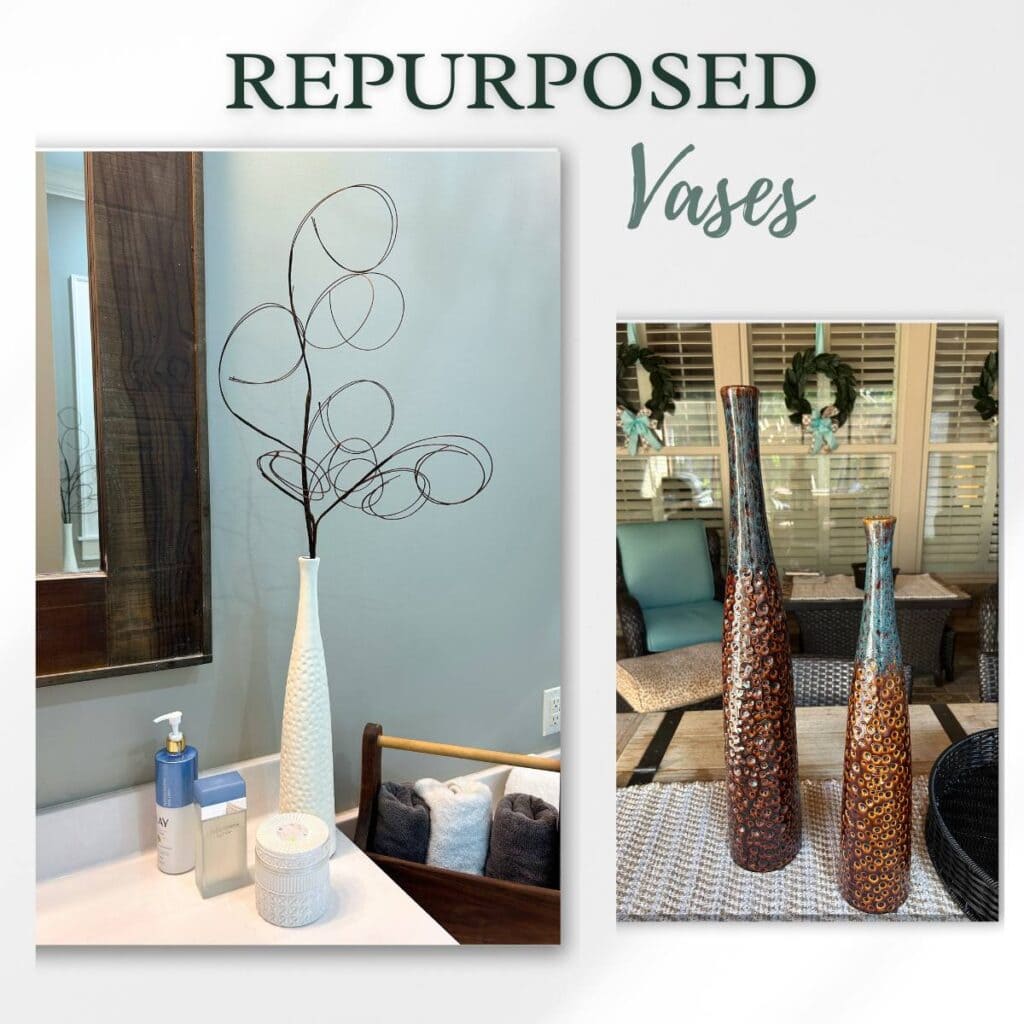
Repurpose Vases with Chalk Paint
Do you have things around your house that are perfectly good—but just feel a little… tired? I’m not talking about people (😂)—just those inanimate objects that have been around forever and no longer spark any excitement.
For me, it was a pair of tall, slender vases. There was absolutely nothing wrong with them, but I was simply over the look. So instead of tossing them, I gave them a new life with a few coats of chalk paint—and I’m so glad I did!
A Quick Look at Chalk Paint
Chalk paint was first developed in the early 1990s by British artist Annie Sloan. Known for its soft, matte finish, it quickly gained popularity and is still sold under her name today as the Annie Sloan brand.
The key ingredient in chalk paint is calcium carbonate (yes—chalk!), which gives it that signature velvety, matte texture. It’s easy to work with, creates a beautifully distressed look, and best of all—it cleans up with water.
These days, you can find chalk paint just about anywhere. While Annie Sloan remains a top brand, many others offer similar formulas, and you’ll see it at Walmart, Hobby Lobby, Lowe’s, Home Depot, and more.
Today, I’m using it to give new life to a couple of old vases. It’s my first time painting on glass or ceramic, so we’ll see how it turns out! 😊
Common Questions about Chalk Paint
Can I use chalk paint on any surface?
Yes! Chalk paint works on wood, metal, glass, ceramic, and even fabric—usually without much prep work.
Do I need to sand or prime before using chalk paint?
Nope. One of the biggest perks of chalk paint is that you typically don’t need to sand or prime. Just make sure the surface is clean and dry.
How can I achieve a distressed look with chalk paint?
After the paint dries, gently sand edges or raised areas to create a worn-in, aged effect. A light hand goes a long way!
Should I seal chalk paint for protection?
It’s optional, but recommended—especially for high-touch surfaces. Use a soft wax or a polyurethane topcoat to protect your finish.
How do I clean and maintain chalk-painted surfaces?
Wipe with a damp cloth or sponge—no harsh cleaners. For touch-ups, just reapply a bit of chalk paint where needed.
Ceramic Vases: Time for a Change
There wasn’t anything wrong with the vases—I was just ready for a change! 😂 They’re tall and slender with small bases, and I thought they’d be perfect for the bathroom.
My plan was to use the taller one on the edge of the bathtub to hold some long, decorative sprays. The shorter one? I figured it would work nicely somewhere on the vanity. Just a little refresh to give them a new purpose and a softer look.
clean up
Step 1
- Remove dust with a dry cloth.
- Use a mild detergent mixed with warm water to gently scrub away grime.
- Rinse the ceramic surface thoroughly to remove any soap residue.
- Dry the surface completely before applying chalk paint.
- Do a last cleaning with alcohol or window cleaner.
start painting
Step 2
- Shake the paint well.
- Apply 1 to 2 thin coats of paint.
- Best applied with a large bristle brush
- Wait 2 hours between coats.
- Apply additional coats until desired coverage is achieved.
- Allow 48 hours for the paint to cure.
- Apply wax for a velvety finish and protection.
- Buff after 24 hours with a soft cloth.
Things I Missed! (Oops…)
So… I may not have followed the chalk paint directions exactly. 😅 I didn’t wait the full two hours between coats, and I definitely didn’t give it 48 hours before applying wax. But hey—I did wait 24 hours before buffing, so I’ll give myself a gold star for that one!
Consider this a classic “do as I say, not as I do” moment. Thankfully, it still turned out just fine—but next time, I’ll try to follow the instructions a little closer. Maybe.
Finishing Touch
Once the paint dried and the wax was buffed, it was time to style the vases. I wanted something with a natural, twiggy look—neutral in color and just the right amount of texture.
So of course, that meant a trip to Trendy Tree! 😊 Carrie helped me pick out the perfect curly twig spray, and it was just what I needed to complete the look. It added a soft, organic touch and pulled the whole project together beautifully.
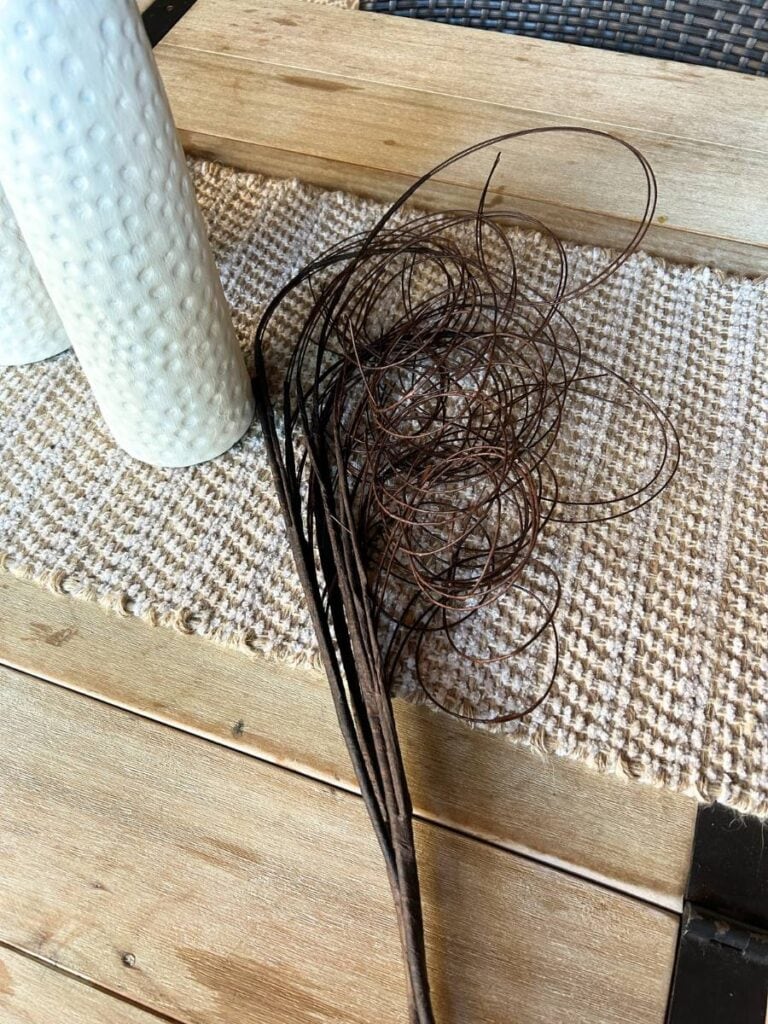
I used just one spray and divided it between the two vases—two stems went into the taller vase, and one stem into the shorter. It was just the right amount!
Join my mailing list and get 20% off your next order at Trendy Tree!
Putting the Repurposed Vases in Place
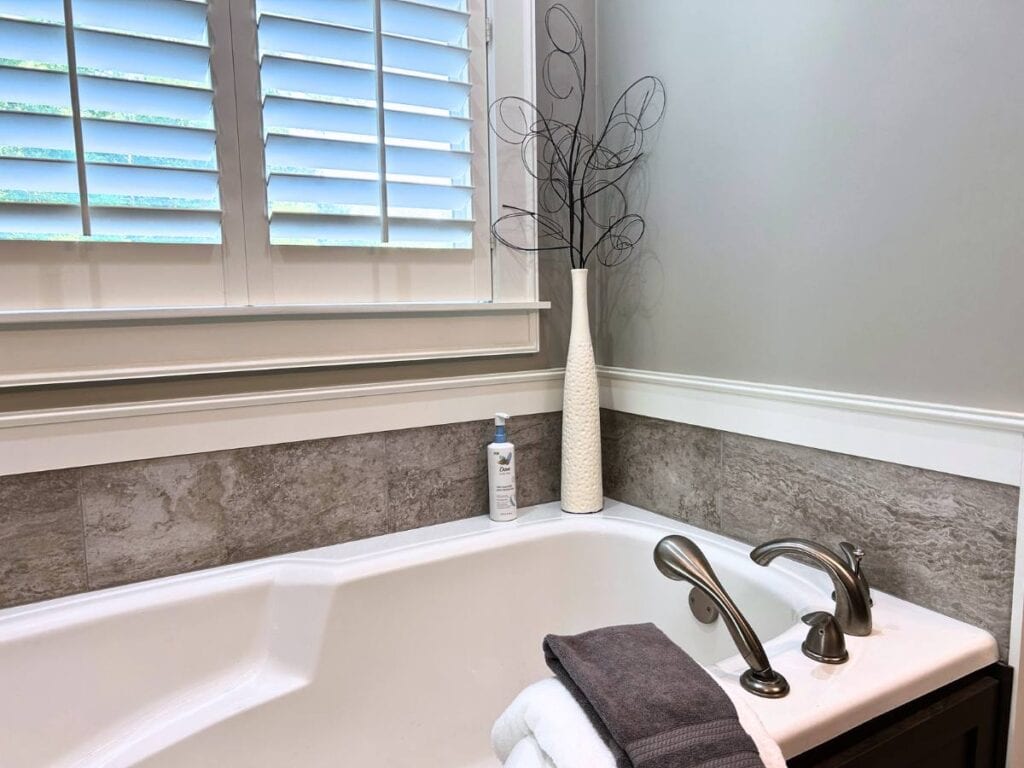
I placed the taller vase on the edge of my bathtub, tucked neatly into a corner. It has a good weight to it, so I’m not too worried about it tipping over—as long as I don’t load it with anything too top-heavy.
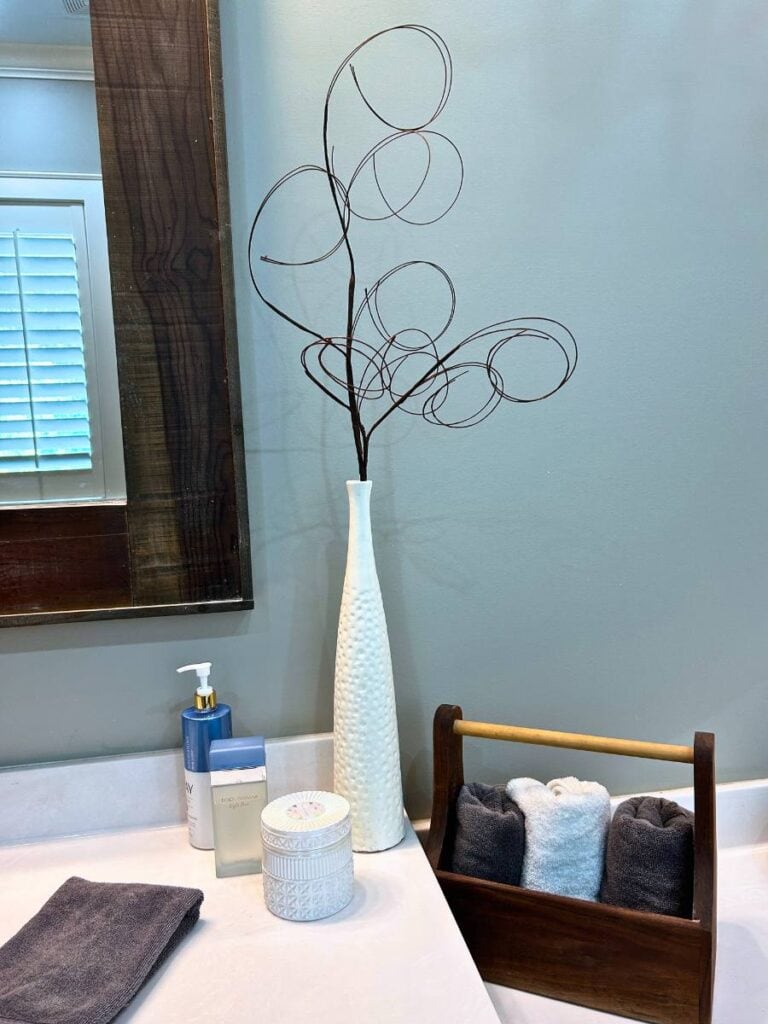
The shorter vase found its new home on the vanity. It’s just the right size to add a little charm without taking up too much space.
Future Use
These repurposed vases with chalk paint will be perfect small spots to add seasonal decoration for fall and winter. All I’ll have to do is just remove the brown twigs and add in something for fall like a leaf spray or persimmon twig and then in December maybe something sparkly like glitter grass or red berry spray.
I think the dried flowers look great. Much more interesting than just a bag of dried stuff)) These large vases are perfect for fall too. Little white pumpkins and acorns would be nice. And at Christmas time they could hold small shiny round ornaments. Another one of those spots to add a bit of seasonal decoration.