Bloomin’ Onion at Home: Tried It – Loved It!
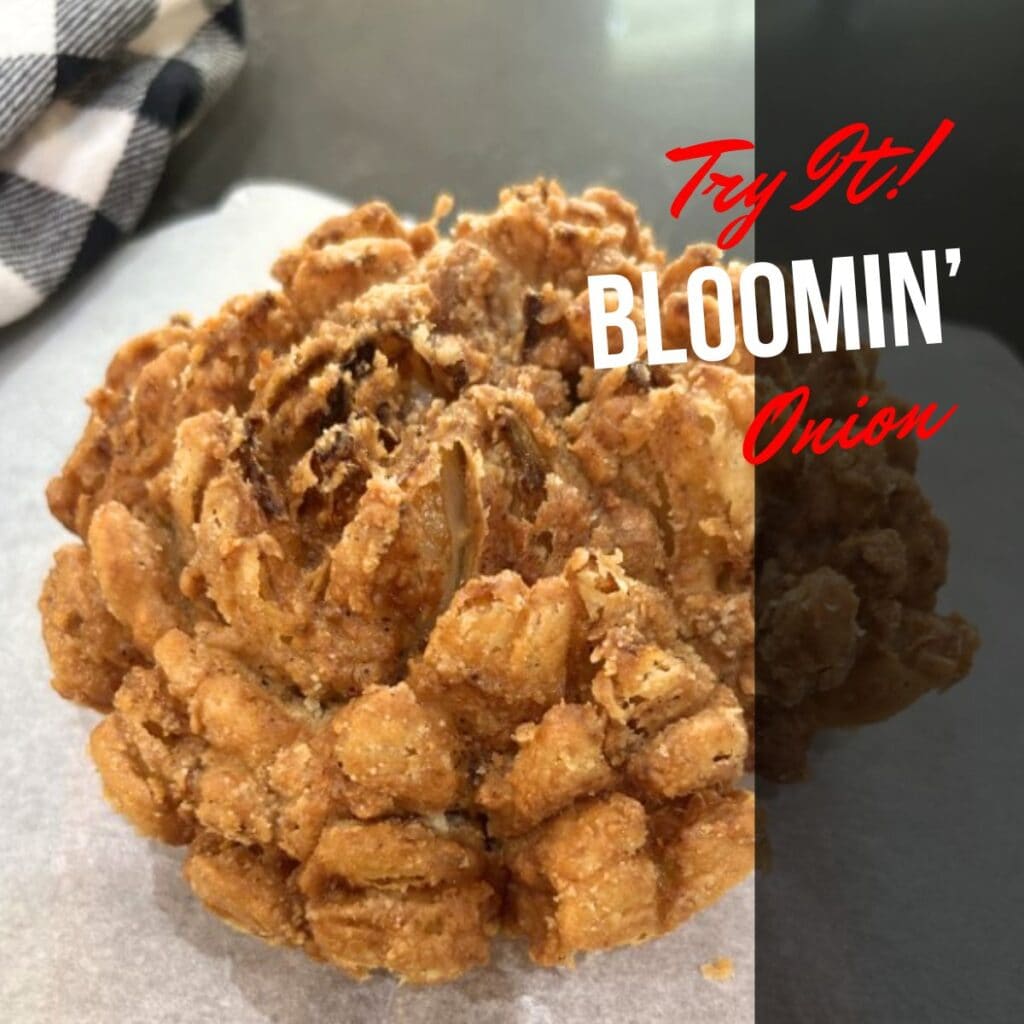
I tried my hand at making a Bloomin’ Onion last week — and let me tell you, it was every bit as crispy and golden as I hoped! It reminded me a lot of the one from Outback Steakhouse, just made right in my own kitchen. I didn’t follow an exact recipe (and definitely made a little mess), but it turned out pretty tasty for a test run. Sometimes you just want a fun, deep-fried snack — and this one hit the spot.
No Recipe Needed — Just Slice, Dip, and Fry!
I peeled the outer layer off a large onion and sliced just a bit off the top, leaving the root end intact to keep everything held together. Then I cut down through the onion in quarters, and kept slicing to form “petals” — just be sure not to cut all the way through.
Next, I dipped the onion in a mix of eggs and buttermilk and let it chill in the fridge for about an hour. This helped the batter get into all those layers. I gave it a little help by spreading the petals apart with my fingers.

For the coating, I added about a cup of flour to a plastic bag along with a few breadcrumbs and some seasonings — salt, pepper, garlic powder, and a bit of cayenne. I rolled the onion gently in the bag until it was coated, shook off the extra, and got it ready for the fryer.
I fried it at 350° until it turned that perfect golden brown, then drained it on paper towels and served it up hot with a creamy, remoulade-style dip. Crunchy, flavorful, and totally satisfying!

What I’d Do Differently Next Time
My deep fryer is just a 2-quart, and looking back, the basket might have been a little small for a full-sized Bloomin’ Onion. Next time, I might try frying it directly in the oil without the basket to give it a bit more room to open up.
I also went a little heavy on the batter — some of the petals ended up with a pretty thick crust. Not that anyone complained, but I’ll probably go a little lighter with the coating next time around.
Other than that, I think it turned out great — crispy, flavorful, and totally worth the kitchen clean-up!
And no, I didn’t calculate the nutritional facts… some things are just better left unknown. 😉