Easy DIY Faux Marble Background for Photos
Have you noticed how many food photos feature a bright white marble background? It’s clean, timeless, and makes everything from cookies to casseroles pop.
For a minute, I almost second-guessed my gray marble quartz countertops — but I absolutely love them, and they make my kitchen feel like home. If you see food photos on my blog, chances are they were taken right there in my kitchen!
I’m not a professional photographer, but I truly enjoy styling and photographing my recipes. Getting that perfect shot isn’t always easy — especially when you want a light, airy marble surface but don’t actually have one.
And yes — every food image in my recipe posts is mine. If you see a pecan pie, I baked it. 😊
The only real white marble in my house? The laundry room. Not exactly ideal for food photography.
So instead of buying expensive photography backdrops, I decided to make my own DIY faux marble background — affordable, lightweight, and easy to store.
If you’re a food blogger, recipe creator, or just love pretty kitchen photos, here’s how to make your own marble photography backdrop for under $25.
Why Make a DIY Marble Background?
Professional photography boards can cost $50–$150 each. And while they’re beautiful, I wanted something:
- Budget-friendly
- Lightweight
- Easy to store
- Custom sized
- Simple to replace if damaged
This DIY faux marble board checks every box.
Supplies You’ll Need
Here’s what I used:
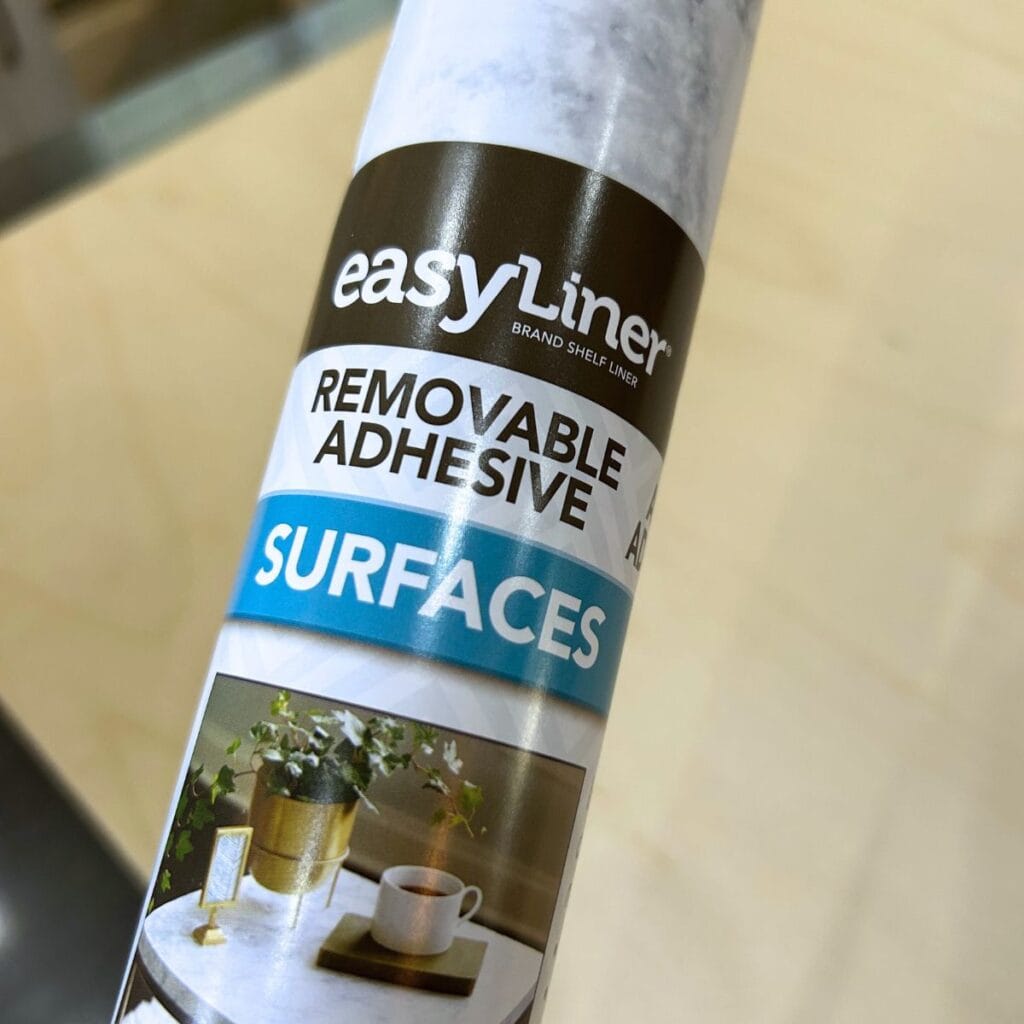
- White marble peel-and-stick shelf liner (vinyl adhesive)
- 24″ x 24″ thin plywood board
- Scissors or utility knife
- Soft cloth or smoothing tool
I found mine at Lowe’s, but similar options are available online as well. Look for white marble peel-and-stick adhesive laminate or shelf paper with a realistic pattern.
The vinyl roll I purchased was 20″ x 15′ and cost around $11 — more than enough for multiple boards.
The thin plywood was about $8.
Total cost: under $25.
Step-by-Step: How to Make a Faux Marble Photography Board
Step 1: Prep the Board
Wipe the plywood down completely.
Make sure it is:
- Clean
- Smooth
- Dry
- Free of dust
Any debris will show through the vinyl.
Step 2: Cut the Marble Vinyl
Cut a piece of peel-and-stick marble shelf liner slightly larger than your board.
This gives you a little room for adjustment.
Peel back the adhesive backing carefully.
And I’ll be honest — this was the hardest part!
Step 3: Apply the Marble Finish
Starting at one edge of the board:
- Slowly lay the adhesive vinyl onto the plywood
- Work gradually from one side to the other
- Use a folded cloth to smooth out air bubbles as you go
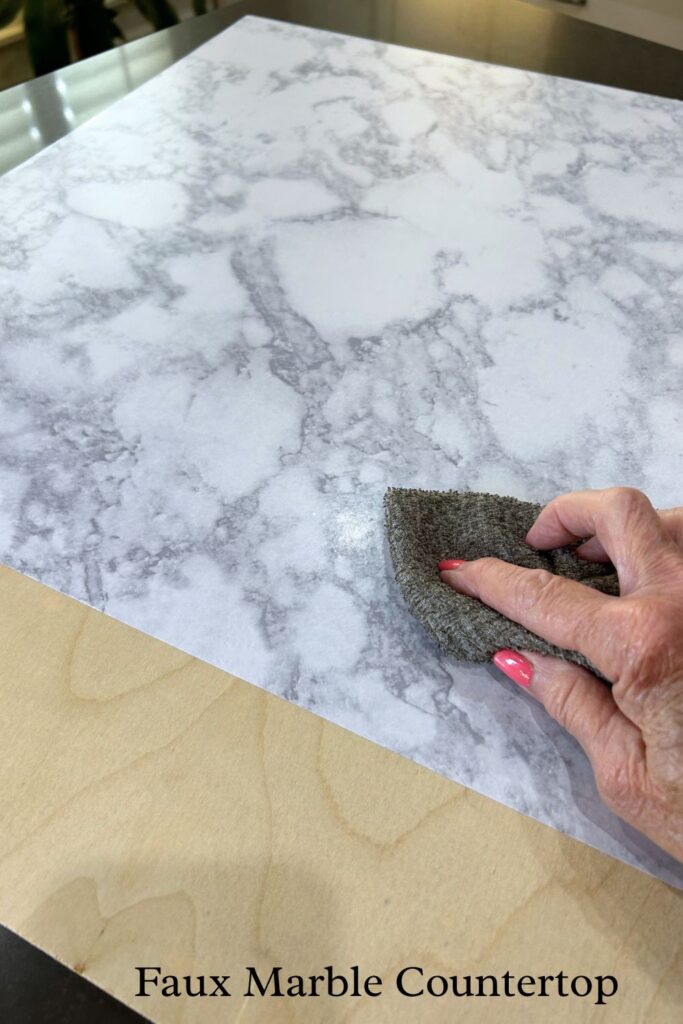
Take your time here.
If you need to lift and reposition, do it gently before pressing firmly.
Once aligned, press the surface down securely and smooth out any remaining bubbles.
Step 4 (Optional): Trim the Edges
If you have excess vinyl hanging over the edges, trim it carefully with a utility knife for a clean finish.
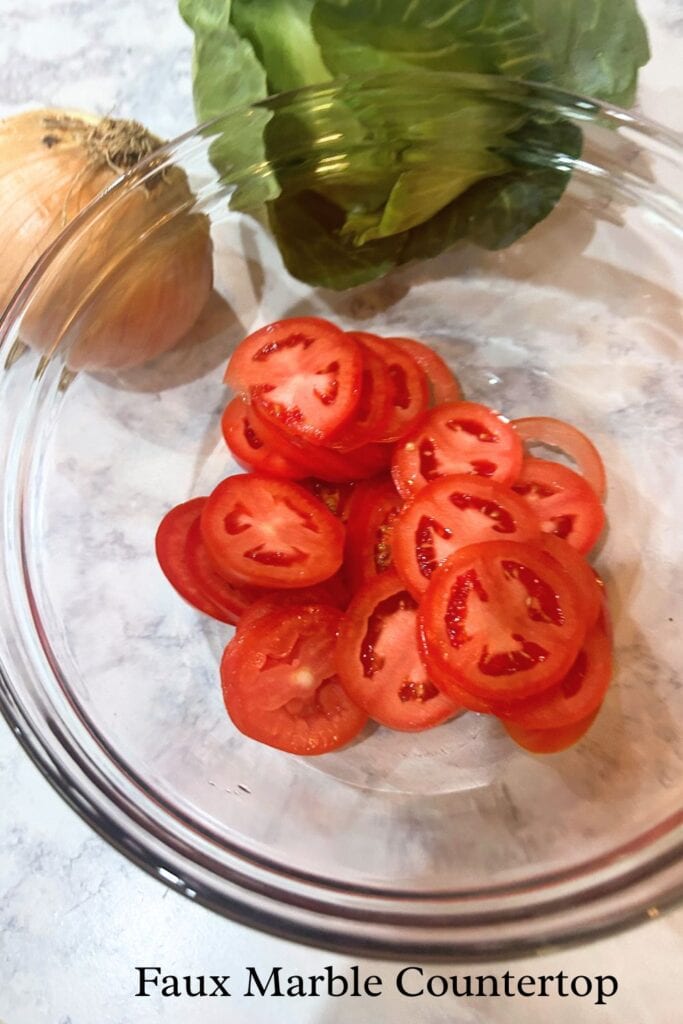
How I Use My Faux Marble Background
This board has become one of my most-used food photography tools.
I use it for:
- Recipe blog photos
- Pinterest food pins
- Product styling
- Flat lays
- Close-up baking shots
- Seasonal kitchen content
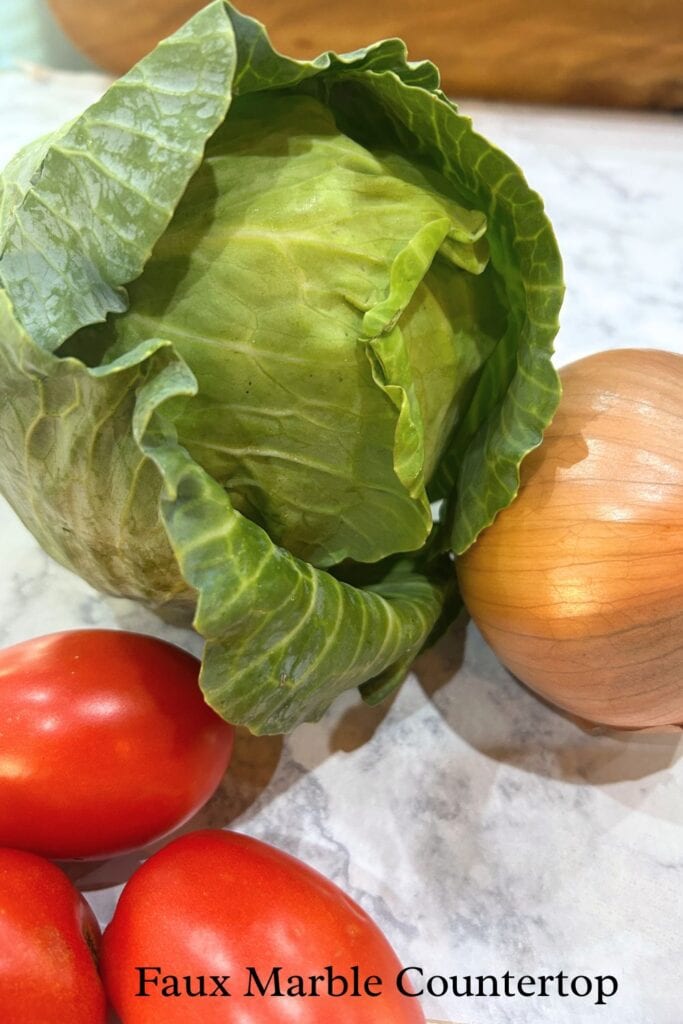
It instantly brightens images and gives that crisp, magazine-style marble look.
And when I’m done? It slides right behind a cabinet for storage.
Final Thoughts
You don’t need expensive equipment to create beautiful food photography.
A simple DIY marble backdrop can completely transform your images while keeping your setup lightweight and affordable.
If you try this project, let me know how it turns out! And if you’re here for the recipes — don’t worry — I’ll be back in the kitchen soon. 😉