Faux Marble Background for Photography
Faux Marble Background
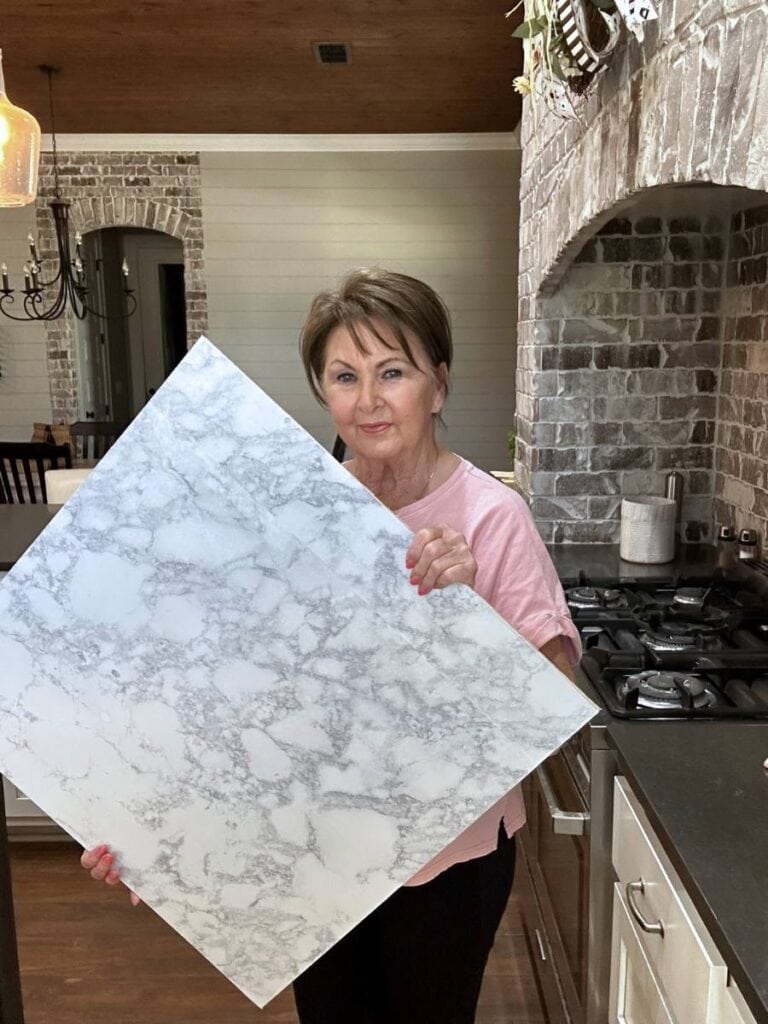
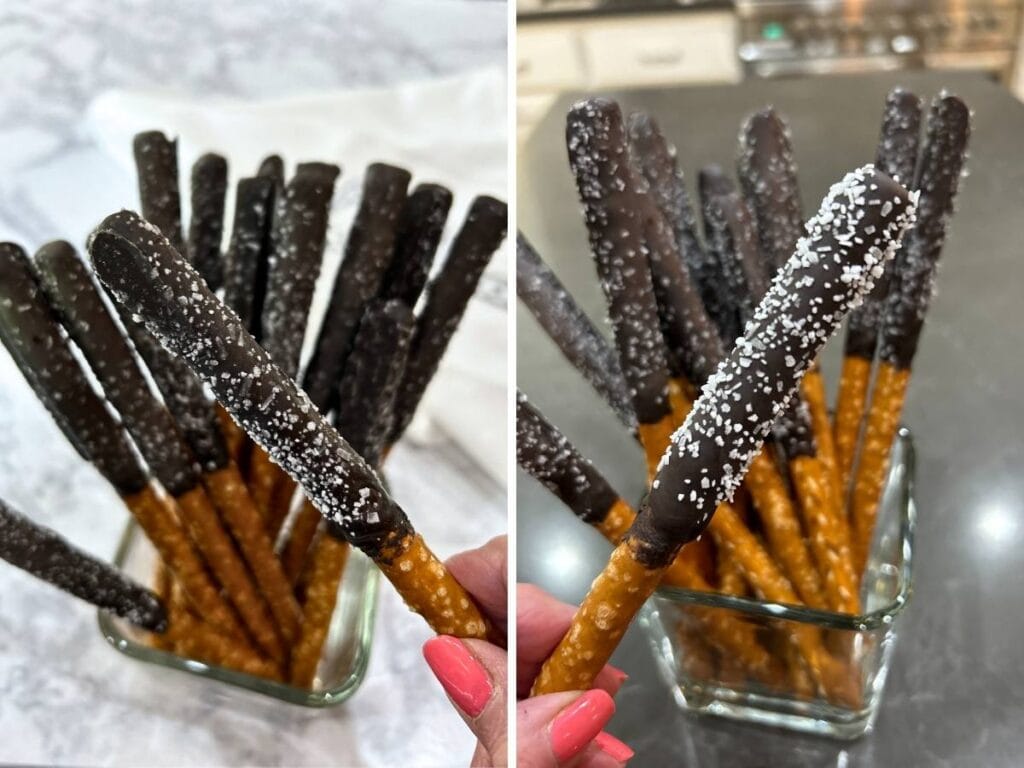
Have you noticed how many food photos feature a crisp, white marble background? At one point, I almost second-guessed my gray marble quartz countertops—but I absolutely love them, and they make my kitchen feel like home. You can always tell when my food images are taken right in my own kitchen!
Now, I’m no professional photographer, but I do enjoy playing around with my food photography. Capturing the perfect shot isn’t always easy! If you’ve been following my blog (or if you’re new here), I want you to know that all the food images in my recipe posts are my own.
Of course, I do use the occasional Canva image for category headings or general blog aesthetics—there’s even one on my homepage. But don’t worry, if you see a pecan pie on my blog, you can trust that I baked it myself!
The only white marble surface in my house is in my laundry room—not exactly the ideal setting for food photography. So, I decided to create a faux marble background! While there are plenty of professional photography backgrounds available for purchase, I wanted something budget-friendly and easy to store. In this post, I’ll show you how I made my own faux marble backdrop—perfect for food photography, DIY projects, and more!
Supplies
When it came to shopping for supplies, my first stop was Lowe’s. I initially had my eye on a piece of Formica, thinking it might be the perfect solution. But when I asked a sales clerk about it—bless her heart—she had no idea what Formica was! Luckily, another employee did, but unfortunately, they didn’t have what I was looking for.
Next, I considered using a large ceramic tile with a marble-like finish. However, the biggest size available was 18″ x 18″, and they were only sold by the carton—definitely not ideal. Plus, a tile that size would be too heavy for my needs and could potentially scratch my countertops.
Then, the sales clerk suggested wallpaper, which seemed like a great idea! But after browsing, I realized they didn’t have a white marble pattern that looked realistic enough. I probably could have found the perfect wallpaper at a specialty store, but when you’re in project mode, you want everything now—no extra stops, just supplies in hand and ready to go!
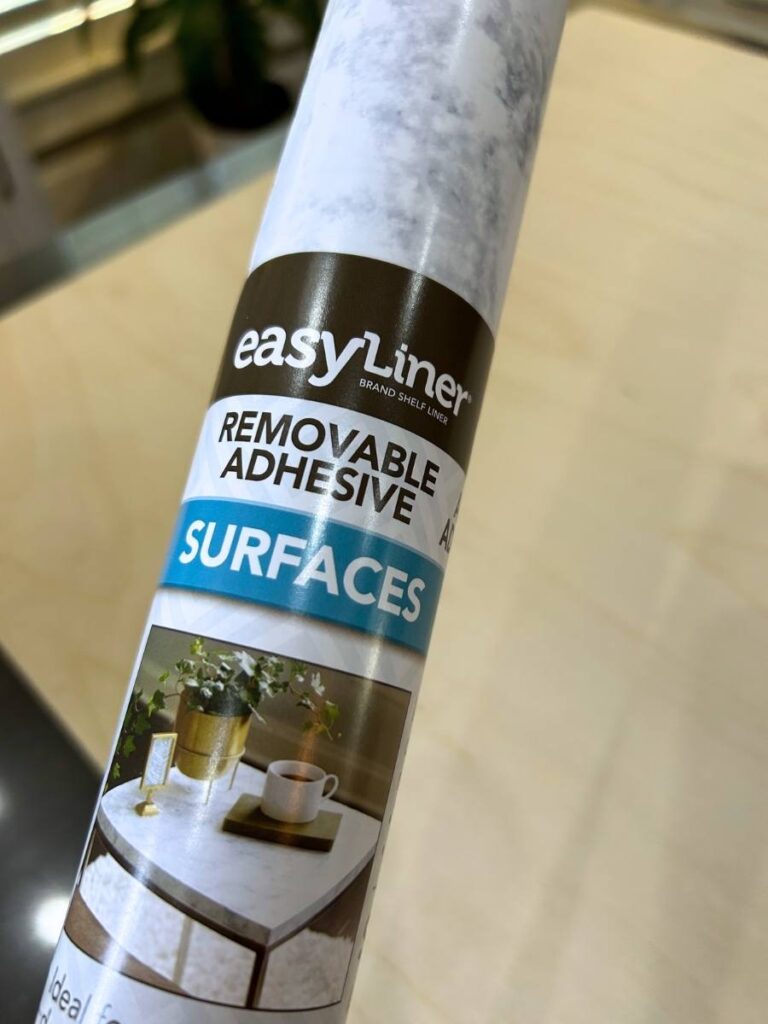
Thankfully, the clerk didn’t give up and pointed me toward vinyl-coated shelf paper in a white marble pattern. It was exactly what I needed—lightweight, affordable, and easy to work with. At just $11 for a 20″ x 15′ roll, it was the perfect solution for my faux marble background!
If you don’t have a Lowe’s near you, it’s available at Amazon too. Here’s my affiliate link: Duck Brand Peel & Stick Adhesive Laminate White Marble.
All we needed now was something to adhere it to.
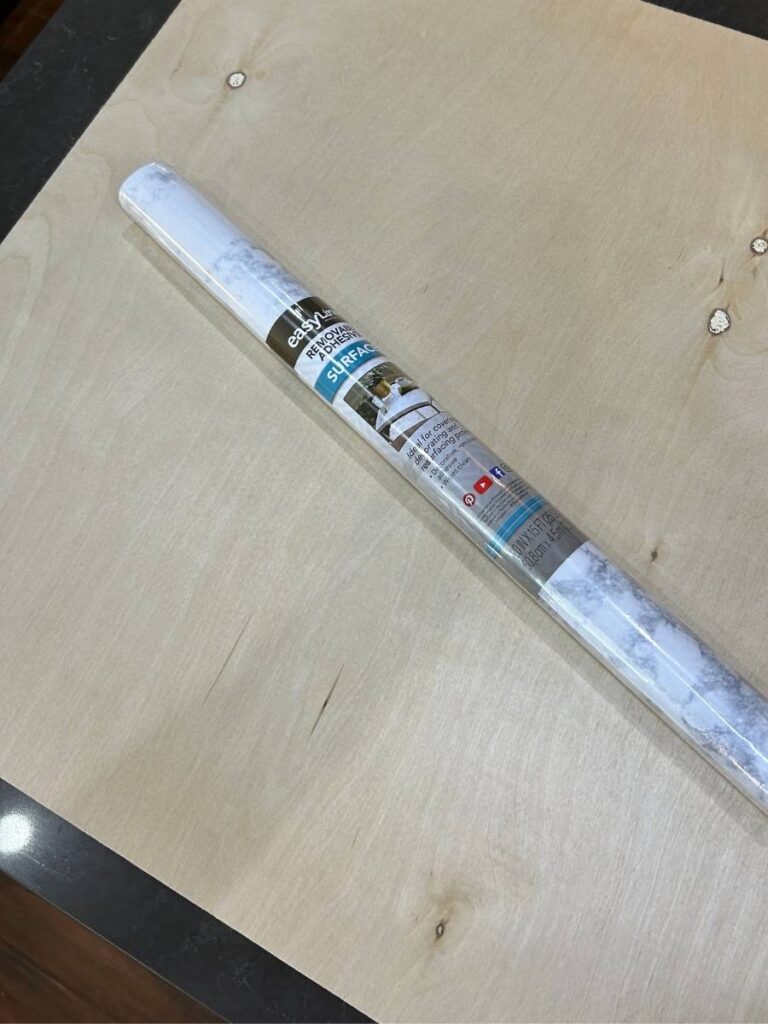
Next, we found a 24″ x 24″ piece of thin plywood for around $8
Step 1
Wipe off the board and make sure it is clean and dry.
Step 2
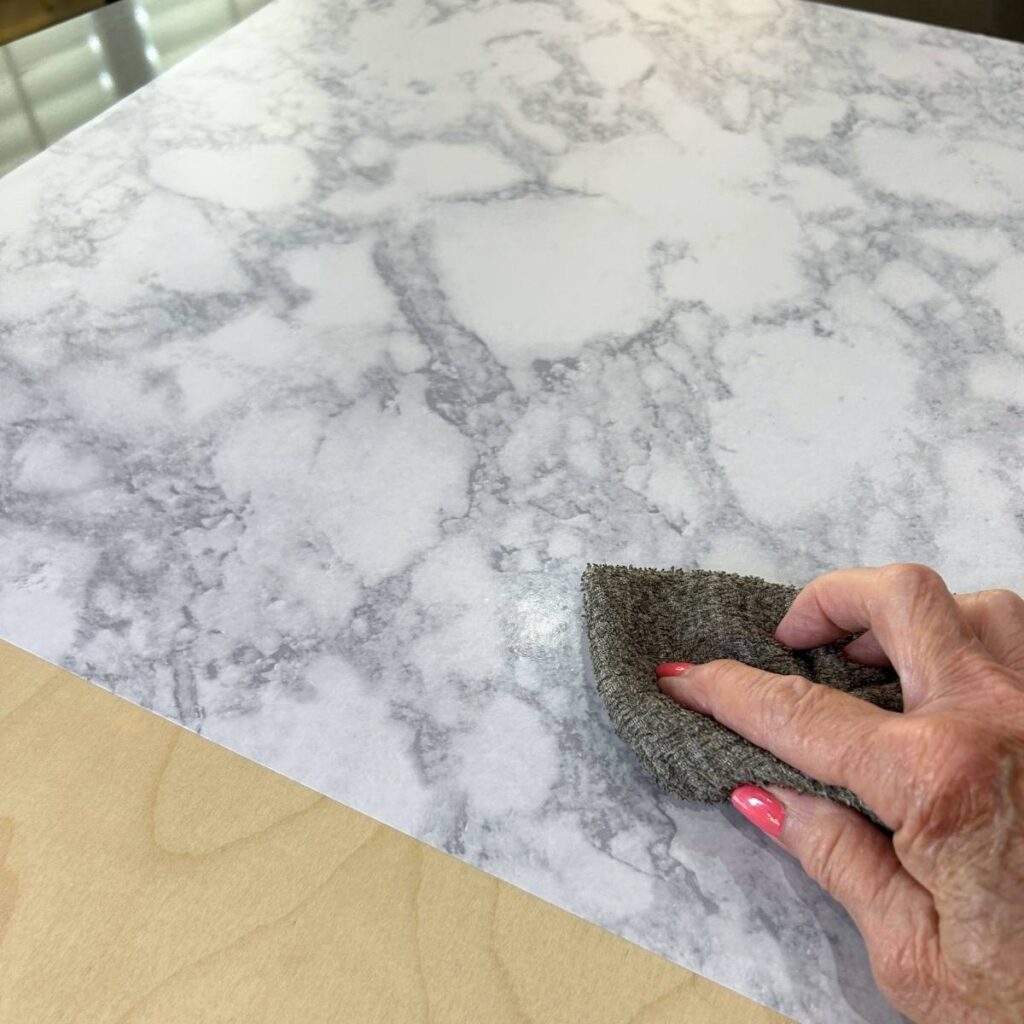
Cut a piece of vinyl-coated shelf paper the size of the board. Peel back the paper to expose the adhesive side. This was the hardest part!
Place the paper on the board as close to the edges as possible. It took a few tries for me to get it lined up just right. Press the paper to adhere to the board. Smooth out any air bubbles with a folded cloth.
Ideally, I would have had a board that matched the exact width of the shelf paper, but I decided that a 24″ x 24″ board was the best size for my setup. Since the paper was slightly narrower, I had to cut an extra 4-inch strip to fill in one side, carefully matching up the marbling pattern and aligning the edges without overlapping.
Some of the paper extended just beyond the edges of the board, so I sanded off the excess for a clean finish. Since I had plenty of paper left, I went ahead and covered the back side as well—though in hindsight, it would have been nice to use a different background on the reverse for more versatility. Food for thought for next time!
Now, of course, I have leftover shelf paper that I’ll probably never use… unless someone else decides they need a faux marble background too! 😉
more projects
keepsake hearts
Handmade Christmas Ornaments from Old Clothing
This year I wanted to make some handmade Christmas ornaments as keepsakes for my parent’s grandchildren, my brother, and me. I wanted their grandchildren to have something to remember them at Christmas time.