Handmade Christmas Heart Keepsake Ornament
Handmade Christmas Ornament from Old Clothing
Last year I wanted to make some handmade Christmas ornaments as keepsakes for my parents’ grandchildren, my brother, and me. I wanted their grandchildren to have something to remember them at Christmas time.
I’ve read that people have stuffed toys or throw pillows made from decreased loved ones’ clothing. These grandchildren are all grown, so I wanted something small and special that they could use at Christmas.
Christmas Hearts
I settled on trying to make a heart-shaped Christmas ornament. So I printed off a 5″ heart from the internet and cut it out. My next thought was what to use as fabric. Mother has been gone for 22 years but I still had a couple of articles of clothing of hers. My dad passed away three years ago and I still have a couple of his shirts hanging in the closet.
It’s so hard to get rid of personal things when loved ones pass away, isn’t it. Going through and selecting items to discard, give away, or keep is a monumental task. I’m glad I did save these few pieces of clothing. Now I wish I had a piece of clothing that belonged to my grandparents.
Clothing
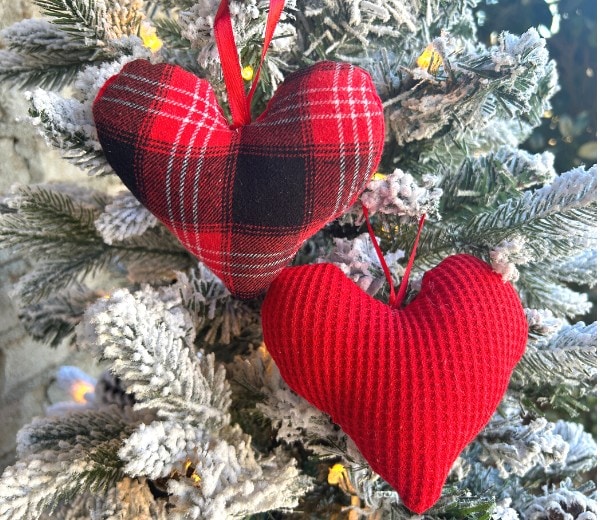
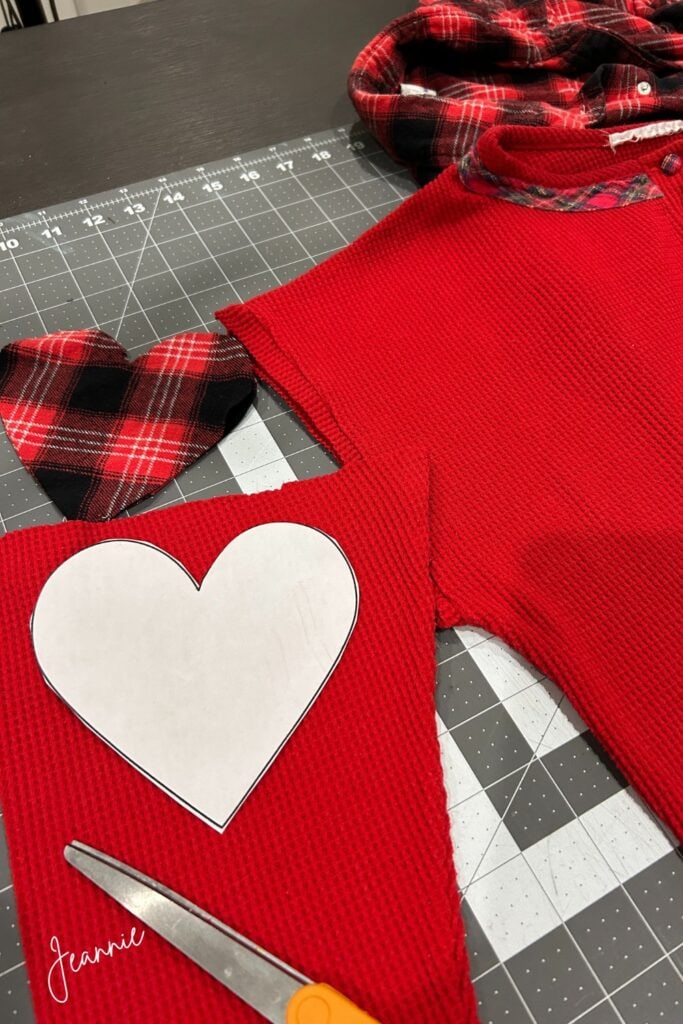
I decided on a red flannel shirt of my dad’s and found a red nightshirt that had belonged to my mom. Red would be great for Christmas I thought. So I was telling my husband about my idea….to make heart ornaments from the plaid shirt….and ornaments from mother’s solid red nightshirt.
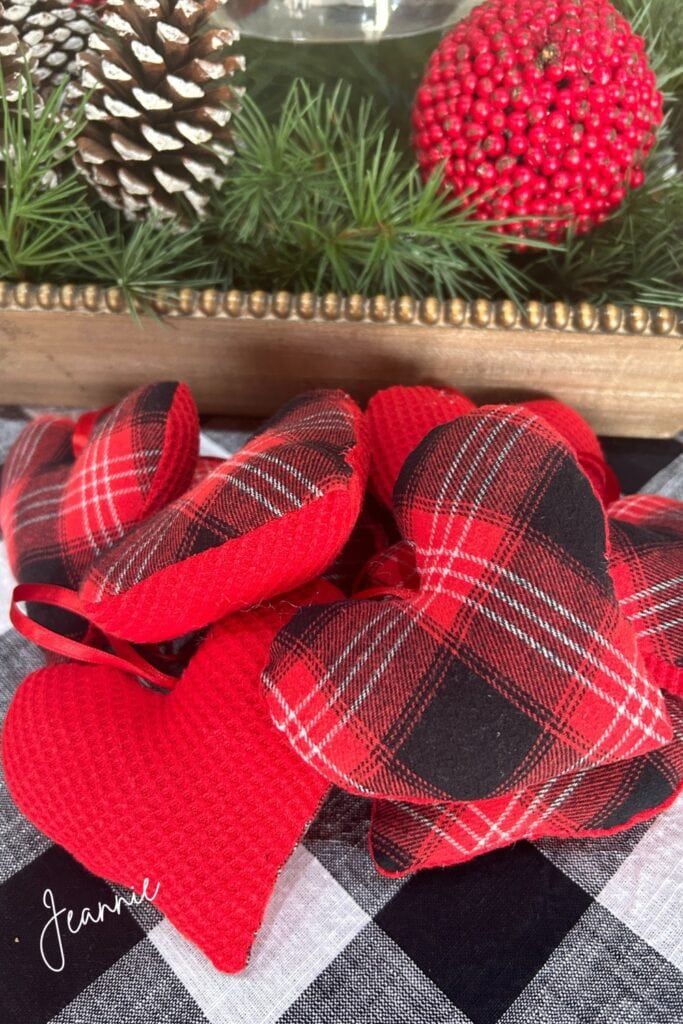
My husband said why don’t you use plaid on one side and solid on the other. What a great idea! Using both articles of clothing on one heart would reduce the number of ornaments I had to make)))
I washed and ironed the shirt and nightshirt so they would be fresh and clean before cutting them out.
You could also use this same technique to make ornaments out of a favorite baby blanket or tee shirt that your children or grandchildren might have had growing up. Especially teeshirts that might have had a logo or small wording that you could incorporate into a heart shape. Just a thought))
Making the Ornaments
The first step was to cut the heart shapes out. I used the sleeves of the shirts.
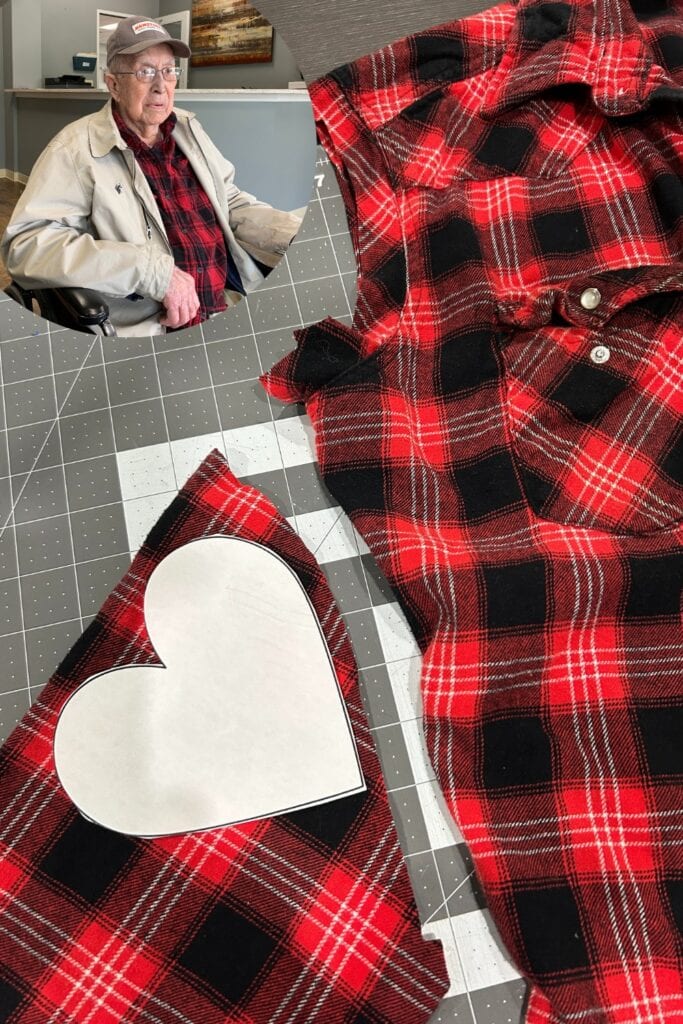
You can make the ornaments any size, mine were about 5″. I think making them smaller would have made them a little more difficult to make though.
Ribbon Hanger
I cut pieces of 1/4″ satin ribbon, 7″ in length. You can make these ornaments by hand-stitching or doing them on the machine. The first two I made just by hand stitching while I was watching TV.
Okay, I’ll admit it. I didn’t want to get the sewing machine out! But eventually, I figured if I was going to finish my handmade Christmas ornaments by Christmas, I better get the machine out.
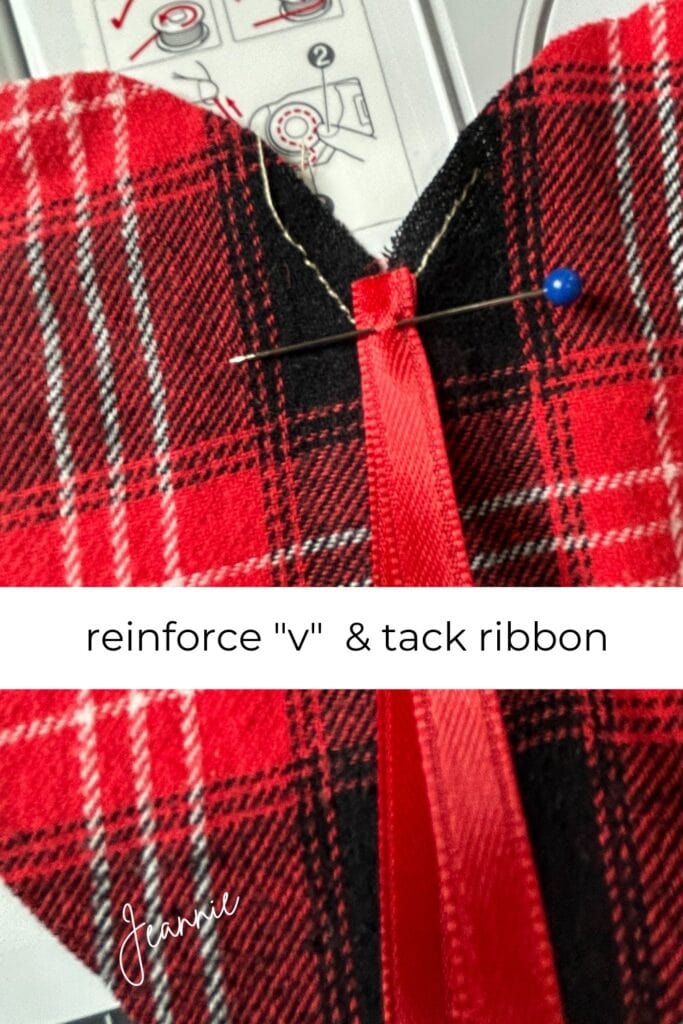
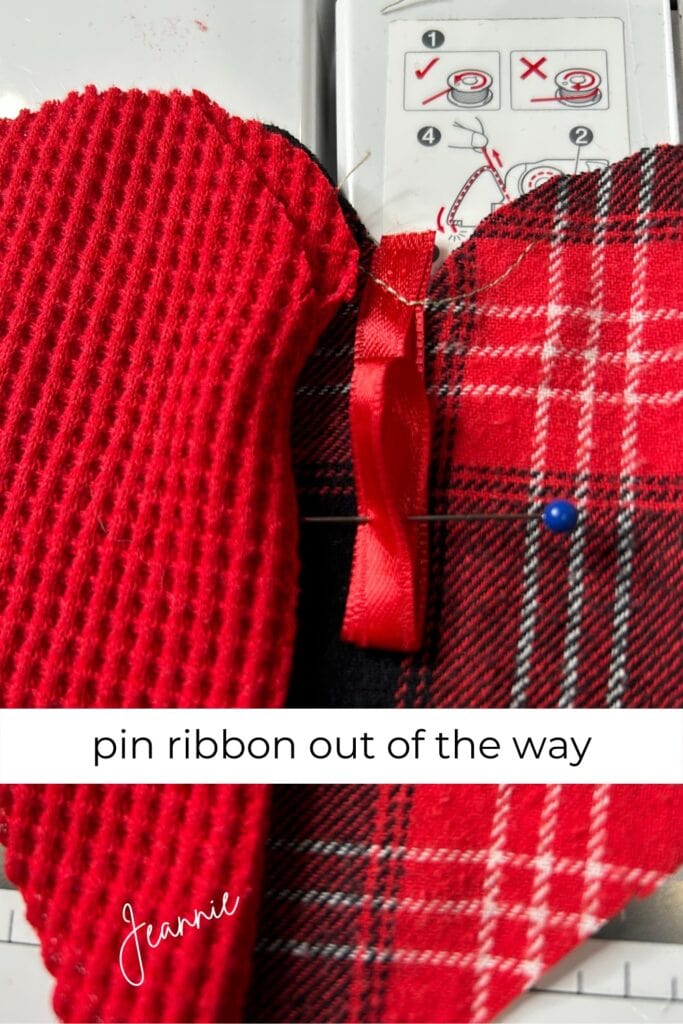
Reinforce the “v” of the heart and tack the ribbon down with a stitch or do. Tack the ribbon down on the right side of the material. Position the ribbon between the two right sides so that when you turn it, the ribbon hanger will be correct.
Pin the ribbon up out of the way a little bit, otherwise, you might catch it in the seam when you stitch around the heart.
I only mentioned this because it’s exactly what I did on the first one!
Stitch Right Sides Together
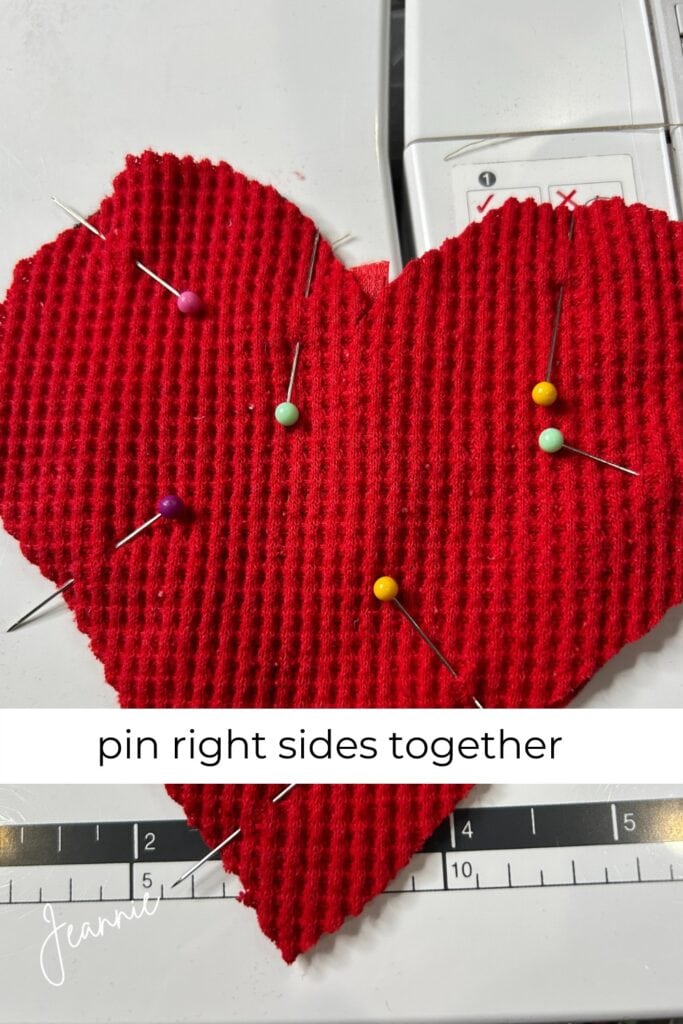
Pin the right sides together. The only problem I had sewing this heart ornament was that the waffle weave material was stretchy compared to the flannel shirt material. It would have been easier if both sides were the same type of material.
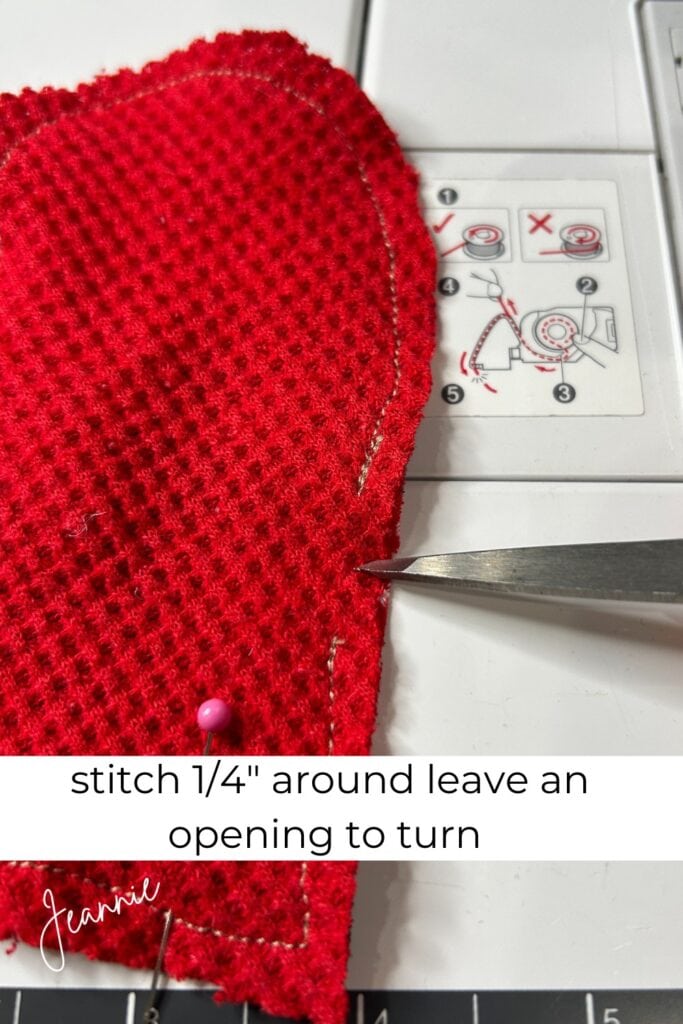
With two right sides together, stitch about 1/4″ from the edge. Stitch around the heart. Leave an opening of 3/4″ to 1″ so you can turn the heart right side out. Make your opening on the side of the heart and not near the “v” or tip.
Flip the heart over and check the other side. Sometimes material can still slip and you might miss a place or stitch too close to the edge. This area would need to be stitched again to reinforce. I mention this because I did it too!
Turn & Stuff
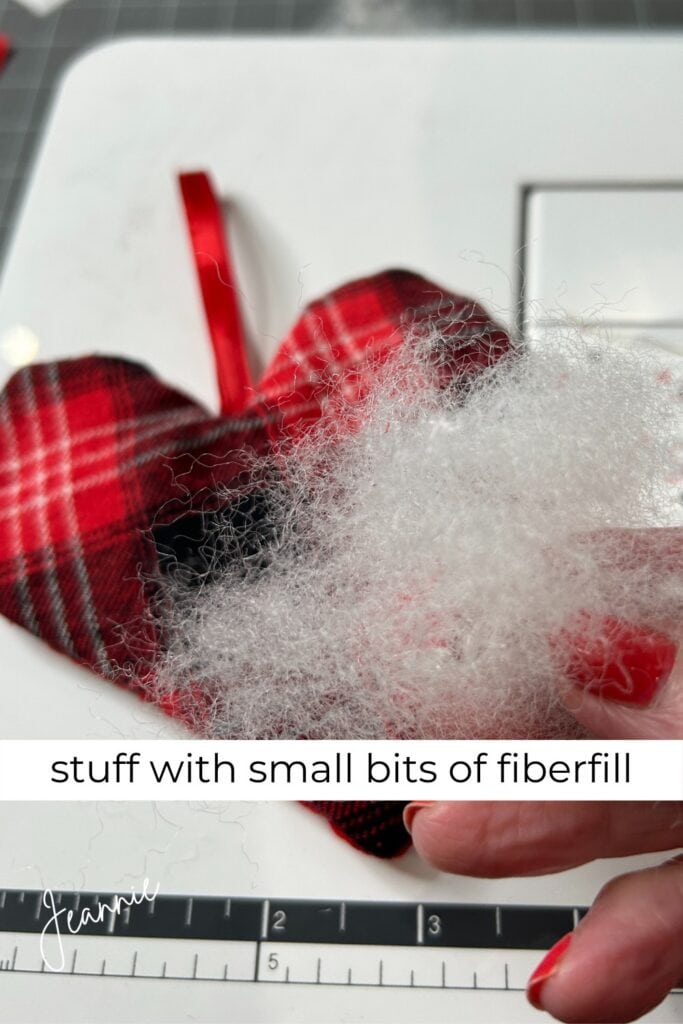
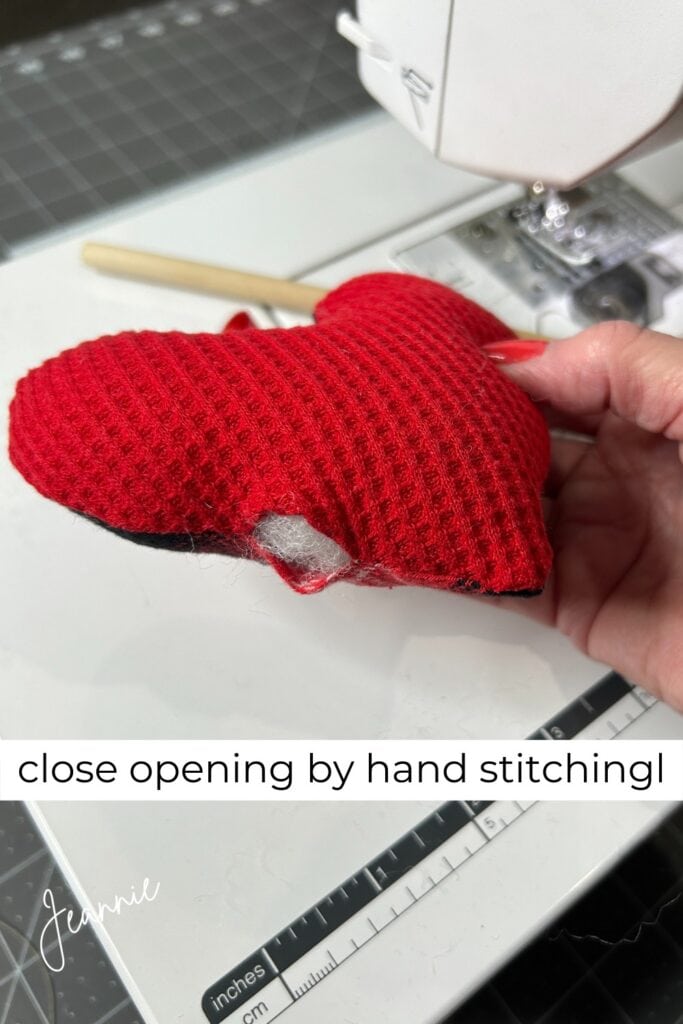
Turn the heart right-side out and stuff it with bits of Polyester fiber fill. Use something like the end of a wooden spoon to help push out the edges and push the stuffing into place. Use just small bits at a time.
Close the Opening
Use a needle and matching thread to close the opening. Use small stitches. I used red thread to close the opening on the handmade Christmas ornament, but a lighter color on the sewing machine stitching just so you could see it better.
Don’t worry if your heart isn’t perfectly shaped. It’s easy to get a little wonky if the stitching wavers anywhere, or your material slips. Remember it’s the thought that counts!! That’s what I’m telling my folks))
Gifting
I was with how they turned out))) They were not perfect, but neither are we! Handmade Christmas ornaments are just one way to help keep memories alive of those you love.
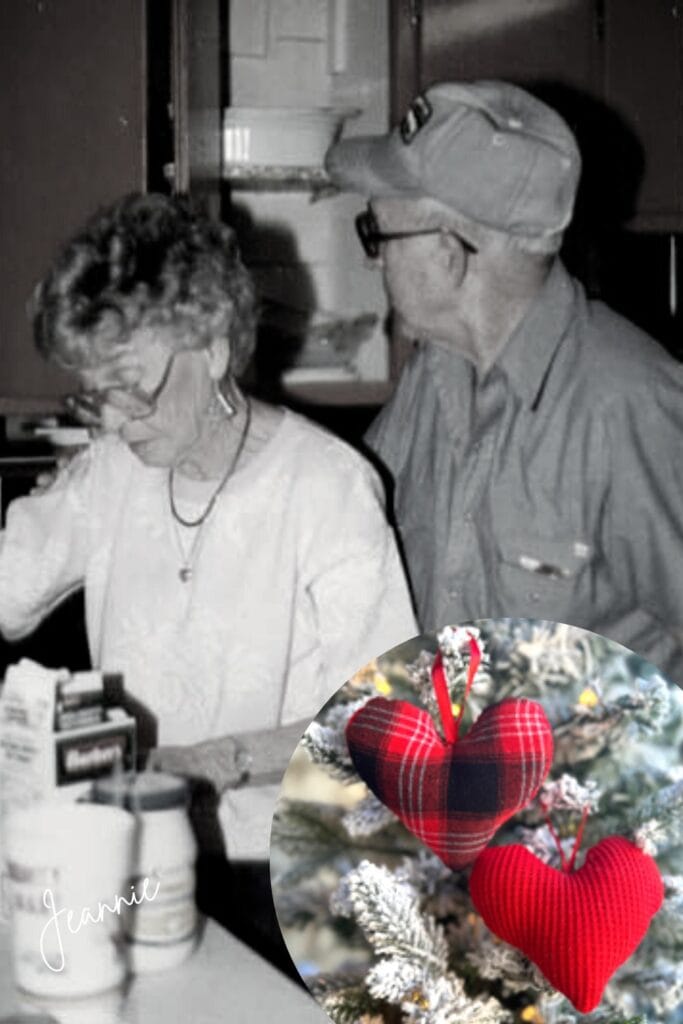
This picture was taken many years ago before my mother’s health got so bad, but it’s an image that was so typical of them. It’s how I like to remember them))
Mother was in the kitchen making something and Daddy looking to see what was going on. Judging by what was on the counter, mother was probably making hushpuppies and Daddy was probably getting ready to fry catfish outside)))
More from My Blog



I love the idea of making Christmas ornaments out of clothing from a deceased loved one. My husband passed away in October. I wish I had seen this early enough to do it this year. I will do it before next year. Thank you,
Thanks for following Juanita. You really could do it any time you wanted to give a gift, it wouldn’t have to be just as a Christmas ornament)) I had even toyed with the idea of making it a little sachet. I explored those new Downy pellets for a filler, but finally decided that was a project for another day)))
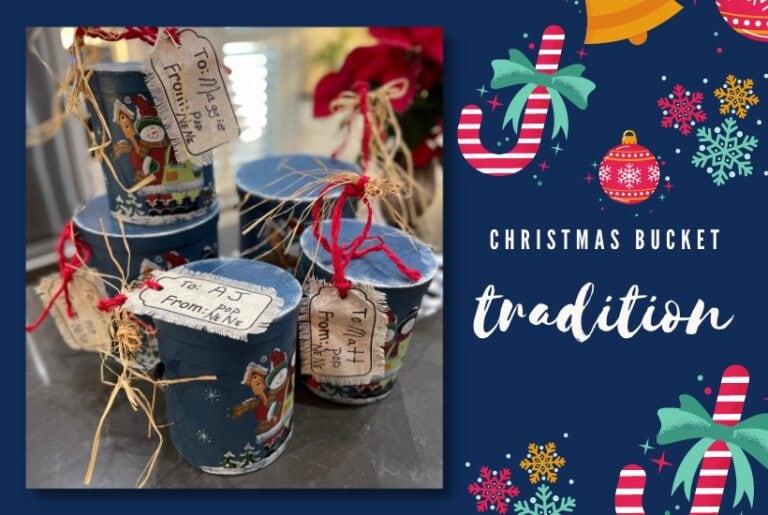
Hello Jeannie, I really want to read the “Christmas Bucket Tradition” but it wont open for me.
Thank you for all of your inspiring stories.
Thank you Kathy for visiting my blog, and thanks for letting me know the link wasn’t working! So sorry about that, I’ll check it out. In the meantime here’s the link to the post. I have a new image to add too)) https://www.jeanniepence.com/christmas-bucket-tradition/