Homemade Vegetable Beef Soup
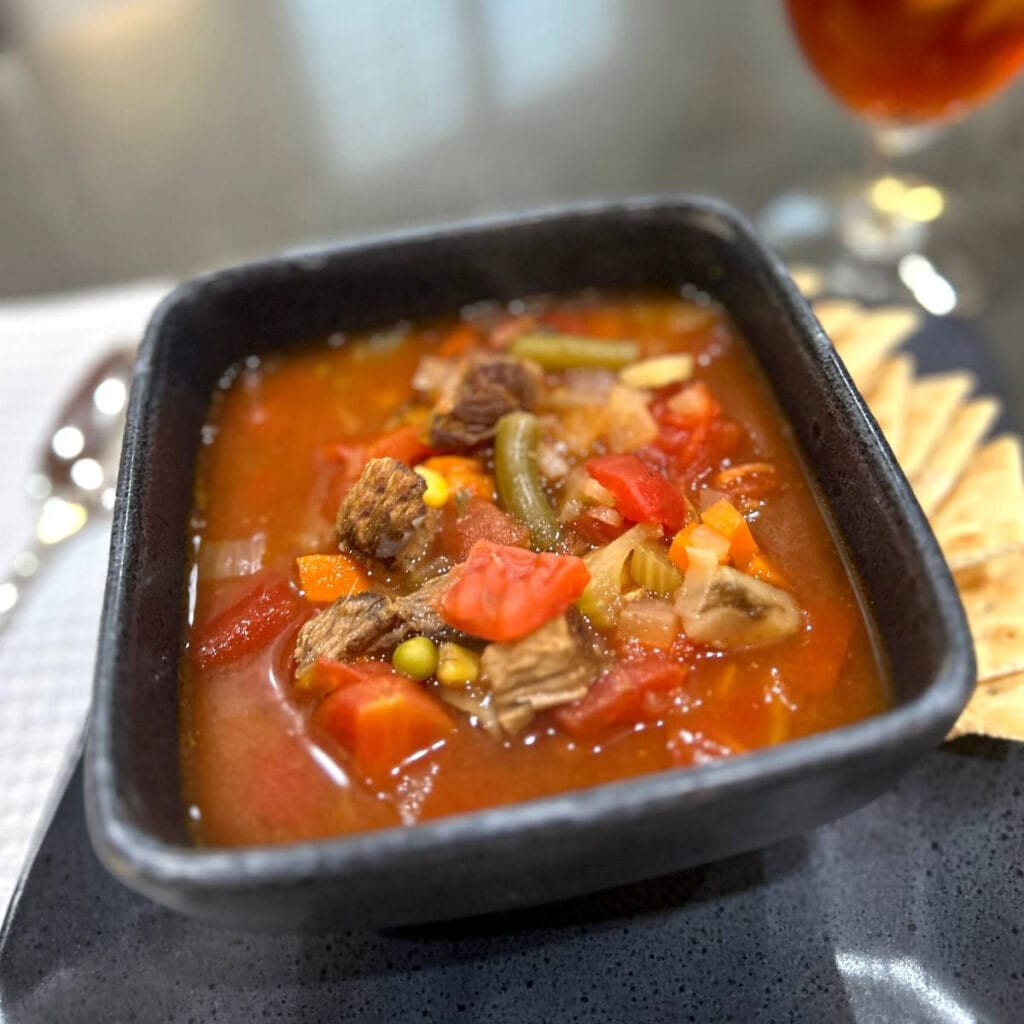
Vegetable Beef Soup Recipe
This vegetable beef soup is perfect for chilly, wet days. Those are the only kind of days we’re having lately! I think spring is skipping us! So cooking up a batch of soup was the perfect thing to do this week. One pot is enough for several people. Not sure exactly how many servings it provides but I promise, you’ll have more than enough for a couple of meals and you’ll probably just want to put some in the freezer.
What you’ll love about this recipe:
Ingredients
Just a few ingredients
Step 1
Brown the stew beef in a skillet with vegetable oil. Salt and pepper the beef. Cook until browned nicely and remove from heat. Drain any excess oil.
Depending on the size of the chunks of meat, you might want to chop it into smaller pieces. You can do this before or after it cooks. It will likely not be tender once it’s browned but will become tender when it simmers in the soup.
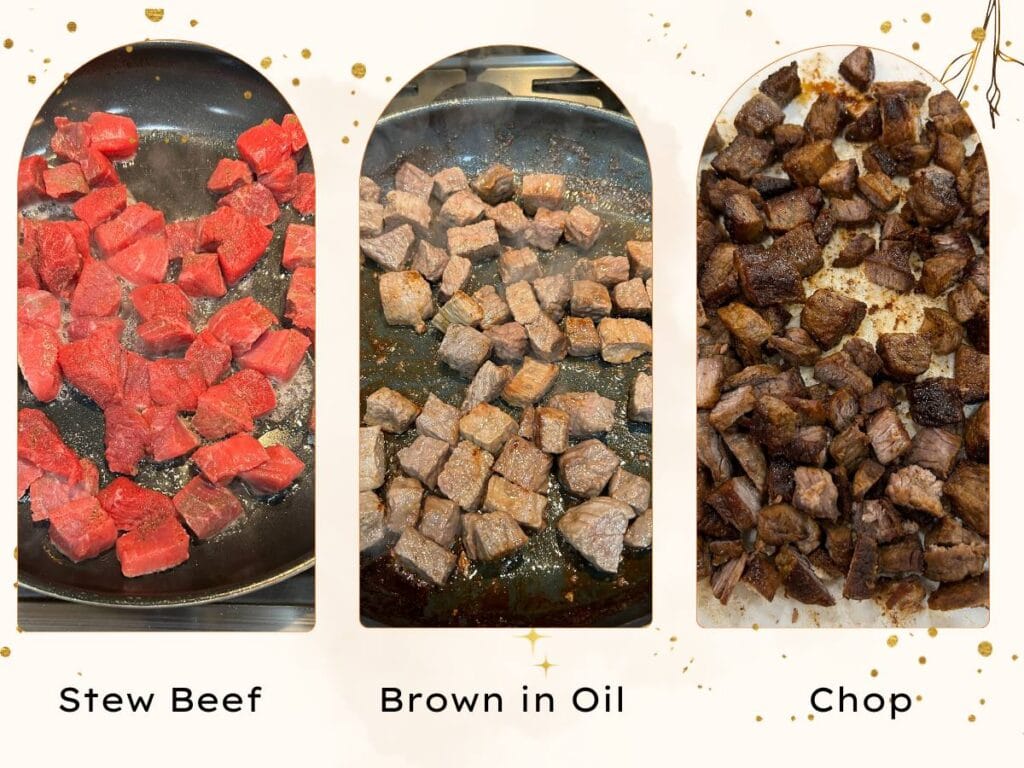
If you don’t have stew beef, you can always use ground chuck. Just don’t break it up into too many small pieces while it cooks and drain it well before you place it in the pot.
Step 2
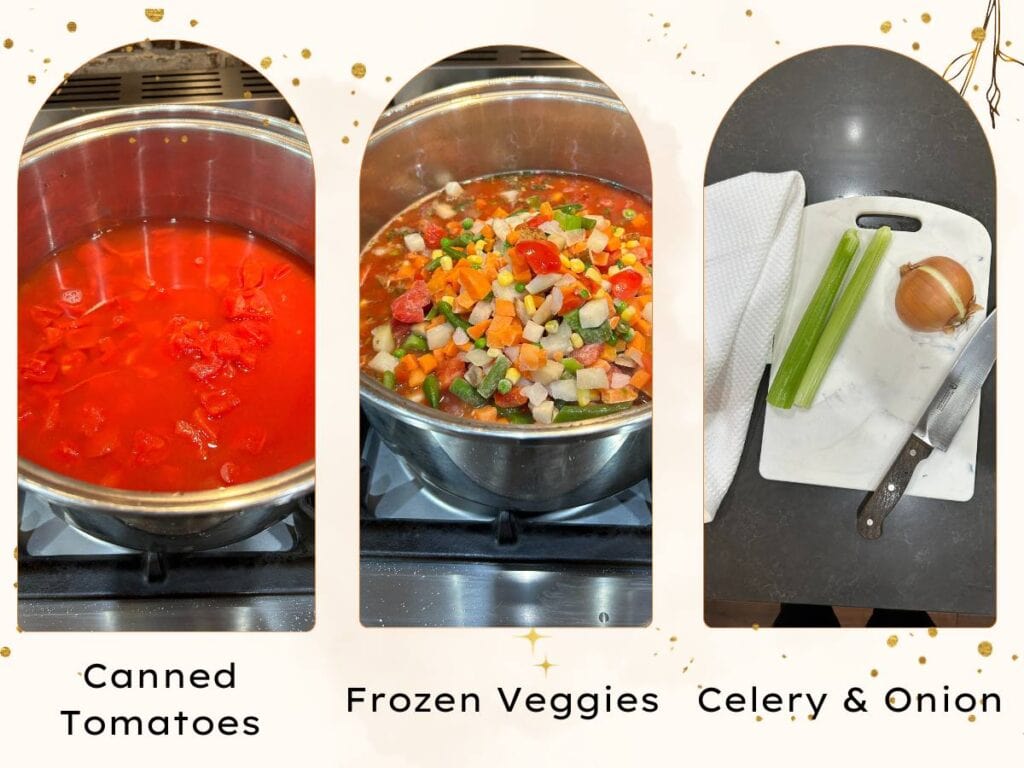
Pour the container of beef broth into a large pot. Add the four cans of tomatoes to the pot. Add the bag of frozen vegetables. I used the Pictsweet brand but any brand will do. And it doesn’t have to be exactly 28 oz. That was just the amount in the large bag I had. You can always make this soup in smaller amounts))
Chop the onion and add to the pot. I used about a half onion, but you could use more. Chop the celery and add to the pot. Again, I only used a couple of stalks, but you could use more, or even leave it out.
Add the browned stew meat to the pot and the package of Knorr Soup Mix. I think it’s actually called Knorr Vegetable Mix. It’s the package that you use to make the famous dip out of. This is an optional step, I don’t always use it, but I think it adds a little more flavor. You can always just use salt and pepper to taste.
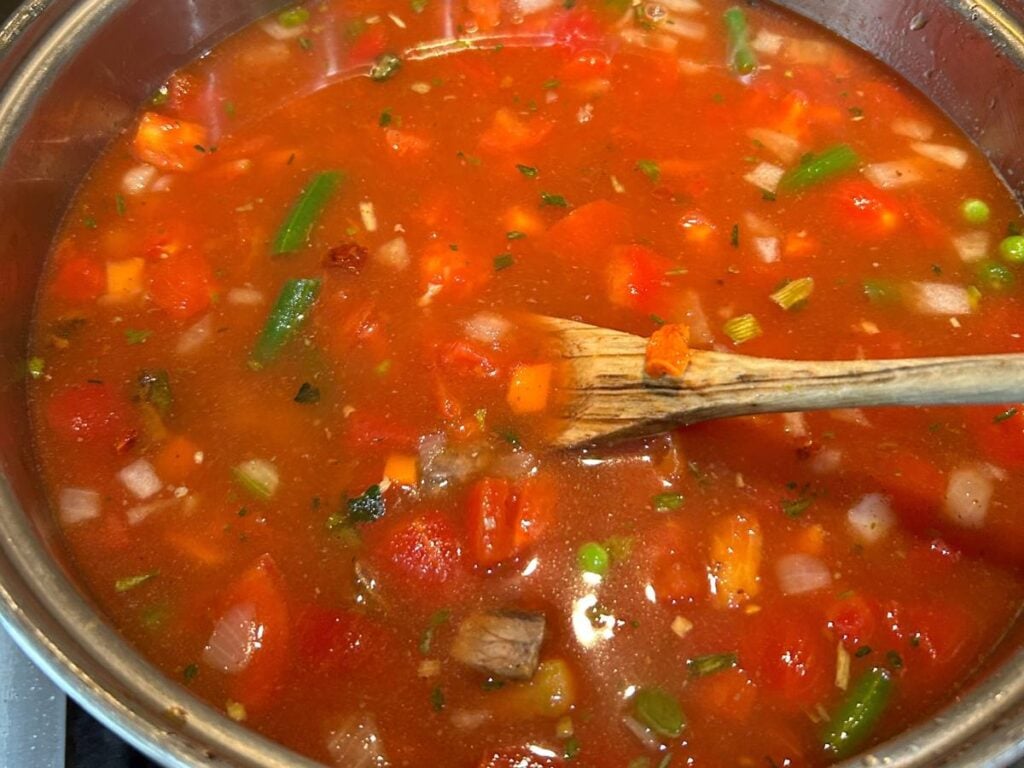
Add four cans of water. Bring to a boil, then turn down the heat to just simmer gently. Put a lid of the pot.
Step 3
Let the vegetable soup simmer for a while. There is no certain time for this recipe. It doesn’t take long for the frozen vegetables, onions, and celery to cook. But you want to simmer it until the beef can become tender. I probably simmered it for an hour at least.
Serve
Serve your vegetable beef soup with crackers or cornbread. Typically we always have cornbread with ours, but I failed to get an image the night I prepared it. So the image was made at lunch a few days later when we had it with crackers. No true southern lady would serve you vegetable soup without cornbread, but it was just a quick lunch))
I haven’t posted a recipe for plain cornbread, but I do have one for Kentucky Cornbread and it’s good with anything.
delicious!
Kentucky Cornbread
This year I pulled a recipe from a family notebook to go with blackeyed peas called Kentucky Cornbread. A brother-in-law introduced it to our family several years ago. It’s really easy to make and great with tomato soup or chili.
Confession
I’ll have to admit that I probably don’t make vegetable beef soup the same way each time! It’s one of those recipes that after you have made it a few times, you don’t need a recipe. And, you use whatever is handy for the soup.
Options
- You can make it without the beef broth, but you do need tomatoes.
- Sometimes I use seasoned canned tomatoes or maybe just one can and the rest plain.
- Use fresh veggies instead of canned ones.
- Sometimes we may have it with just tomatoes, potatoes, and onions.
- Season to taste. I usually have to add extra salt and pepper at the table because I use more than my hubby. Remember that you will get some salt with the beef broth, so do a little tasting along the way.
Another option is to use leftovers. I’m not good at this because I usually throw away anything that is not enough for at least one serving at another meal. But I have a friend who keeps a plastic container in her freezer, just for those tiny leftover bits. She will keep corn, peas, lima beans, etc, and just keep adding to that container. When it’s full or close to full, she makes vegetable soup. She doesn’t waste a thing! I should strive to be more like her)))
Soup and a sandwich makes such a good combination. Here’s my recipe for a Masters style pimento cheese sandwich spread.
yummy!
Masters Style Pimento Cheese
The Masters style pimento cheese spread to me is sharper, has more of a bite to it, and has more texture than the creamy Velveeta spread that I make. We really like both, but sometimes the hubby asks for what he calls the “smooth” kind. It’s made with melted Velveeta and has just a smidge of sugar in it.
Growing up on vegetable soup
When I was growing up, we only had vegetable soup without any kind of meat in it. In the summertime, or when the “garden came in,” it would be time to make vegetable soup that would be canned in Mason jars and placed in the pantry for cold winter days.
It was a chore! We would peel and chop tomatoes, cut corn off the cob, shell peas and butterbeans, and pull onions and carrots up out of the ground and chop them. Sometimes my mom would add okra but not always, and sometimes green beans.
Everything was mixed in a galvanized tub. I mean a big tub! A tub the size that two kids could take a bath in! Yep, occasionally we bathed in a galvanized tub at my Aunt’s house anyway. I did grow up with a bathtub in the house. My parents built a house the year I was born so I never lived in “the old house” that didn’t have a bathtub or a bathroom!
The Garden
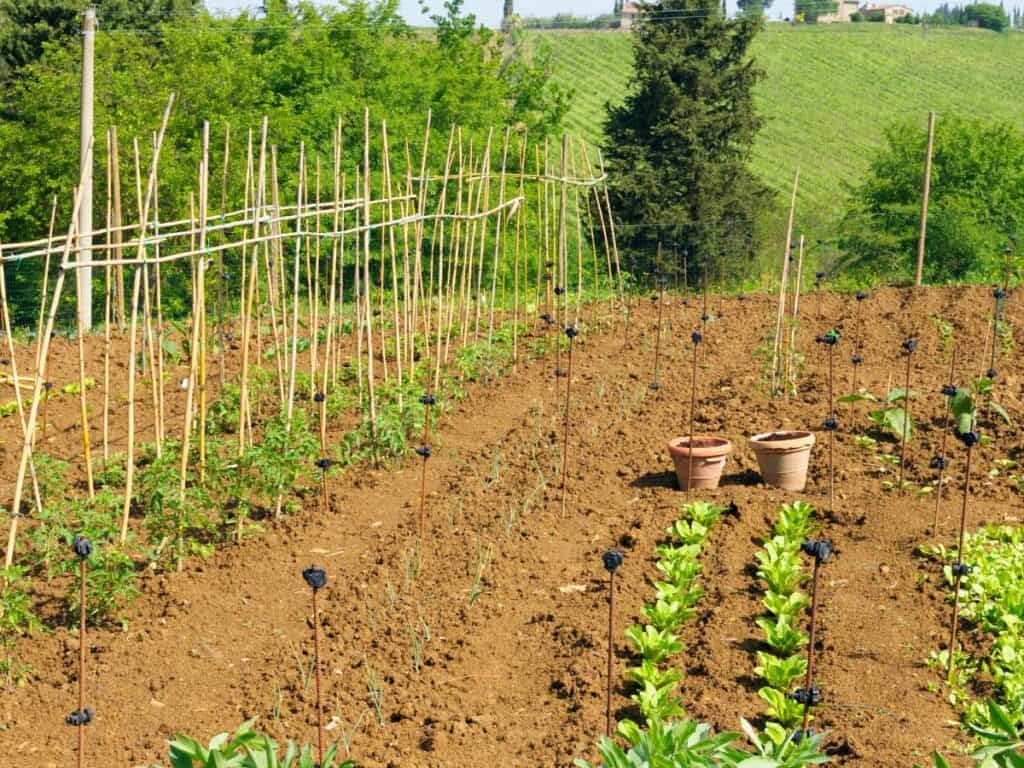
The image is not the family garden, it is just one that resembled the gardens I grew up with. We didn’t have an irrigation system or anything. There are no pictures of our garden. If it rained or if it didn’t, there wasn’t anything you could do about it. I can remember occasions when it stormed and recently planted seeds or plants were washed away and had to be replanted.
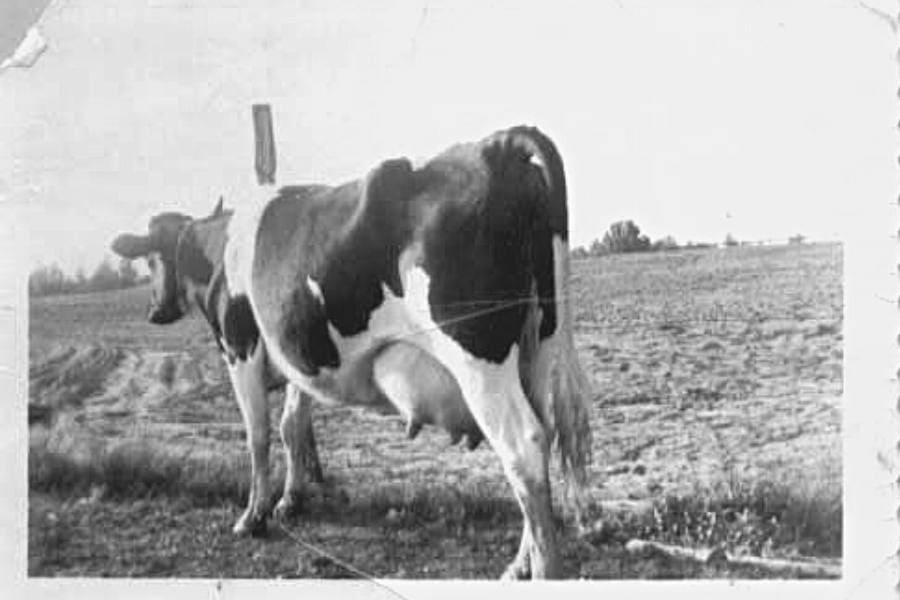
Back in the day, people never thought they needed images of the garden, dairy barn, or cotton fields…lol Film was reserved for Sunday clothes or very special events. Apparently sometimes getting a pic of a favorite dairy cow was different.
Mother would fill quart and pint Mason jars with the vegetable soup mix. Then she would place a flat on each jar, and screw a ring on the top, but not too tightly. Then she would put the jars in the pressure cooker. There were boiling water bath “canners” that were just big pots with lids and pressure cookers that had to be sealed, had gauges, and pressure release valves.
Pressure cookers for canning were much like the Insta-Pot of today, just much larger heavier, and not electric. Some vegetables could be safely prepared in a water bath canner and others had to be canned in a pressure cooker. The pressure cooker was made of heavy iron.
The Pressure Cooker
The pressure cooker was a frightening thing to me. It had a jiggler on top that steam would spew out of and if the temperature or pressure got too high the jiggler wouldn’t stop jiggling! Mother would adjust the temperature and once the time was up, she would release the pressure from the cooker and the steam would spew out. Steam is hot!
She would make us get out of the way and remove the blazing hot jars from the pressure cooker. Jars could break if you were not careful, or if you took the risk of canning something in a leftover mayonnaise jar instead of a Mason canning jar.
She would remove the jars, set them on the counter and tighten the ring around the top. As the jars of vegetable soup began to cool off, you would hear a pop, pop, pop that let you know that the jars were sealing.
The next day or so, we removed the rings from the jars and placed the vegetable soup on a shelf in the pantry. The “rings” were always scarce and had to be reused for the next batch of canned vegetables. “Flats” were not reused and a new one was used on each jar.
Canning vegetable soup was hard work but it sure was nice when all you had to do was go to the pantry, grab and jar, heat it up, and make a pan of cornbread))
Grace
I hope you will give me some grace when I blog about a recipe. I’m not a food blogger and I do try to write accurately, but I make mistakes for sure! My posts are always checked for errors but occasionally I may call a word wrong so if I write or say something that doesn’t sound clear to you, please call me out on it! I had rather answer a question than have you try something that doesn’t make sense!
Thank you for visiting my blog, I do appreciate it so much))
Vegetable Beef Soup
Equipment
- Stock Pot Any 8 qt stock pot will do or deep dutch oven
Ingredients
- 1 ½ lb stew beef
- 32 oz beef broth
- 4 can diced tomatoes 14.5 oz cans
- 4 can water
- 1 pkg Knorr Soup Mix and Recipe Mix Vegetable
- 28 oz frozen soup vegetables
- ½ onion or more if desired
- 2 stalk celery or more if desired
- 2 T vegetable oil
- salt to taste
- pepper to taste
Instructions
- Add 2 T vegetable oil to a skillet and brown 1 1/2 pound of stew meat. Chop it into smaller pieces before or after it's cooked. It will not be tender with just browning, but should become tender during the simmering. Add 32 oz of beef broth to a stock pot or deep dutch oven. Add 4 14.5 oz cans of diced tomatoes. Add 28 oz of frozen soup vegetables. Add chopped onion and celery. Add the browned stew beef and four tomato cans of water. Bring it to a boil then turn heat down and simmer for at least an hour. Longer if the meat is not tender. Season with salt and pepper to taste.Serve with cornbread or crackers.

MS jennie I’m going to try out your soup because it looks so yummy 😋and good.
Thanks for visiting my blog Mary, I appreciate it))
This looks so yummy! My husband will love it because it’s vegetable soup with meat. He just cannot do just vegetables ☺️
Hi Katie, he sounds a lot like mine! We’re older now and but for years “soup” was never a meal for him…lol. He’s more receptive now and the vegetable beef soup fills him up)))