Chalk, Ruler, Bow: Easy Wreath Bow Trick

Here’s an easy wreath bow trick using chalk and a ruler. Sometimes getting the loops even on a bow is the hardest thing to do! All you need is ribbon, scissors, a ruler, chalk, and a chenille stem or floral wire.
Ribbon
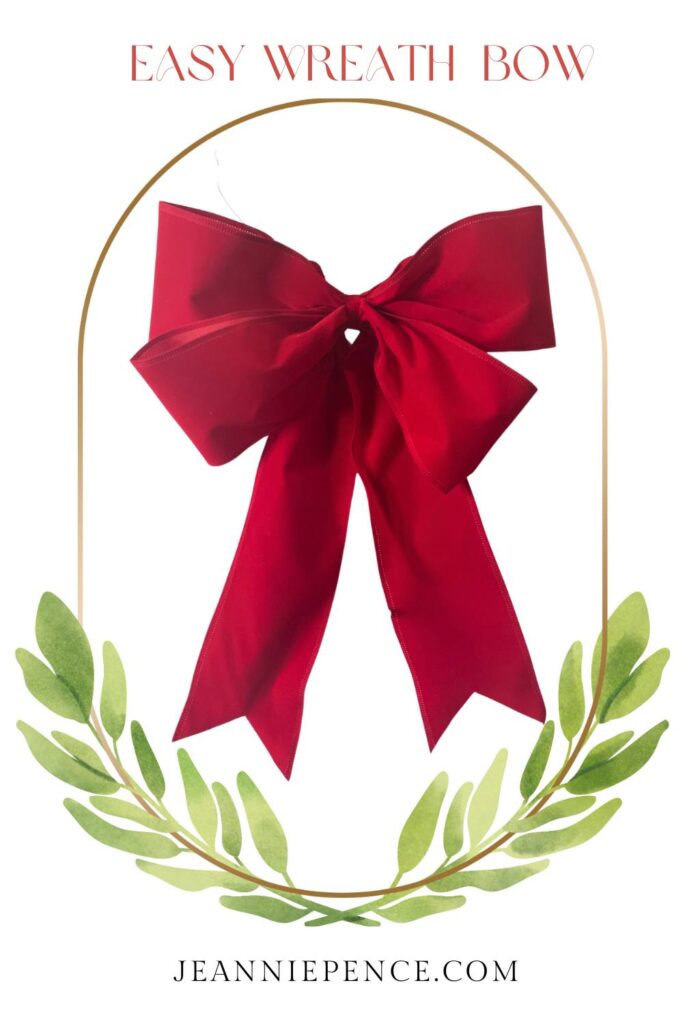
Decide on the size bow you need. The bow above is 12″ in width with 16″ tails. The same technique can be applied to any size bow.
Any width of ribbon will work, but typically you will want 2.5″ or 4″ ribbon for a wreath bow. You can use 6″ also depending on the size of your wreath.
Use wired ribbon, it’s much easier to work with, especially for beginners. Heck, even those of us who have been making bows for years mostly use only wired ribbon! It’s very forgiving, and you can manipulate the bow after you’re done to make it look just right.
I made new wreath bows for my Christmas outside wreaths five years ago….and finally when we put them up this year they needed new bows. And that was only because they had faded a little. Use an outdoor velvet ribbon for the best results for red Christmas Bows. Or burgundy or whatever color you choose.
Now, I use regular wired ribbon all the time for wreath-making, but for something like red velvet bows that I want to last for a few years….go with ribbon that is labeled outdoor use. Of course, if you can’t find outdoor ribbon, go with what you have. We all do that don’t we))
If you need ribbon, check out Trendy Tree! Hundreds and hundreds of styles to choose from))
Join my mailing list and get 20% off your next order at Trendy Tree!
Watch the Video
This video was made as a tutorial for Trendy Tree a few years ago.
Chalk and a Ruler

As they say six of one; half dozen of another. There are many ways to make bows and I vary mine all the time. But this technique will give you nice even loops which is usually the hardest part.
How to Make a Wreath Bow
- Measure and mark 16″ from the end of the ribbon on the back side with chalk.
- Place another mark at 12″ for one loop; then 3 more 12″ marks for a total of 4 loops.
- Measure 16″ from the last mark and cut the ribbon.
- Start at your first 16″ mark and pinch the ribbon holding between your thumb and first finger
- Make a loop from the top using that first 12″ mark, pinch, and make a 6″ loop
- Bring up the ribbon from the bottom at the next 12″ mark, and make another 6″ loop
- Make two more loops in the same manner.
- Keep the right side of the ribbon up and after the last loop, twist the tail so the right side of the ribbon will be hanging correctly.
- Place a chenille stem over the top of the bow where you have been holding it and bring it to the back, twist tightly to secure it well.
- Shape your bow.
- Dove-tail the ends of your tails or cut at an angle whichever you prefer.
Tips:
Use straight pins if you don’t have chalk.
Use floral wire or chenille stems.
If you wish to cover up the chenille stem or floral wire, flold a small piece of ribbon over the stem/wire and just tie it in the back and trim the ends.
If using a ribbon that has a pretty backing, allow extra inches for tail length and roll-up ends to show off the backing.