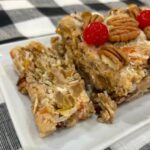
My Mother’s Icebox Fruitcake
Fruitcake…My Mother’s Recipe

This is my mother’s recipe for an icebox fruitcake and we love it))) It’s also called a no-bake fruitcake. The ingredients are simple and it’s really easy to make. It will keep in the refrigerator for weeks.
Ingredients
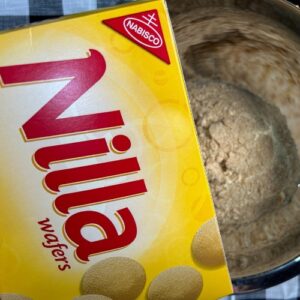
- 1 lb of Vanilla Wafers: Use good vanilla wafers of course and crush them up fine, or run them through a food processor or chopper. I bought boxes of Nilla Vanilla Wafers and just sort of guessed as to how many a pound would be. I used about a box and a half.
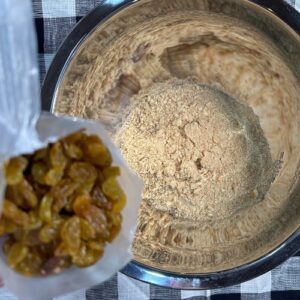
- 1 Box of Raisins: Sometimes recipes from 30, 40, or 50 years ago may not be the same equivalent as today. I think boxes of raisins used to be about a pound box, but I went with a 12 oz box and it seemed to work. Carrie isn’t a big fan of raisins in a fruitcake, so I used golden raisins and hope she won’t notice.😏
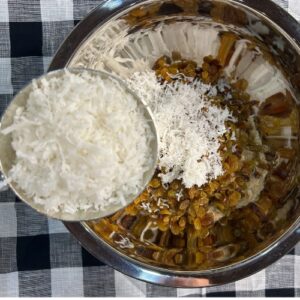
- 2 Cups of Flaked Coconut: Not fresh or frozen. Just use the coconut out of a bag or a can. Do they still sell it in a can? I don’t know!
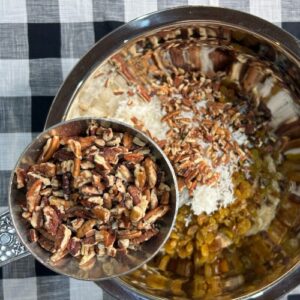
- 2 Cups of Chopped Pecans: Use pecan pieces or chop up some halves. Save a few halves intact if you want to decorate the top.
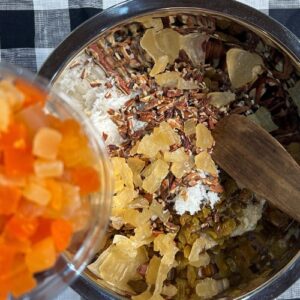
- 2 Cups of Candied Fruit: I used candied pineapple and mixed candied fruit. You can get green or red candied cherries too. They were out of red candied cherries when I shopped and I stay away from the green. My grandmother swore by them though. And there is this candied stuff called citron….another one I don’t use.
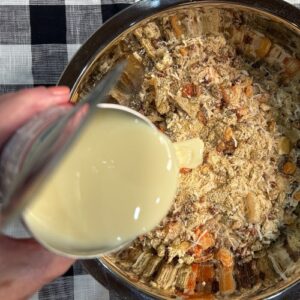
- 1 Can Sweetened Condensed Milk: Again, years ago a can may have been more than 14 oz, I just don’t know. But if the mixture seems a little dry you can always add a bit more of sweetened condensed milk, evaporated milk, marshmallow creme, or even a bit of cherry juice. But the cherry juice will give it a pinkish color that you might. not prefer.
- Maraschino Cherries: Optional, use to decorate if you wish.
Putting it Together
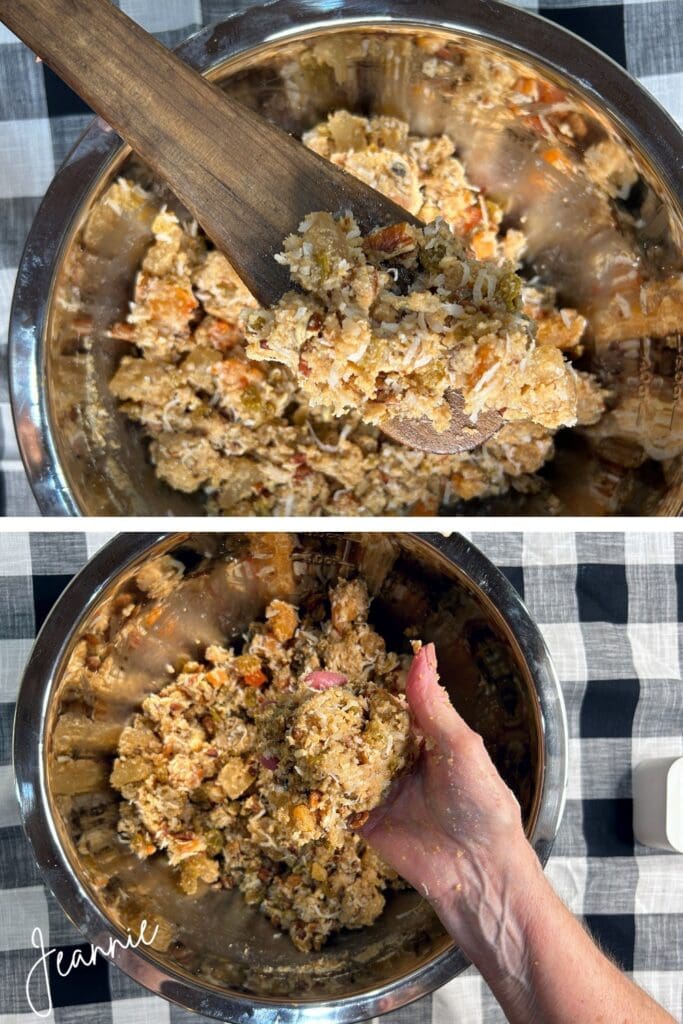
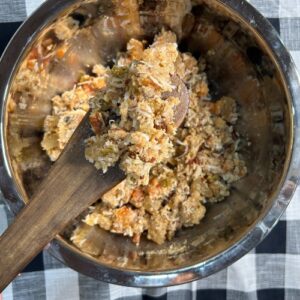
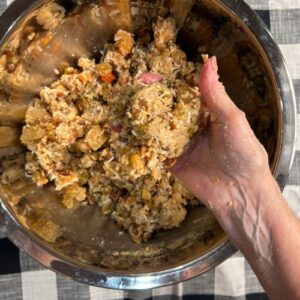
Stir the icebox fruitcake mixture with a big wooden spoon. Soon you will figure out you just have to get in there with your hands and mix it up)))
The wooden spoon or paddle you see in the image belonged to my grandmother. She used it when making butter. I can barely remember the butter making, I think I was too small to take a turn at the churn. But at some point, she would have enough butterfat off the dasher to move on a dish. She would keep patting away at it until it was solid and formed a nice round thing of butter. When I was a child I preferred margarine to butter….. little did I know how much better butter was.
Make sure all the vanilla wafer crumbs are well-covered. The mixture should hold its shape when you compress it.
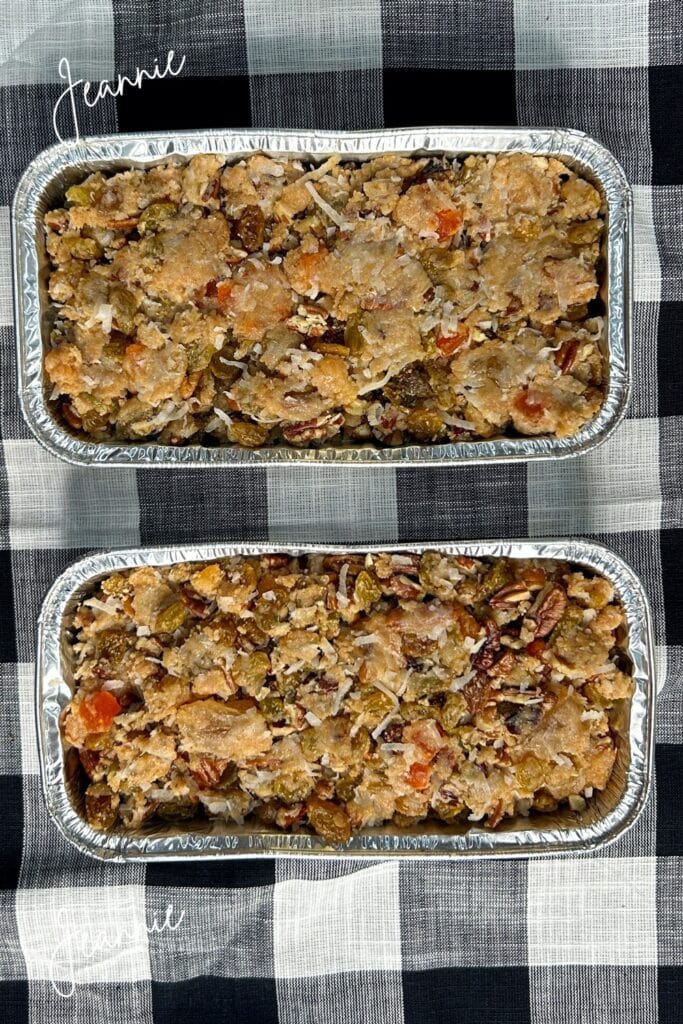
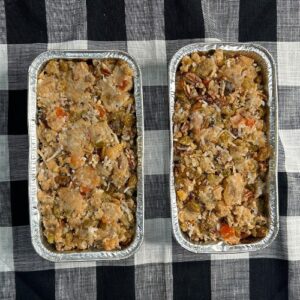
Place the mixture into prepared foil pans or a tube pan. I sprayed the pans with cooking spray first. The number of pans you will have depends on the size of course. I was able to fill two foil pans.
I’ve seen my mother make this same recipe using crushed graham crackers instead of vanilla wafers. She would press the cake back into the graham cracker box after she had lined it with wax paper. And sometimes she would use marshmallow creme or melted marshmallows instead of sweetened condensed milk. So there is a lot of flexibility with this recipe.
Whatever kind of pan(s) you use, press the mixture firmly into the pan.
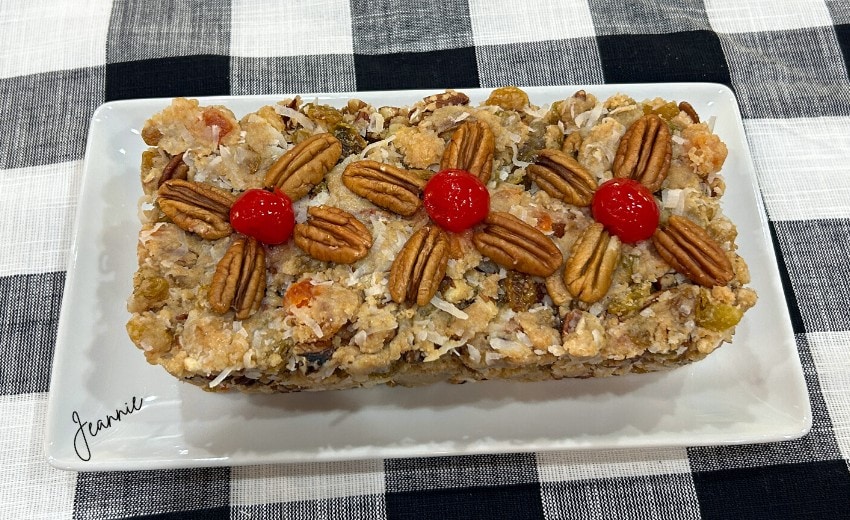
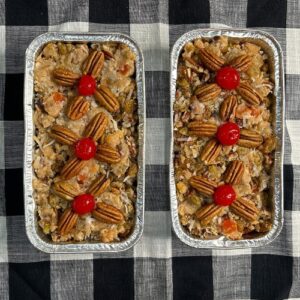
Decorate the top of the icebox fruitcake with maraschino cherries and pecan halves if you wish. It is much more appealing with the decoration though isn’t it)))
Storage
Wrap the icebox fruitcake well with plastic wrap and tin foil. Store in the refrigerator for at least 12 hours before serving.
As luck would have it, Carrie came in about an hour after I had put the fruitcakes in the refrigerator. We couldn’t wait to try it of course, so I went ahead and cut one of the fruitcakes.
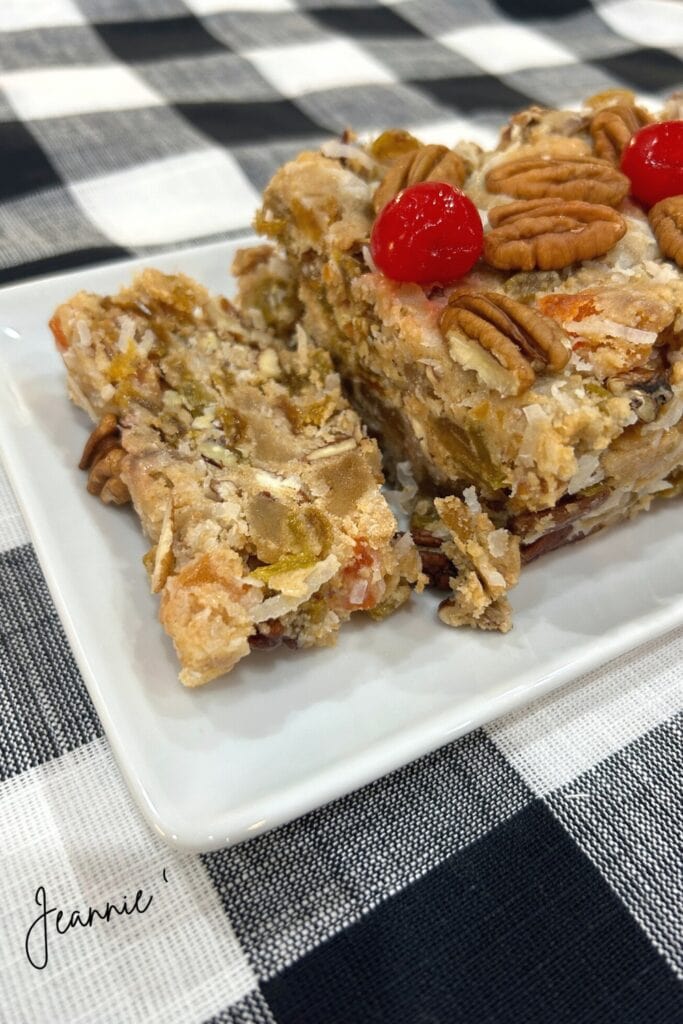
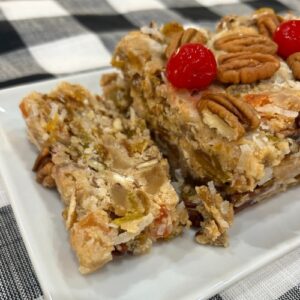
We took one slice and tasted it. Yum! Then I carefully wrapped it back up and put it back in the frig for a family dinner this weekend. It will slice cleaner once it’s been in the frig for a while. You may want to wet the knife when you slice it too.
Slice it up into small pieces, it doesn’t take but a couple of bites of this cake to get your fill! And you don’t want any of it to go to waste! Store the cake in the refrigerator.
My mom has been gone now for over twenty years, but I think she would be proud that I am still digging around into her cookbooks and recipes to try to cook like her. She was a great cook.
Icebox No-Bake Fruitcake
Equipment
- 2 Tin Foil Pans or
- 1 Tube Pan
Ingredients
- 1 lb Vanilla Wafers
- 12 oz Raisins
- 2 cup Flaked Coconut
- 2 cup Chopped Pecans
- 2 cup Candied Fruit
- 14 oz Sweetened Condensed Milk
- Maraschino Cherries Optional
Instructions
- Crush 1 lb. vanilla wafers ( run through food processor or chopper)
- Add 1 box (12 oz) raisins. You can use golden or regular raisins.
- Add 2 cups flaked coconut (use coconut from a bag or can, not freshly grated coconut)
- Chop 2 cups of pecans and add. Reserve a few halves if desired for decoration.
- Add 1 cup of candied fruit – I used pineapple.
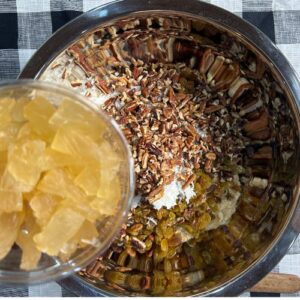
- Add 1 more cup of candied fruit. I used 8 oz of mixed candied fruit. You can use red or green candied cherries also.
- Pour sweetened condensed milk over ingredients.
- Mix ingredients well. Make sure all the vanilla wafer crumbs and incorporated well.
- Mixture should hold together when compressed. You may have to mix it with your hands. If mixture seems too dry or crumbly, add a little more sweetened condensed milk or a little marshmallow creme.
- Pack into tin foil pans or tube pan, pressing firmly.
- Decorate top if desired.
- Cover tightly with plastic wrap and/or tin foil and refrigerate 12 hours before serving. Store in regrigerator tightly covered.
Video
Notes
Nutrition


