Cherry Cream Cheese Pie
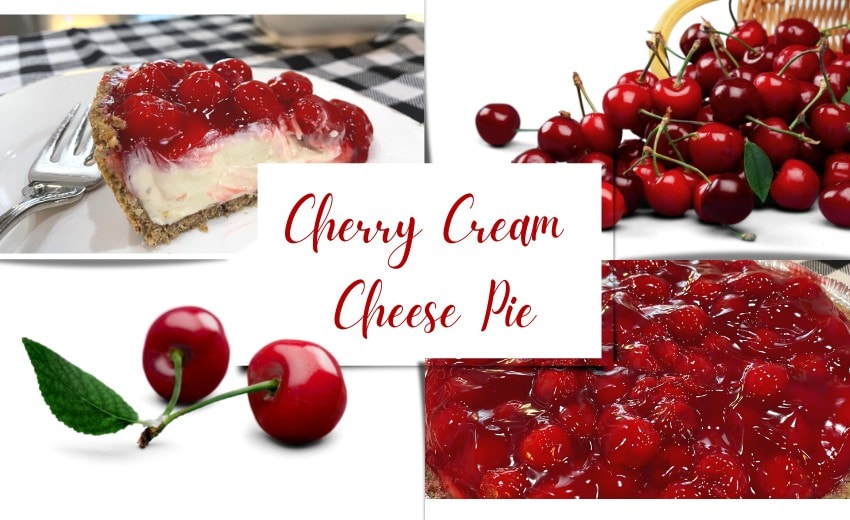
A cherry cream cheese pie is one of those desserts that’s as easy as it is eye-catching! The bright red cherry topping and creamy filling make it such a cheerful, colorful addition to any table — and it turns out perfect every single time.
This pie comes together with just a few simple ingredients and can be chilling in the fridge by the time you’ve stirred it up. The hardest part? Remembering to set out the cream cheese to soften! If you’re like me, when the craving hits, you’re ready to make it right then and there.
Cherry Cream Cheese Pie
Ingredients
- 1 prepared pie Crust – graham cracker or pecan
- 8 oz cream cheese
- 14 oz can sweetened condensed milk
- 1/3 c lemon juice – fresh or bottled
- 1 tsp vanilla flavoring
- 1 20-21 oz can cherry pie filling
Directions
- Allow cream cheese to soften a room temperature. If you absolutely cannot wait, microwave at 10-second intervals. Be sure not to overdo it!
- Cream softened cream cheese, sweetened condensed milk, and vanilla flavoring until smooth. Blend by hand or electric mixer. If cream cheese isn’t softened enough, it will have small lumps.
- Add lemon juice. Can be fresh or bottled.
- Pour into crust.
- Spoon cherry pie filling on top.
- Refrigerate for at least an hour. Better yet, all night.
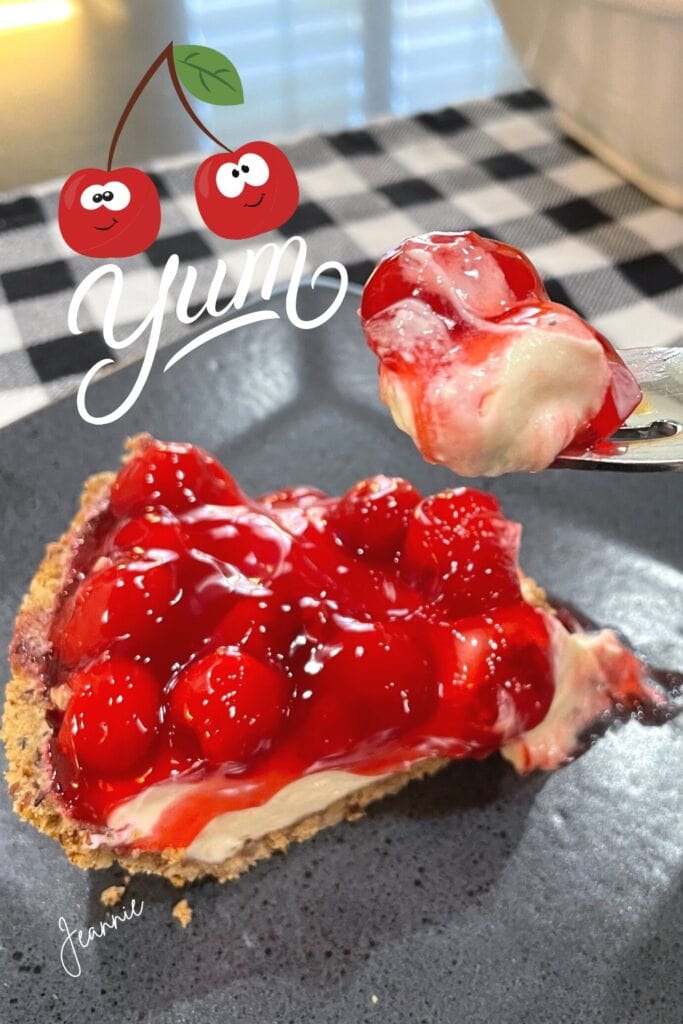
Didn’t I say a cherry cream cheese pie would be easy? It is, and it tastes good and looks good too! Your family will be impressed! It’s a great pie for a beginner cook or an old hand like me.
Crust
I used a pecan crust for my cherry cream cheese pie because we’re always trying to cut back on carbs — emphasis on trying! 😄 Every little bit helps, right?
The pie filling I used was no sugar added, and honestly, I couldn’t tell the difference between it and the regular kind. I used the Walmart brand, but Lucky Leaf makes a great one too.
The sweetened condensed milk was also Walmart’s store brand. I’ve never noticed any difference in taste compared to Eagle Brand, and it saves a few cents — which means more to spend on extra cherries! 🍒
Stay tuned for more! And thank you for visiting my blog! Don’t forget to subscribe.
More from My Blog
Baked Apples with Bacon & Cheese