DIY Eucalyptus Wreath with Beautiful Blooms
3/31/25 Update
You might remember this DIY Eucalyptus Wreath tutorial from a couple of years ago—but I just had to bring it back around. It’s still one of my all-time favorites! While it’s currently off my front door, it won’t stay tucked away for long. I’m already thinking about a few little tweaks before it makes a fresh appearance this season. The colors are exactly what I love in a wreath—soft, natural, and full of charm. So if you missed it the first time, or just need a little inspiration to refresh your own decor, here it is again—definitely worth a second look!
Bargain Eucalyptus Wreath
Remember a few days ago when I showed you my $6 bargain eucalyptus wreath?
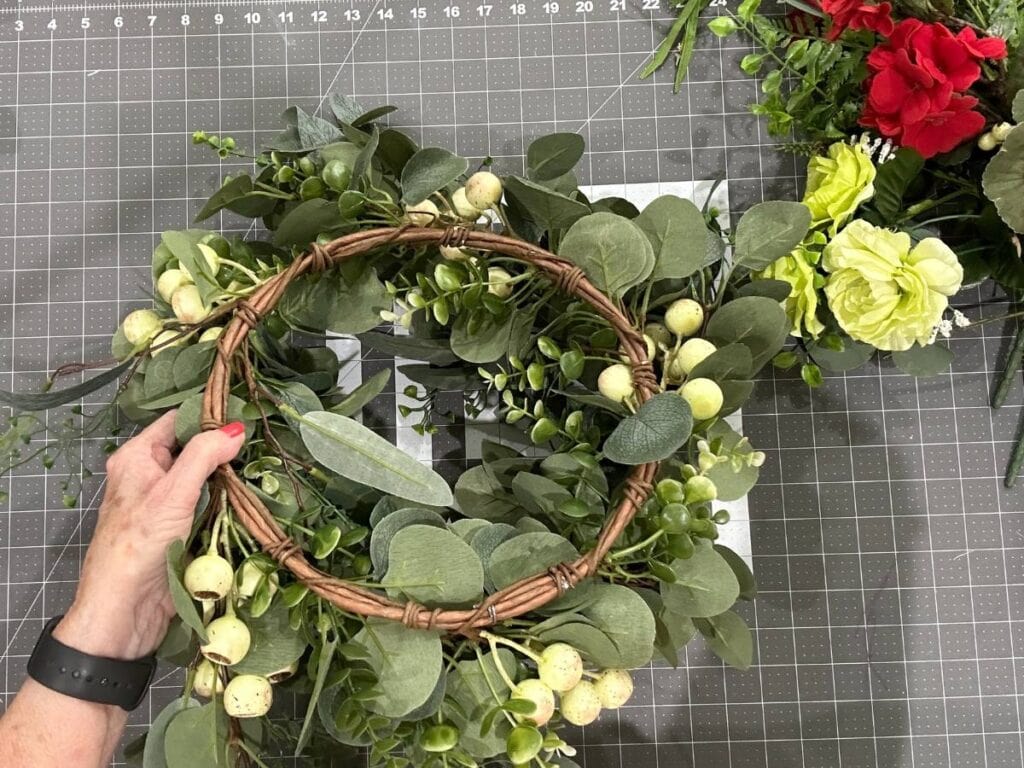
Well look at it now)) All it needed was a little love and some pretty spring and summer blooms to turn it into a showstopper wreath. You can watch the tutorial below.
Do you love eucalyptus…anything? Me too! Here’s a link to a eucalyptus garland that I made for my office last year by adding some pretty sunflowers to it.
Eucalyptus Garland with Sunflowers
Supplies
The eucalyptus wreath came from a bargain place, but Trendy Tree has something similar if you are interested in creating a wreath for your front door similar to the one above. Or you could just start fresh with a plain grapevine wreath and add in some eucalyptus pieces.
Wreath
62866 Mixed Eucalyptus Berry Wreath (If I purchased this wreath, I would just use it and add in some blooms.)
7618-1 18″ Natural Grapevine
Blooms & Greenery
Ribbon
Tools
MT1069 Straight Head Cutter
8″ Electric Skillet from Amazon
Gorilla Glue Sticks from Amazon
Join my mailing list and get 20% off your next order at Trendy Tree!
Step 1
The eucalyptus pieces had been attached individually and were easy to remove. My first thought was to just place the eucalyptus wreath on top of the grapevine, but it was too small so I had to remove the pieces and reattach with hot glue.
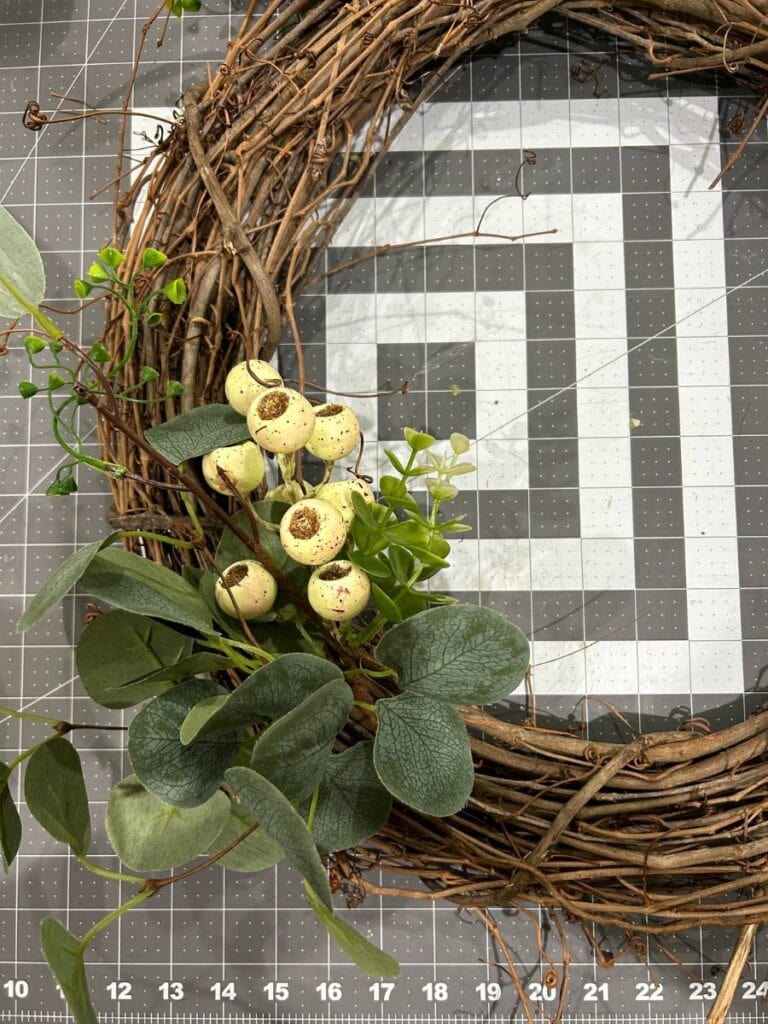
I like to mark four quadrants on a grapevine frame to help keep things even as I add in the greenery and flowers. But you don’t have to do this, it just helps me))) The eucalyptus pieces and the boxwood greenery from two bushes went on first.
Step 2
Next, I added the blooms starting with the largest and then filling in with the smaller ones. It is helpful to hang the wreath on a workboard or door to keep up with how things are going. After you have all your pieces hot glued in, give the wreath a shake to make sure the pieces are attached well.

Step 3
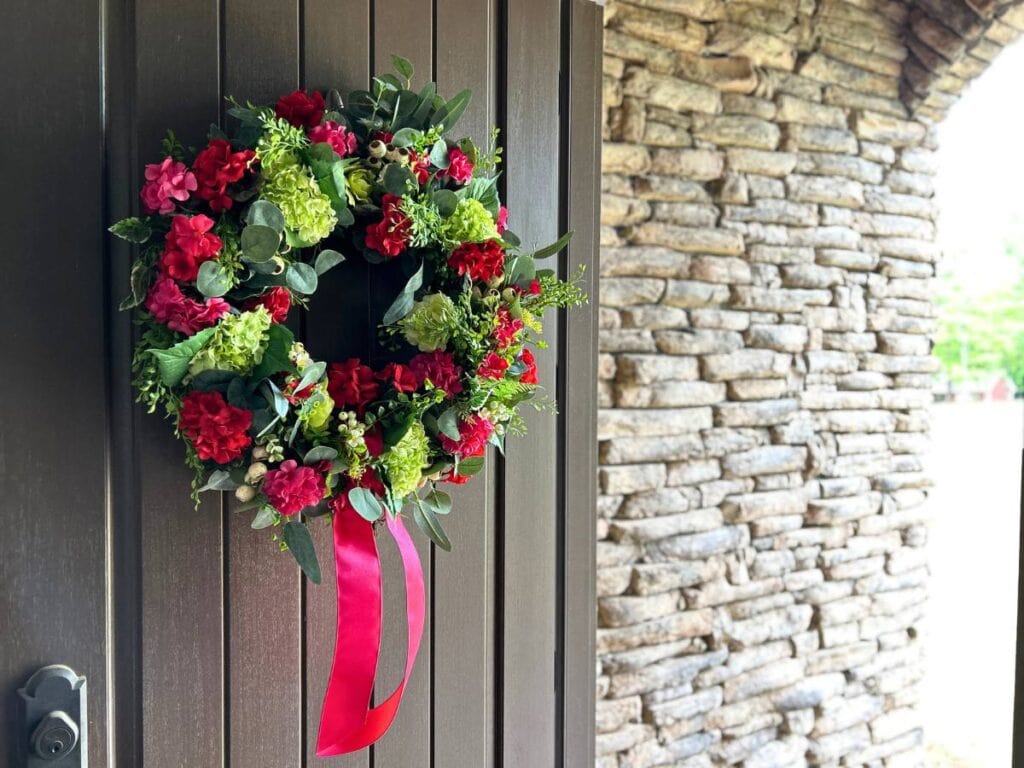
I was undecided about a bow for this wreath and really didn’t think it needed one, but I did want a little bit of ribbon. Just tie the ribbon around the wreath in a loose knot and let the tails hang down. This would be optional of course. You could leave it plain or add a bow, either way))

Finished Project
I love how the eucalyptus wreath turned out! Who would have ever thought it started with a $6 wreath))
It will work on my front door until fall if I decide to leave it that long))) If you have followed me, you know that I don’t usually like to use hot glue in my projects so I can take them apart and reuse them another time. But this one called for hot glue. It’s possible to attach pieces by using zip ties or floral wire, but it’s very time-consuming – both to place and to remove!
So when it is time to take this wreath off my door, I’ll just store it away and pull it out again next year….maybe add in some more blooms. Maybe something white next time, and change to a fresh new ribbon))
More from my blog
memorial day soon
Patriotic Lantern Bow Tutorial
Memorial Day will be here soon and I thought for this year I would just do a very simple patriotic decoration like a lantern bow for the living room. .