Homemade Wreath Easel: Not Fancy, But Super Useful

This project started with an idea—and a little help from my brother! I loaded up my supplies and headed to his shop, where I shared my vision: two 72″ shelving boards from Lowe’s, hinged at the top with a hook on the front to hold a wreath. He took it from there! With just a few tweaks and his knack for figuring things out, he turned my idea into a free-standing, foldable wreath easel that’s perfect for working on large grapevine wreaths. It folds flat for upright storage, and he even added a brace to keep the legs from spreading too far.
I’m sure he could’ve come up with something altogether better than my board idea—but I was in Lowe’s, and well… you know how it is. The wheels start turning and suddenly you’re in the project aisle with a plan! Brothers do come in handy, don’t they? Especially when they have a machine shop stocked with every tool known to man. 😉
Just an Idea, Not a Full Tutorial
This post isn’t meant to be a step-by-step guide or a supply list with exact measurements, nuts, and bolts. It’s more of a “here’s what worked for us” kind of idea. Think of it as a bit of inspiration—something to spark your own version of a homemade wreath easel. Everyone’s space, tools, and crafting style are different, so take what you like and make it work for you. The goal here? Just to make wreath crafting a little easier (and maybe a little more fun).
Supplies
To build my wreath easel, I started with two laminated shelving boards from Lowe’s—there were plenty of options to choose from. I also picked up a large hook that was wide enough to hold a standard grapevine wreath. The only tricky part? Figuring out the right hinges. I tried a few on my own, but couldn’t get the easel to fold and spread the way I imagined. Thankfully, a helpful Lowe’s employee showed me how to place the hinges between the boards instead of on top. That simple switch made all the difference!
How We Put the Wreath Easel Together
Want to see how it all came together? This short video shows the basic steps we followed to build the wreath easel—from the shelving boards and hinges to the hook placement. It’s not a full tutorial, but it’ll give you a good idea of how simple (and useful) this setup can be!
Making It Stable (Without Overcomplicating It)
Now, as soon as I showed up at my brother’s shop with my supplies, he started brainstorming ways to make the wreath easel even better—like switching to a tripod-style design instead of my simple A-frame. I told him, “Let’s just go with what I brought—we can make a super-fancy version next time!”
My main concern was figuring out how to keep the wreath easel stable—spread out just enough to work on, but not so far it would collapse or fold in. He came up with a fix: a metal hinge that would hold the boards in place while I worked, and easily unhook when I needed to fold it flat. We spread the boards to a width that felt right, then he cut a metal yardstick, smoothed the edges, and bent it into hooks to secure each side. Simple, smart, and it works perfectly!
What I Learned (And What I’d Tweak Next Time)
I learned a few things along the way with this wreath easel. First off—it’s pretty heavy! Definitely something you want to fold up before moving, especially if you’re hauling it alone. Also, a little tip: when drilling into laminated shelving, placing a piece of tape over the spot helps keep the hole clean and neat.
I probably should’ve picked up two hooks—one for high placement and one for low. Given enough time, my brother probably would’ve figured out how to install an adjustable hook that slides up and down (and honestly, he still might!).
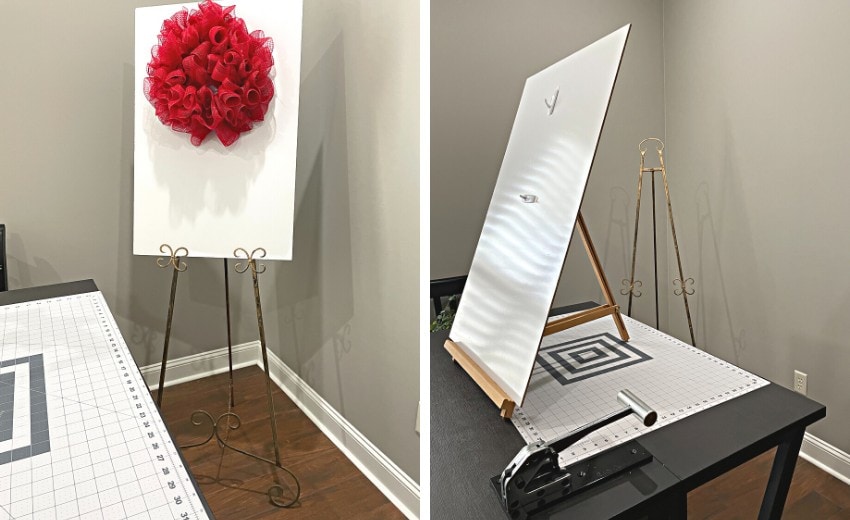
It’s definitely not as easy to move around as the 24″ x 36″ whiteboard I use with a Command Hook in my craft room. It doubles from a wreath holder to a tabletop background for photography.
This DIY wreath easel was just what we needed for the Trendy Tree warehouse. One of these days, I’ll sit down with my brother and list out everything I’d want in the perfect easel… and see what he comes up with. I’m sure it’ll be something even better.