How to Fluff an Artificial Christmas Tree
Fluffing a Christmas Tree
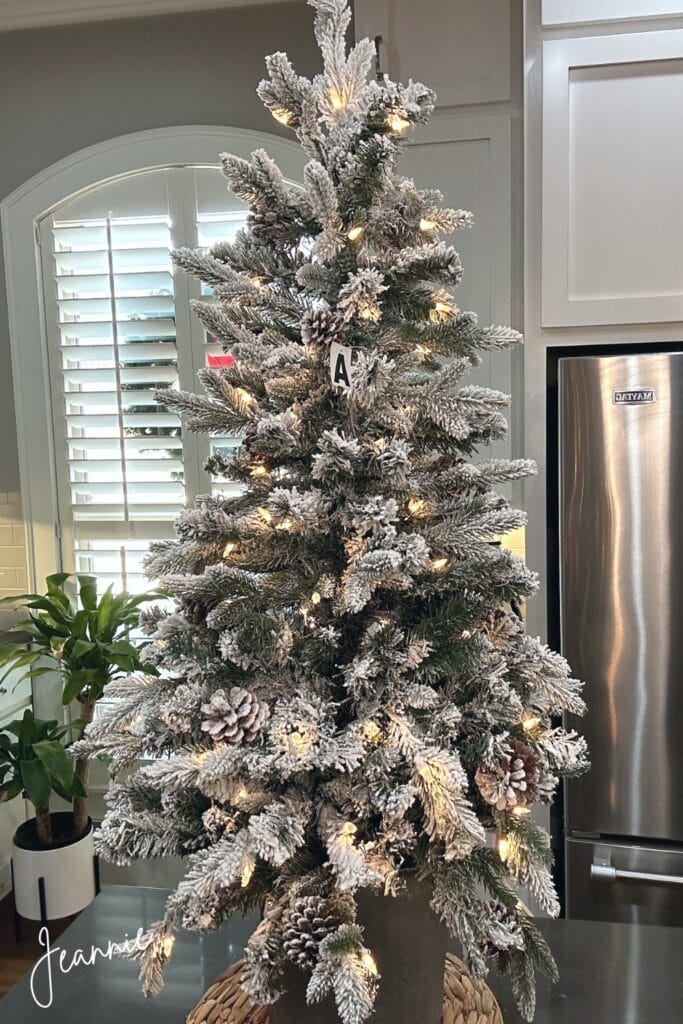
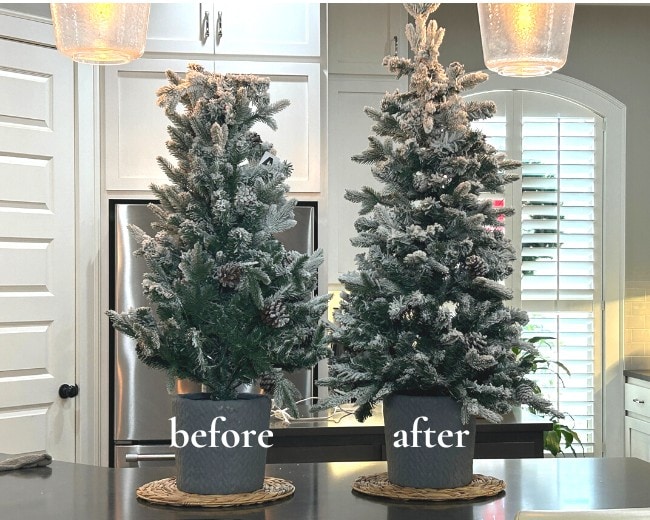
In this post, I’ll show you the simple steps to fluff an artificial Christmas tree for a fuller, more natural look. This year, I picked up two 48″ flocked, lighted trees in decorative pots to place by our side entryway. Fluffing your tree makes all the difference; it only takes a few minutes! Let me walk you through the process and share a quick before-and-after comparison.
Tips For Fluffing an Artificial Christmas Tree
Place the tree on a surface so you won’t have to bend over. (A large tree will have to be fluffed from the floor and you will need a ladder.)
Use something to protect the surface and something that you can rotate if possible.
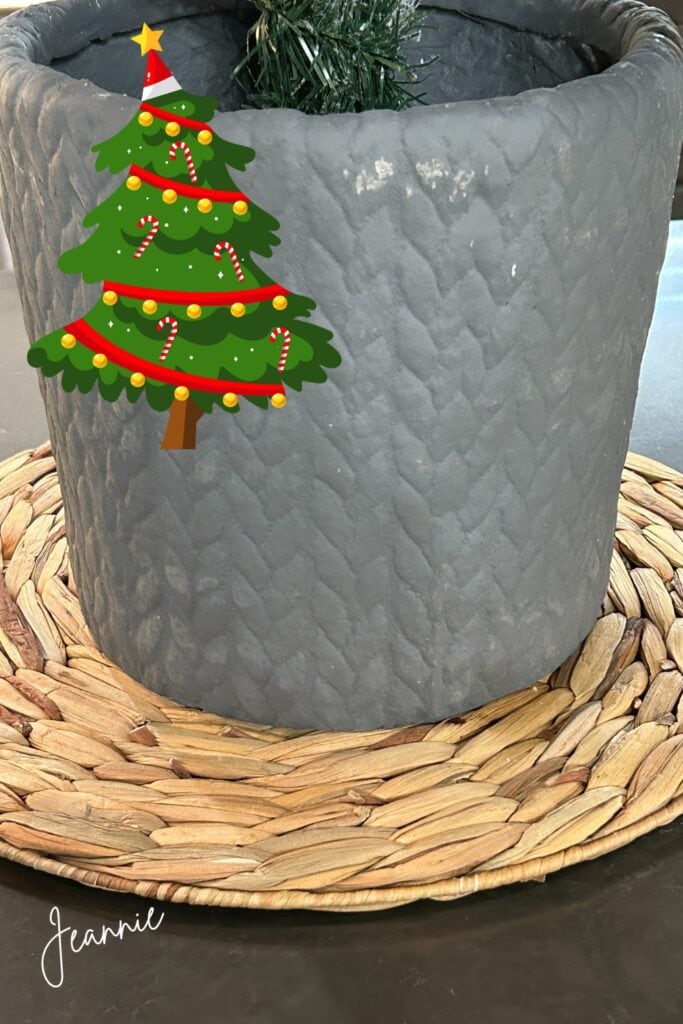
My tree came in a decorative pot, so I set it on top of a large grassy mat. I think the mat is actually a charger, but I use it as a hot pad—it works perfectly!
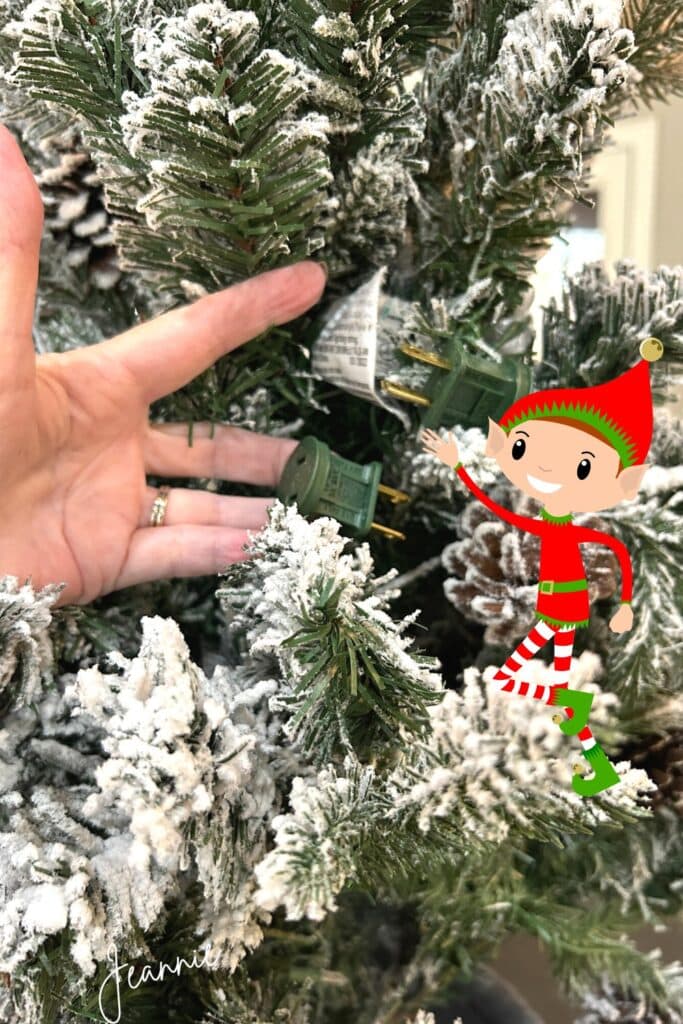
To assemble the tree, start by aligning the light plugins and ensure each section fits securely together. This particular tree came in just two pieces, making assembly quick and easy. For my larger 7-foot tree, which comes in three sections, the pieces are labeled A, B, and C. I always leave those tags on to make setup simpler year after year.
Watch the Video!
Next Step
As you’ll notice in the video, I made a little mistake—I didn’t check the lights until the very last step. Oops! That should have been my first priority to ensure everything was working properly. Lesson learned!
There’s nothing more frustrating than when the lights on a prelit tree don’t work or stop working after just a year or two. Unfortunately, it happens to all of us at some point.
These 48″ trees (not 36″ as I mistakenly said in the video) came from Lowe’s, and I’m really pleased with how they look once they’re fluffed and lit. My plan is to set them into larger pots that stay on the side porch year-round. I simply swap out what’s in the pots for each season.
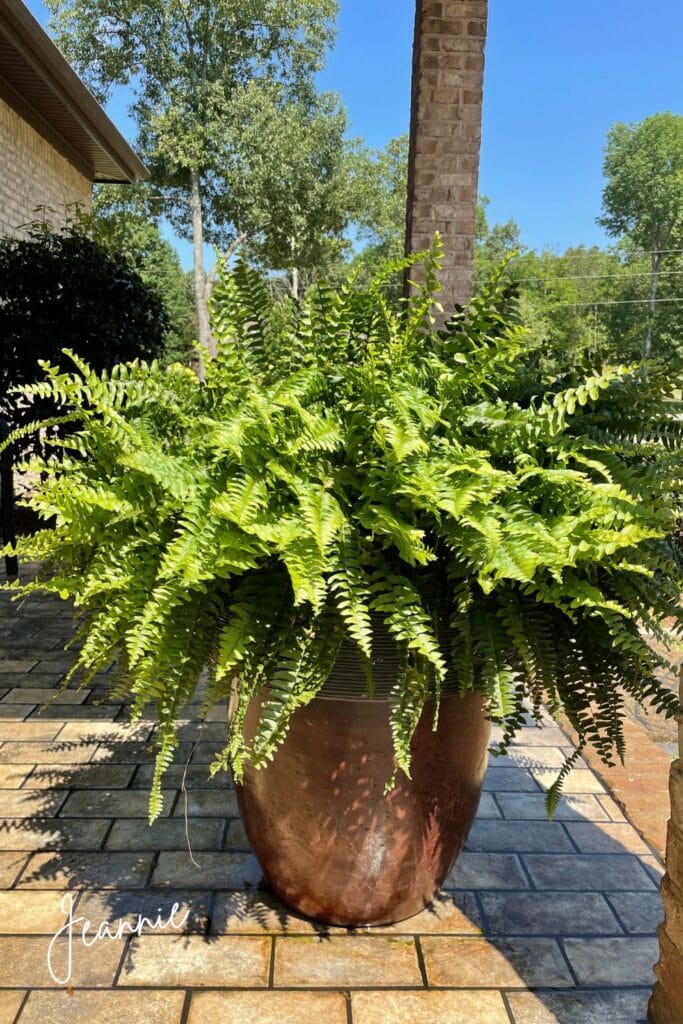
You might recall seeing my ferns in those same big pots during the warmer months. At the end of their season, I just lift out the entire pot—plastic and all—and replace it with something seasonal. The ferns thrive in the plastic pots they come in, especially when I remove the hangers and fertilize them well with bone meal. It’s an easy way to keep the porch looking fresh and festive year-round!
I can’t wait to share a photo of my fluffed trees once I have the extension cords in place. It feels like decorating is always a work in progress, but that’s part of the fun—there’s always another touch to add or a detail to tweak to make everything just right! Stay tuned for the final look!

Loved your post/video on how to fluff an artificial Christmas tree!! The finished tree is so beautiful!! Just magical!! Jeannie…you are truly a gift to this world!!
You’re to kind)) Thank you for following))