
DIY Styrofoam Pumpkins: How to Cover with Fabric – No Glue Needed
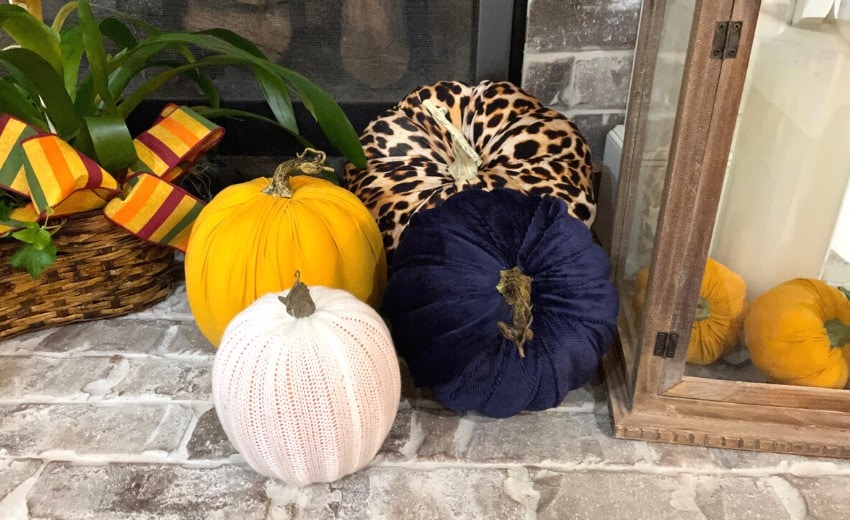
It’s still the middle of summer, but fall will be here before we know it—and that makes now the perfect time to start on easy DIY projects like these fabric-covered pumpkins. They’re a simple, no-glue way to give inexpensive styrofoam pumpkins a cozy, custom look using just a bit of stretchy fabric and a few basic tools. Whether you’re planning ahead for your fall mantel or just love a good stash-busting craft, this project is a fun way to ease into the season!
Pumpkins
This is a plain Styrofoam pumpkin from Walmart that I covered with a rich gold stretch fabric—it ended up being one of my favorites from last year! I’ve picked out some new fabrics for this season too, and I’m looking forward to trying out a few fresh looks.
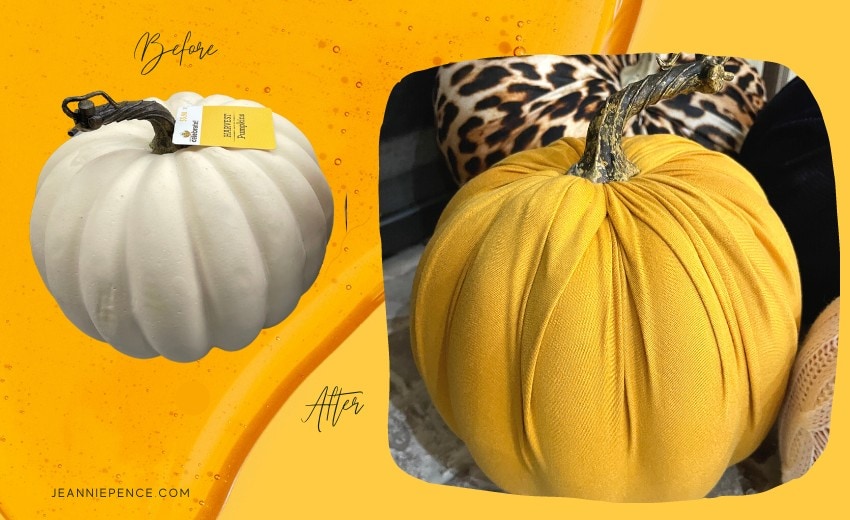
Supplies
- Styrofoam Pumpkins – Look for solid (not hollow) styles. Lighter colors work best so they don’t show through the fabric.
- Thin, Stretchy Fabric – A 2-way stretch is ideal for a smooth finish, but 1-way stretch can work too. Avoid thicker fabrics—they’re harder to tuck and shape.
- Wooden Spoon – Great for pressing and smoothing the fabric into the pumpkin’s grooves.
- Scissors – Sharp fabric scissors make cutting cleaner and easier.
- Hot Glue (Optional) – Only needed if you want to secure the fabric or embellishments permanently.
Watch the Video
Here’s a quick video where I share some of the new fabrics I picked up for this year’s pumpkin projects. Fair warning—there’s a bit of background noise! My husband was doing a little vacuuming (bless him!), and you might hear the hose snapping back into the wall. Real life, right? 😊
Instructions
Want to see the full process in action? Watch this tutorial I recorded last year for Trendy Tree, where I show exactly how to cover Styrofoam pumpkins with fabric. It’s an easy, no-glue method—and once you try one, you’ll want to make a whole patch!
Final Notes
Covering pumpkins in fabric you’ve personally picked out is a fun and creative way to add your own style to your fall décor—especially when you can’t find just the right shade or pattern in stores. And if fabric’s not your thing, no worries! You can also paint Styrofoam pumpkins, and we have a tutorial for that too—so be sure to check it out!
More to Come!
Stay tuned—I’ll be pulling out last year’s pumpkins soon and giving them a fresh new look! You know I love to re-purpose whenever I can, which is exactly why I skip the hot glue on the stems—it lets me change things up from year to year. I’ve also gathered supplies to make some soft, fabric pumpkins with fiberfill, so I’ll be sharing that DIY soon too. Can’t wait to show you what’s next!
Keep an eye out for pumpkins in all shapes and sizes—you’ll find great options at Walmart, Target, Hobby Lobby, and Dollar Tree. Just make sure you’re picking up solid Styrofoam pumpkins, not the hollow plastic ones. And here’s a tip: look for pumpkins with removable stems. That makes it much easier to cover them with fabric and reuse them year after year!
Fabric Finds
When picking fabric, be sure to check for 2-way stretch—it makes the process so much easier and gives you a smoother finish. Don’t overlook your own closet as a fabric source either! Old T-shirts, leggings, or other soft clothing can work beautifully. I actually learned this pumpkin-covering technique from Amy Smith of Ba Bam Wreaths. She once did a demo using a pair of (brand-new!) panties to cover a pumpkin—because it was the perfect stretchy material she needed. Talk about getting creative!
So… think outside the box—or better yet, outside the dresser drawer! You never know what fabric treasures you might already have on hand for your next pumpkin project.
More from My Blog
Old Forsythia Wreath Repurposed
How to Make a Bow with Three Yards of Ribbon
Fabric Covered Pumpkin Tutorial (Trendy Tree)
How to Make Hand-Sewn Fabric Pumpkins


Love these! Made some last year. Love that you can make over every year if you’d like. Thx for sharing 🍁🍂
You’re very welcome, thanks for visiting my blog.