How to Make a Bow Fluffing Box
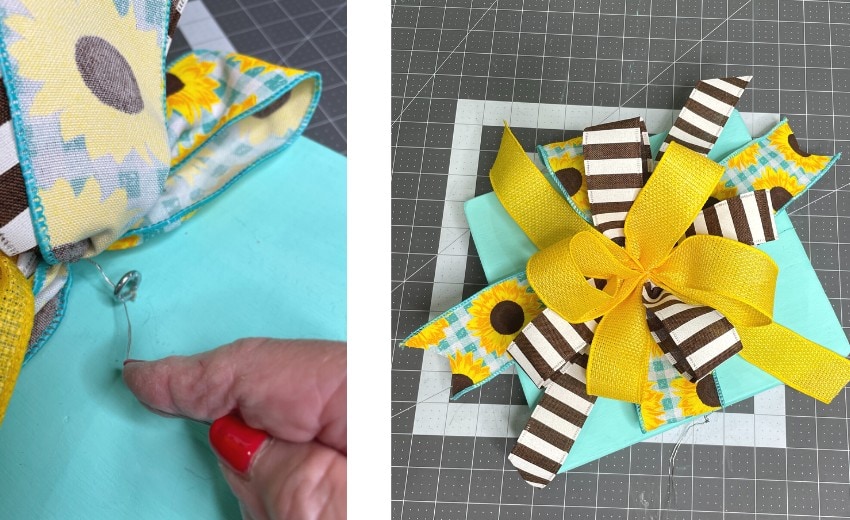
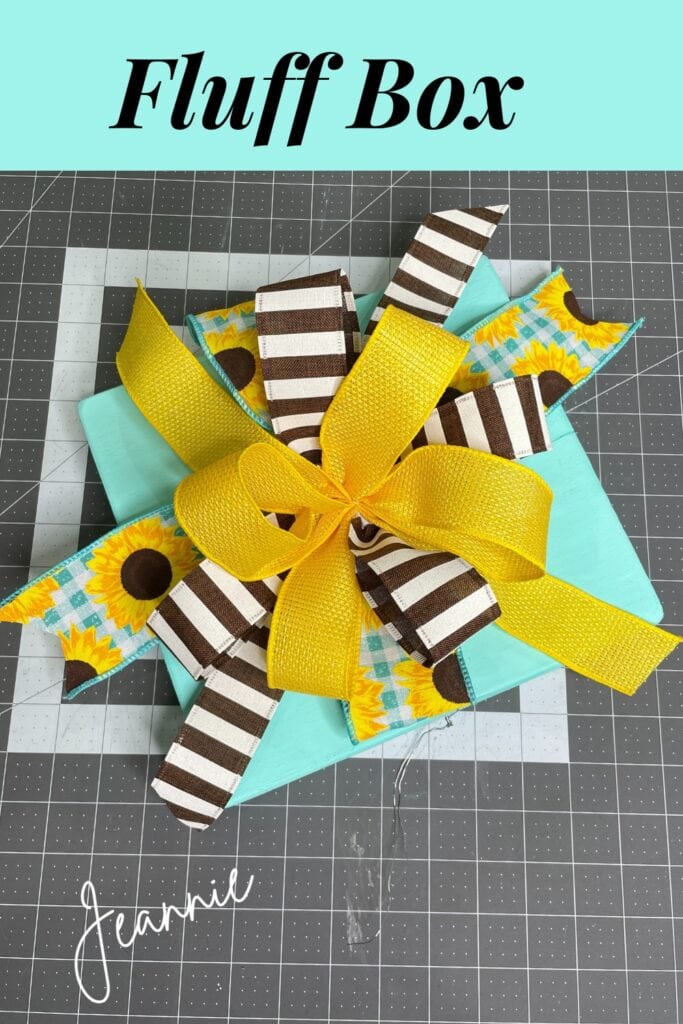
This post will show you how to make a bow fluffing box or board. Just attach your bow and fluff out the loops and tails. It’s so much easier when you have both hands free! I guess calling this a box is really a misnomer, it’s just a block of wood)))
The Bow Fluffing Box was developed by my friend Regina Sellers, Pro Bow the Hand lady. If you’re not crafty and had rather just purchase a box, you can right off the Pro Bow Website.
Regina created the Pro Bow bowmaker which is very unique. Check out some of her YouTube tutorials to see all the different styles of bows you can make with the Pro Bow bowmaker.
Bow Techniques
One of the most popular bow styles using the Pro Bow is the Terri Bow. The Terri Bow was created by my friend Terri Marshall. It’s a funky-styled bow and a great way to use up your scrap ribbon. Check Terri out on YouTube too. Her channel is Mil and Dil Designs. Here’s a link to a video I did making a Terri Bow.
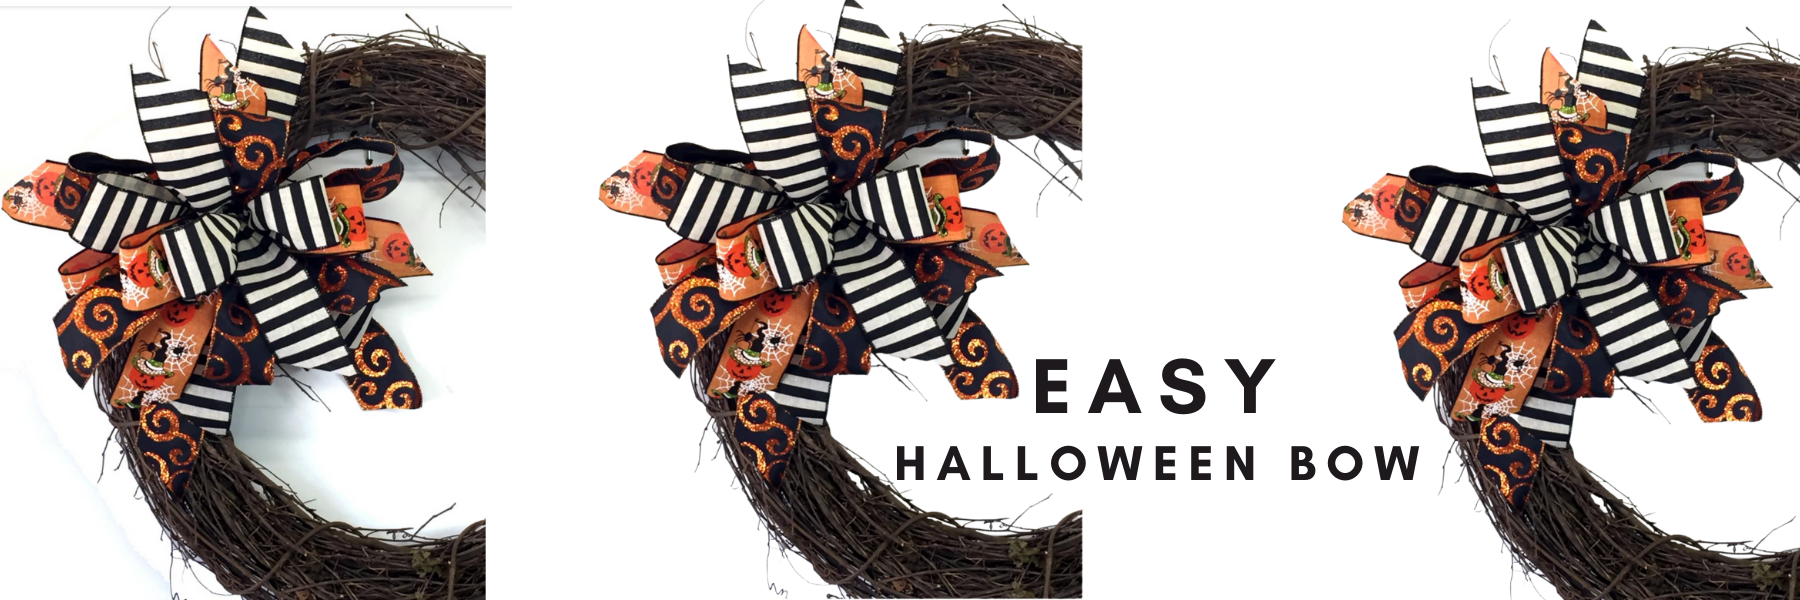
The Terri Bow was developed by Terri Marshall of MilandDil Designs. Terri created this method using the Probow bowmaker.
It’s a great way to use up your scrap ribbon. Her original method using…
But, if you’re like me and are always looking for a craft to work on, making a bow fluffing box will be right down your alley.
Supplies
Block of Wood
Small Nail
Eyelet Screw
Paint
Scrap Lumber
We built our current home about four years ago and while the carpenter was working I spied some short ends of boards in the scrap pile. The board was 10″ in width. I asked the carpenter to square it up for me and made my first bow fluffing box or board.
That board stayed at the Trendy Tree warehouse and I have been without one ever since! Yes, I was too cheap to order one from Regina! You know how we crafters are…..we’re always looking at things and thinking…I can do that!
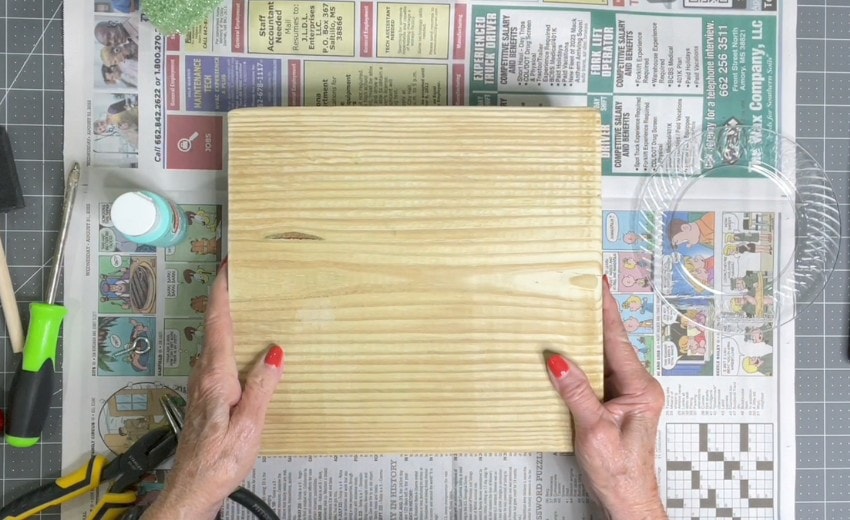
Last week we had a deck added to the back of our house and sure enough, once again there were nice size pieces of lumber in the scrap pile. I found a piece of a 2″ x 10″ that was exactly 10″ x 10.” Now lumber measurements are a little different, I don’t know why. But a 2″ x 10″ (2″ is the thickness and 10″ is the width) size lumber really measures about 1.5″ x 9.25″ All it needed was some sanding of the rough edges. A 12″ x 12″ board might be better…but 10″ is what I had available. It was still heavy enough to work.
Tools
During our move into the new house four years ago, we lost the cordless drill. So off to Harbor Freight we went. I swear there may be something wrong with me. I enjoy going to Harbor Freight, Lowes, and Home Depot more than I do going to boutiques!
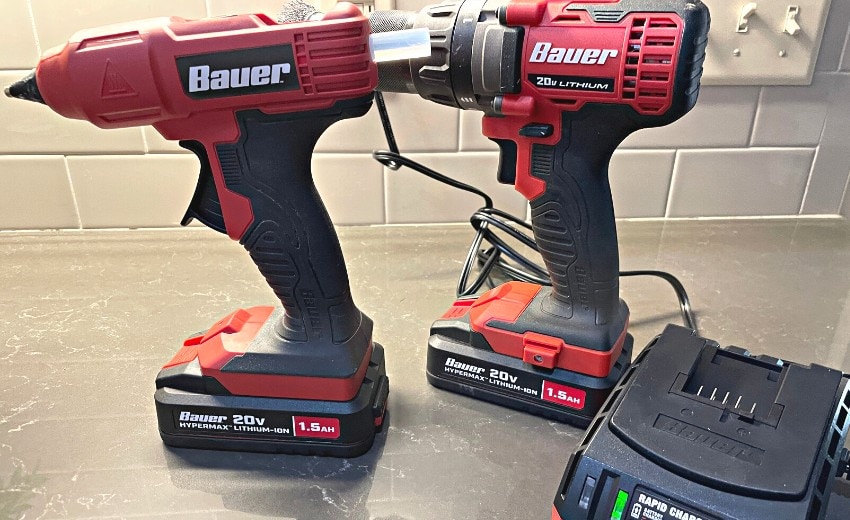
Anyway, we picked out a Bauer cordless drill and debated getting an extra battery. We decided we could get by without one. Guess what….when we got home, the battery was interchangeable with my Bauer hot glue gun! Yay….now I should have access to a fresh battery any time I craft)))
Smooth off the rough edges with sandpaper or you can attach a wire brush to the drill and smooth the edges that way.
Paint
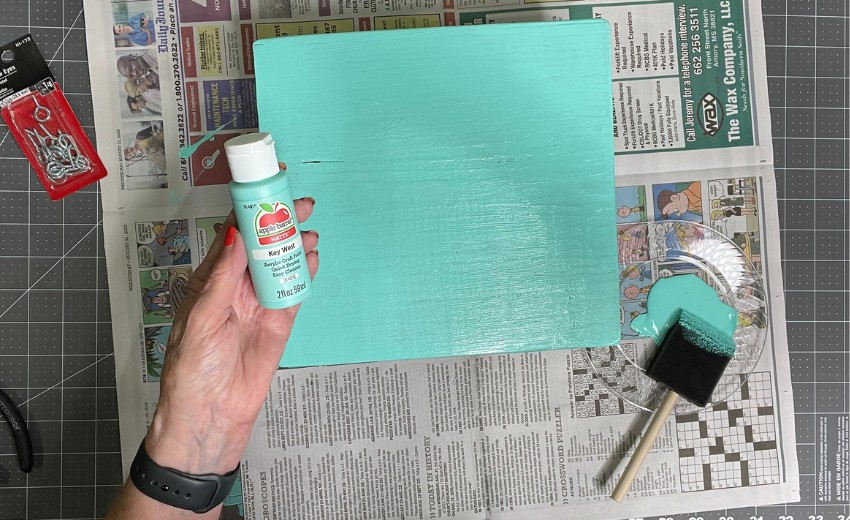
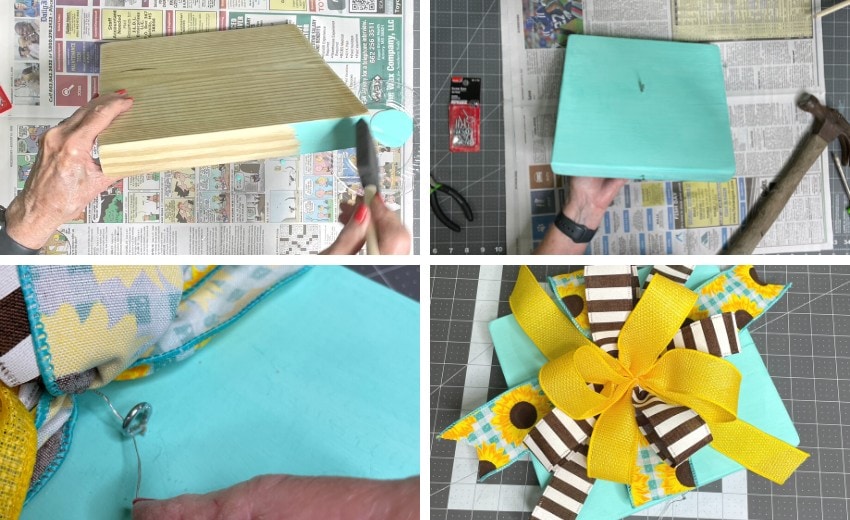
Next, apply two coats of paint. You don’t really have to paint your bow fluffing box, but it makes it prettier))) I used craft paint from Walmart. It’s inexpensive and I applied it with a foam brush. Let the board dry between coats. If you’re in a hurry, you can speed up the drying process with a blow dryer or fan.
Take a small eyelet screw and open it up a bit. You can do this with a screwdriver and wire pliers. A cup hook would work, but it might not hold your bow as tight.
Place the eyelet screw in the center of the board and screw it in. It helps if you make a small hole in the board to start with.
Place a small straight nail on the side of the board leaving a little less than 1/4″ sticking out. You just need enough of the nail to stick out so that you can wrap your bow wire around it.
That’s it! All done. You’ll be surprised how much it helps to have your bow secured to the board when you’re fluffing the loops. I can’t believe I haven’t made myself another one until now!
This past Saturday my husband and I cleaned up the aftermath of the construction of the deck. We picked up so many small blocks and strips of wood. It hurt my heart to burn those leftovers! I kept thinking this piece would be good for this…..and that piece would be good for that….. My husband made me burn them all! And I have to agree, I have stacks of planks and boards that I’ve been keeping for a while…lol
More from My Blog
kclee.co tutorial
Grapevine Wreath with Peach Blossoms
We’re always looking for ideas for wreaths aren’t we. Well, last week Kasy Cardenas, Kclee.co, in collaboration with Trendy Tree made this beautiful peach blossom wreath using a grapevine base.
