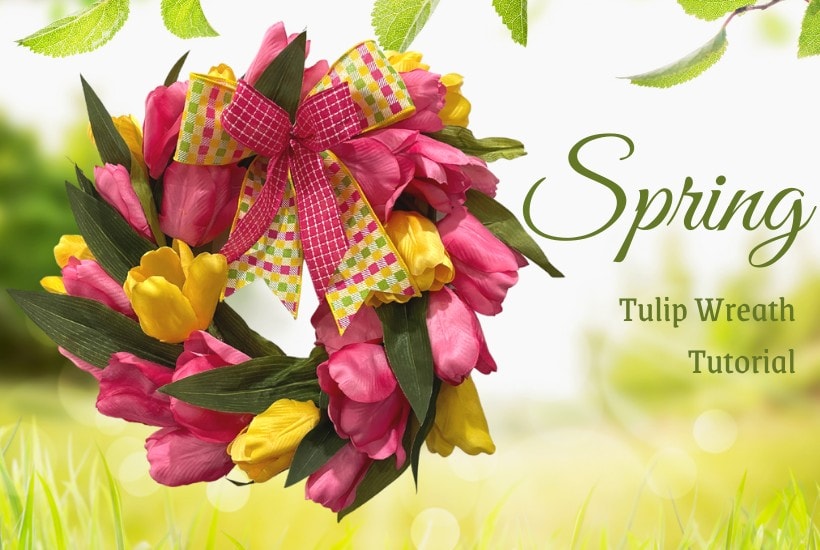
Spring Tulip Wreath on a Straw Form
Are you yearning for a bit of spring weather and color? Well here’s an easy way to bring spring on a little early. Do a spring tulip wreath DIY project using a straw form. It’s easy and I’ll show you how!
Supplies
3 Bunches of Tulips From Trendy Tree. Available in 5 colors. I used one yellow bush and two hot pink.
Snip Tulips
The tulips I used for this wreath are a different brand from the last ones I used…..those are about sold out! In that previous video, I had said to slide the leaf up on the stem before you cut the tulip from the bush. All flowers are different and the leaves on this tulip bush were made differently. So I had to clip the leaf off and cut the stem to about 4″. It just all depends on what kind of flower bush you use.
I had intended to make the tulip wreath using floral pins to secure the tulips around the wreath, but they proved to be a little hard to press into the straw form. It was probably just me…..I’m not so young anymore and losing that body strength is one of the worst things about aging)))
So, I opted to wrap the stems with paddle wire. Just attach the wire to the wire and start wrapping the wire around the stems. Lay down a couple of stems and wrap them. Each time you lay down more stems, cover up the stems from the previous bloom.
I apologize for the lack of clarity in the photo, but I had to capture it from the video.
Add tulips to the straw wreath form and work around the wreath placing the blooms all in the same direction. When you reach the starting point, lift up the first blooms and tuck the stems behind them.
If you have a bit of a gap like I did, use that spot for attaching a bow. I could have cut up another bush, but securing the bow there worked just fine.
Bow
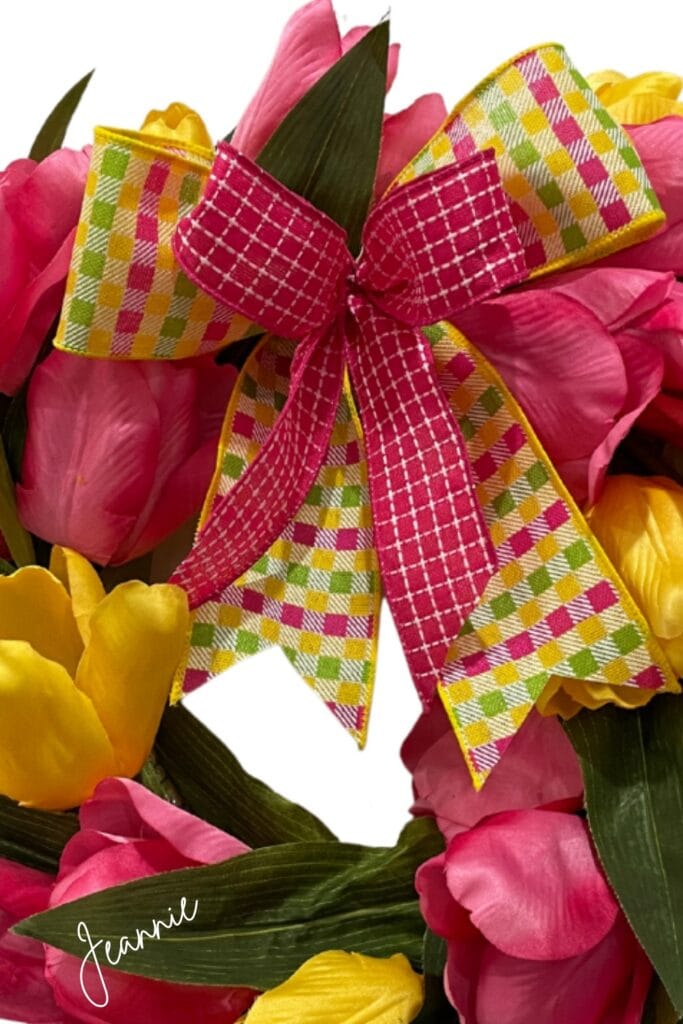
Make a simple bow and attach it to the wreath. My bow was made from scrap ribbon, but here are a couple of ribbon suggestions if you choose to make a wreath using pink and yellow tulips
- RGC162627 2.5″ Umbrella Ribbon
- RGA821011 2.5″ Hot Pink Black White Ribbon
- RX9145TN 1.5″ Fuchsia White Polka Dot Ribbon
- 41109-09-39 1.5″ Fuchsia Lime Yellow Plaid Ribbon
- RGC124829 2.5″ Yellow Pink Mom Ribbon
- RG01049T3 2.5″ Yellow Gingham Check Ribbon
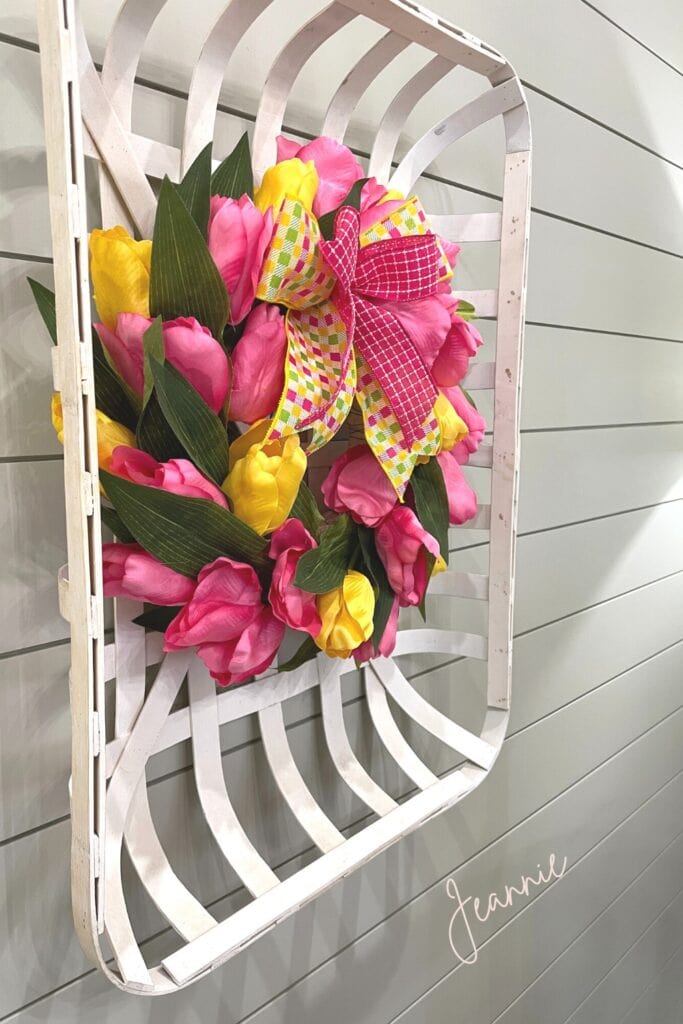
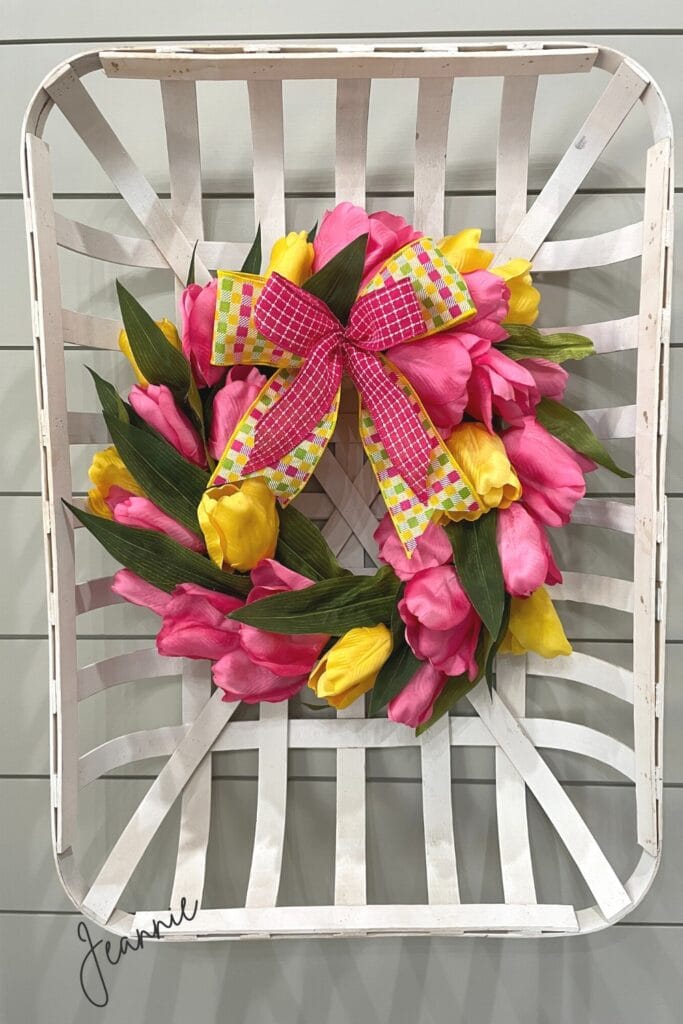
Cover the straw form in ribbon if you have difficulty getting good coverage with just the tulips. It worked fine for my purposes without being wrapped. My wreath was made to hang inside a tobacco basket in my office. So coverage wasn’t a problem since it really wouldn’t be viewed from the side or anything.
Trim the tails of your ribbon to suit your preference. I think the spring tulip wreath was the perfect addition to my tobacco basket! It’s cheering me up already))
On to the Next Project!
Are you ready to do something different? Me too! I have a paint project that I want to start on as soon as it’s warm enough to work outside in the garage. I have an old chifferobe of my grandmother’s and I’ve been debating on chalk painting it.
We don’t have any real antiques in our house unless you consider the breathing ones))) It’s really a dilemma. I want to keep it, but it doesn’t fit my decorating style. So I thought if I tried chalk painting it, I might put it in my office as a safe place.
Please don’t send me hate mail for painting an old piece of furniture. To keep it, I have to change it or let it go, and right now, there isn’t anyone in the family that wants it. So we’ll see. If I do paint it…I’ll share it)))
More Tulips
Here are a couple of other projects I have done using tulips:
Valentine Heart Tulip Wreath Tutorial
Thanks for dropping by! Please leave us a comment and tell us how you like to use tulips. Fresh or faux….I love them both!
You might like these posts too:
5 Ways to Display an Artificial Floral Bouquet


