Wood Bead Wreath Tutorial
Want to Add Flowers to a Wood Bead Wreath?
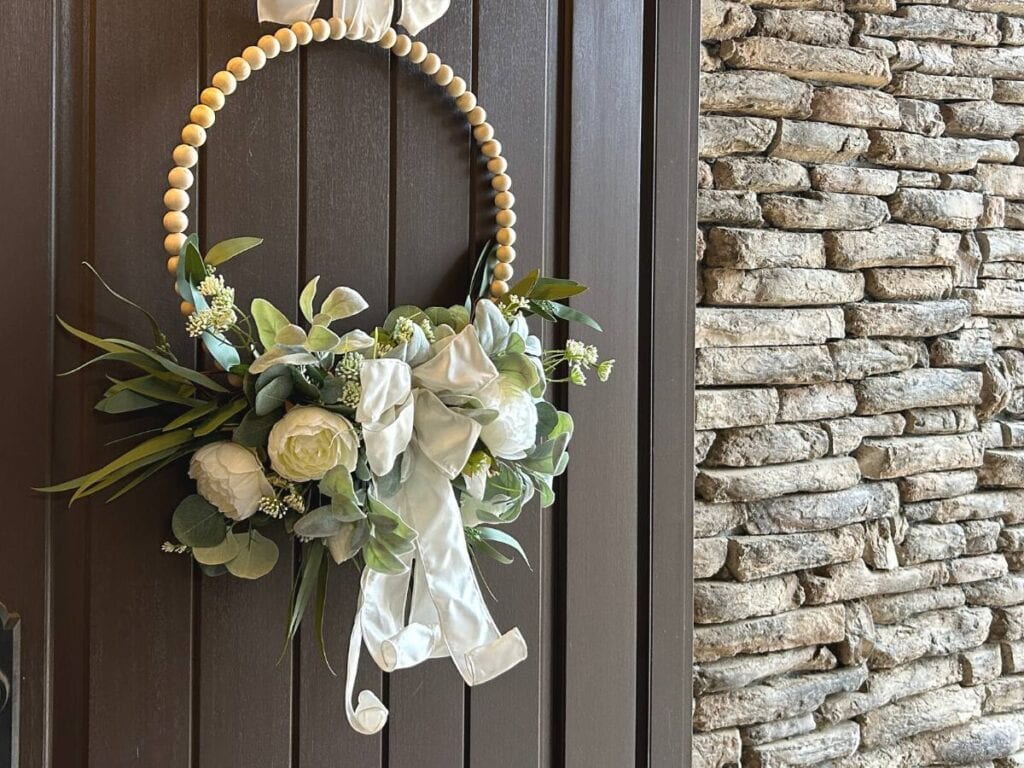
Yesterday I created a wreath using the new wood bead wreath forms from Trendy Tree. I love how it turned out! And it really wasn’t that hard to make.
When we visited the Dallas Market a few weeks ago, wood beads were trending. We saw them used as everyday garlands, not just at Christmastime, outlining picture frames, trays, baskets, and more.
The wood bead wreath forms at Trendy Tree come in different sizes and colors. I chose a light natural color for my front door since it’s dark brown. And I love using things made of wood instead of plastic.
Supplies
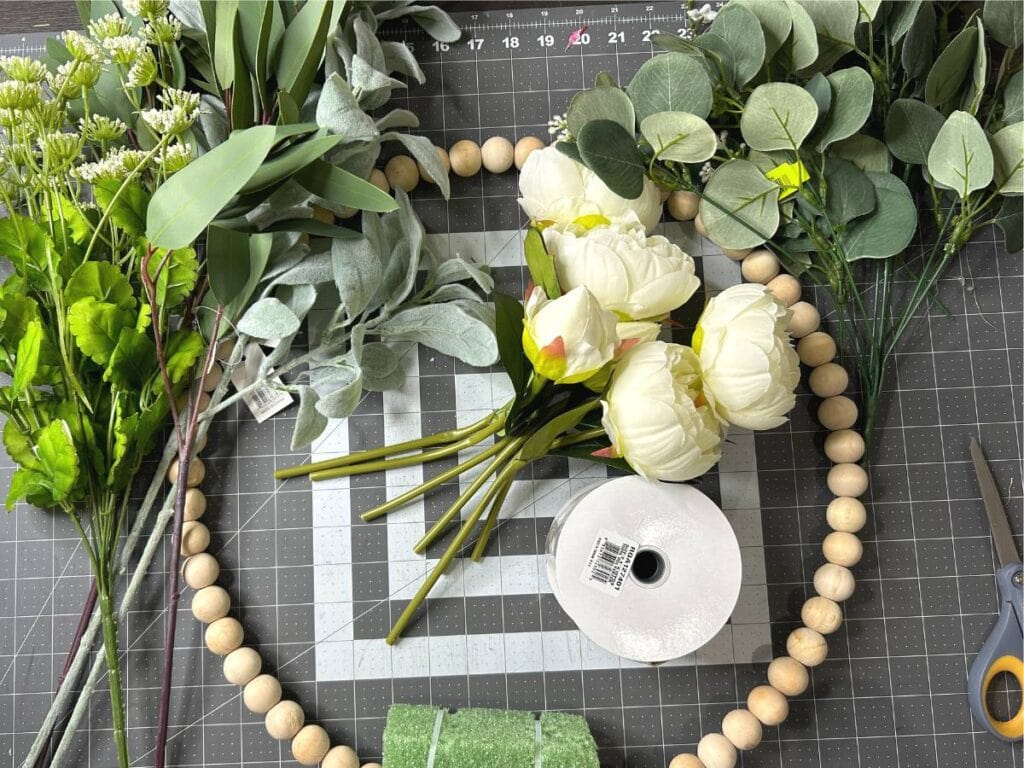
All my supplies came from Trendy Tree))) Of course you know my connection there. If not, the owners of Trendy Tree, David and Carrie Martin, are my daughter and son-in-law))) Now, Trendy Tree isn’t the only place I buy supplies….you’ll find me browsing at Hobby Lobby and other places too)))
- MY102930 17.75 Bleached Wood Bead Wreath
- 30456CM Cream Peony Bush
- F4102216 RAZ Eucalyptus Spray Set of 2 (on sale right now)
- FG5376 Fabric Lambs Ear Spray – 2
- RGA127401 2.5″ Light Beige Ivory Diagonal Check Ribbon
- SB2337-CRM 19″ Mini Queen Anne’s Lace
- 13510G 18″ Eucalyptus Bush
- EZ Bowmaker (optional)
The other supplies I used included scissors, wire cutters, floral wire, Styrofoam, zip ties and a flower cutter to cut the sprays and bushes. Once you watch the video you will see that I changed my mind about the ribbon! Isn’t that the way we all are))) We pick out something that we think is going to be perfect and decide nahhh not happening….
I wound up using a soft creamy ribbon from my stash to make the bow. It came from Trendy Tree but has since been discontinued. Ribbon is a great way to make a creation “yours.” Pick out what you like, ribbon options are limitless!
Putting it all together
One of my concerns was that the Styrofoam chunk would roll forward. And sure enough it did, but that part was easily fixed. I just secured some of the longer sprays to the wood bead wreath form with floral wire sort of up the sides of the wreath. Problem solved!
Anytime I’m working with florals, I try to work from side to side placing the florals after first creating a base of greenery. Start with the largest floral pieces first and fill in with the smaller. Same with the greenery. Sometimes you need to place the wreath on a board or wall, to see the placement needs better.
The only other problem that I ran into, other than changing my mind about the bow, was inserting the peonies. They have a smooth round covering and they were not the easiest to insert. I cut them at a sharp angle which helped. If I had had the stemming machine here at the house that would have made it easy. A couple of times I had to use an awl to get the hole started in the Styrofoam so I could insert the stem.
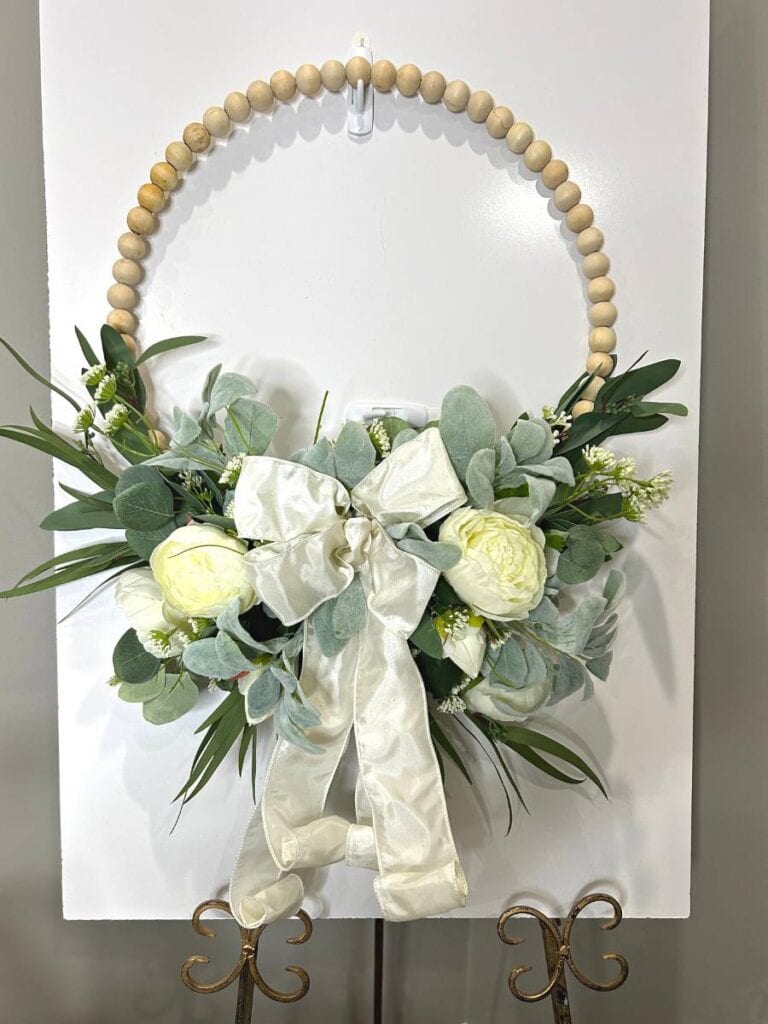
work board
My work board is a piece of dry erase board that I picked up at Lowe’s. It is about 24″ x 36″ and was precut. I just attached a Command hook in a couple of places. The easel is just a floor size easel. This is helpful when you need a better look at your project.
hot Glue
Typically, if you were making a floral wreath or arrangement you would use hot glue to secure the flowers. I didn’t do this because I make things for myself and am likely to take it apart in a few weeks and use all or part of the products in a new project.
Now, if I make something to give to someone, I will use hot glue to make it more permanent. But for me….my front door doesn’t get a lot of traffic and the florals will be just fine.
Watch the Video!
If it’s confusing to you to see my videos on the Trendy Tree channel, it’s because I just didn’t want to start a new channel! I started the Trendy Tree YouTube channel years ago and you’ll see a lot of my old tutorial videos, along with new videos from Trendy Tree guest designers and more.
I did create a playlist there of Jeannie’s Videos that includes crafts and cooking.
Thanks for visiting my blog!
I hope you will be inspired to grab a wood bead wreath form and create a wreath for your front door. I’m already thinking of how I might want to decorate my wood bead wreath the next time))) The wood bead form could be one of those wreaths that you can hang on your door and change out quickly for the seasons with just a few florals and some ribbon.
The next time, I may try creating just a little floral bundle and attaching the whole bundle versus using the Styrofoam and building out the floral from there. i like quick fix ideas)))
I’m wondering too if the bundle was placed on the side, would the wreath still hang straight? Have you tried this? Does it hang straight? Leave a comment and let me know!

Love the wreath. I have a bead wreath to make. Your instructions are very helpful.💕
Thank you Ruth))) I would love to see yours when finished!