Easy Fern Care for Boston and Kimberly Queen Ferns
Fresh Ferns Are In—Let’s Talk Care Basics
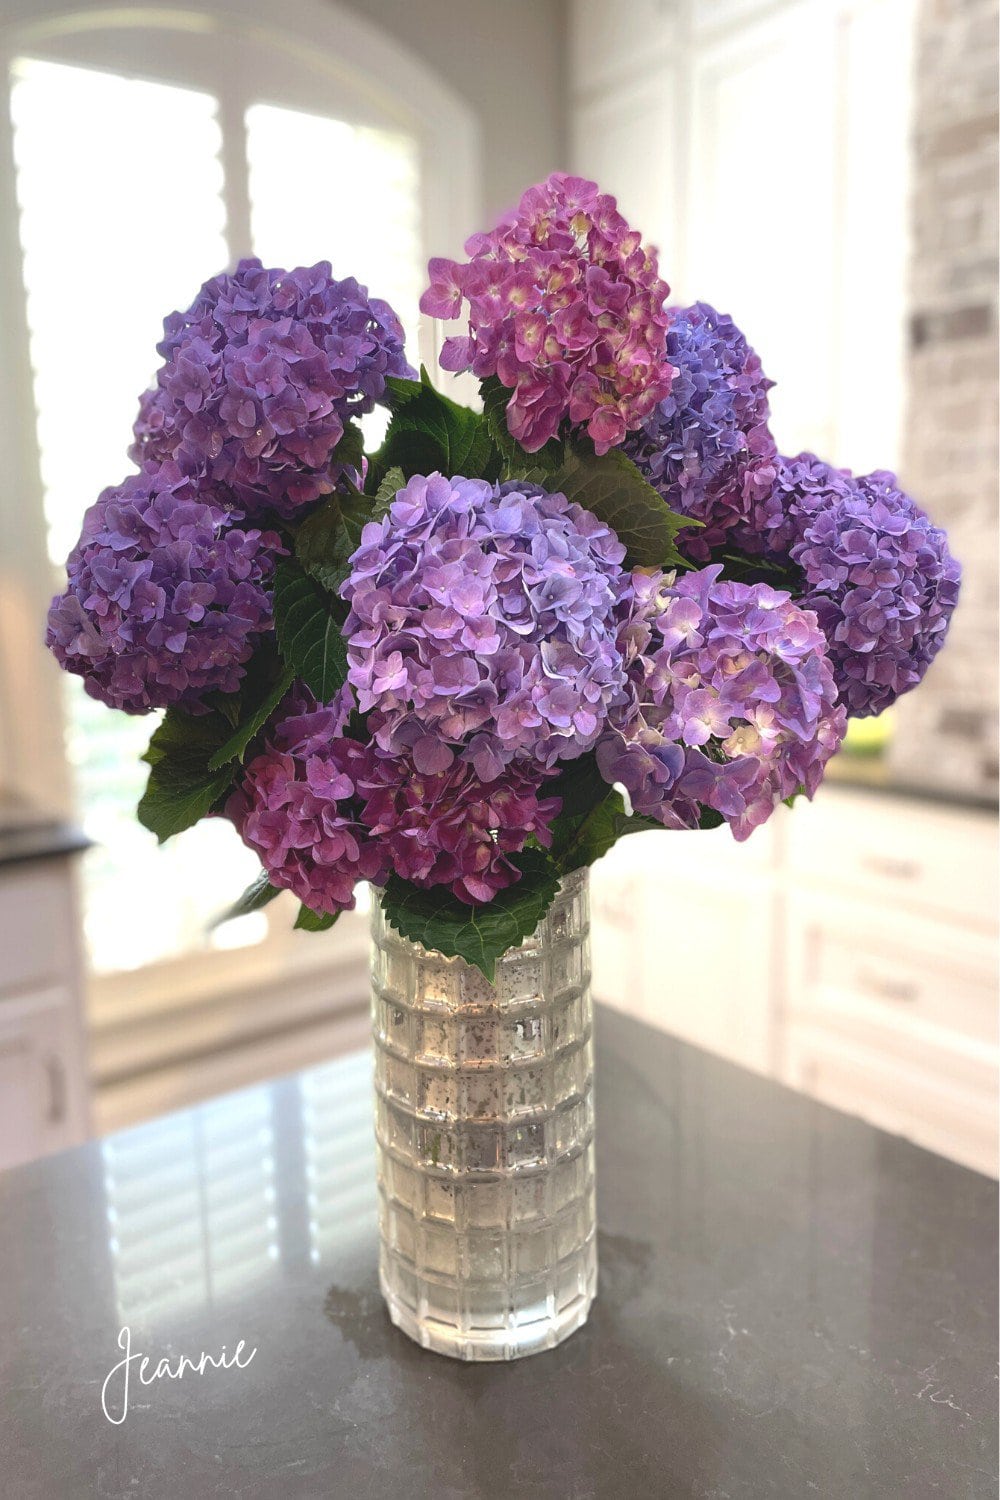
Spring is in full swing, and that means it’s officially fern season! If you’ve been to a garden center, Walmart, or Lowe’s lately, you’ve probably noticed the lush green Boston ferns lining the outdoor displays. Whether you’re picking up your first fern or replacing last year’s, now’s the perfect time to brush up on your Boston fern care routine to keep them healthy and thriving. This post, originally shared a few seasons ago, is just as helpful today—because good plant care never goes out of style!
Boston Fern Care Basics
When it comes to fern care, Boston ferns are among the most rewarding—especially if you give them the right amount of light. While they’re known as shade-loving plants, they still need a bit of sun to thrive. A few hours of gentle morning light or some dappled afternoon sun is just right. A covered porch with filtered sunlight is usually the perfect spot.
You’ll typically find Boston ferns sold in hanging baskets this time of year, though some of the larger ones come in 1- or 2-gallon containers. Their soft, cascading fronds give them that lush, draping look that makes any space feel more vibrant and green.
Take a look at this quick video to see how I handle and display my Boston ferns—it’s a simple visual guide to pair with these fern care tips.
Kimberly Queen Ferns – Sun Loving Ferns
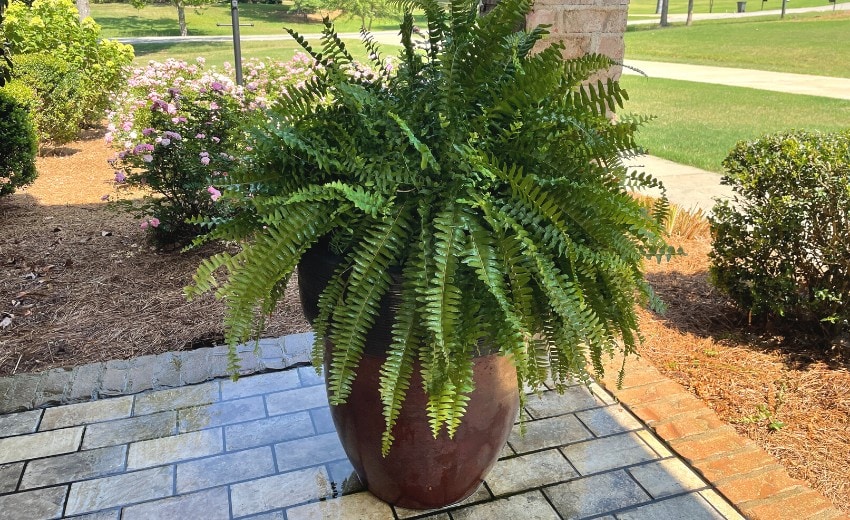
If you’re looking for a fern that can handle full sun, Kimberly Queen ferns are your go-to. Unlike the softer, draping fronds of Boston ferns, Kimberly Queens grow with upright, sword-like leaves that stay tidy and structured. As they mature, their fronds may gently arch downward, giving them a fuller look without losing that bold shape.

These “sun ferns” are surprisingly tough—they handled the hot Mississippi summers with ease. The key is consistent care: lots of water and regular feeding. Because they need frequent watering in the heat, nutrients can get flushed from the soil more quickly. A light feeding every few weeks—more often than Boston ferns—helps keep them vibrant and lush all season long.
The Easy Way to Enjoy Ferns
The Easy Way to Enjoy Ferns
Years ago, our fern care routine was anything but easy—we’d buy Boston ferns every spring and re-pot them into huge, heavy containers. They looked gorgeous through the summer, but winter brought a whole new challenge. We’d drag those bulky pots inside to try and keep the ferns alive, and it always turned into a mess. One year, a leaking pot even damaged our wood floors—that was the last straw!
So, we changed our approach to something much simpler.
Now, I buy fresh Boston ferns each spring and skip the re-potting entirely. For a while, we kept re-potting out of habit, but those ferns still faded out by winter. By spring, getting them out of the containers was more hassle than it was worth.
These days, fern care is as easy as placing the plastic hanging baskets directly into my decorative pots. No transplanting, no mess, no stress.
More Flower Ideas:
Hanging Baskets Made Simple
Boston ferns almost always come in those standard plastic hanging pots. For the past few years, instead of re-potting them, I’ve started using a much simpler method—and it works beautifully. I keep using the same large outdoor containers filled with soil, but now I just snip off the plastic hangers and set the entire hanging basket right into the pot.
No transplanting, no root disturbance, and no heavy lifting. It gives you that full, polished look without the extra work. Plus, cleanup in the fall is a breeze!
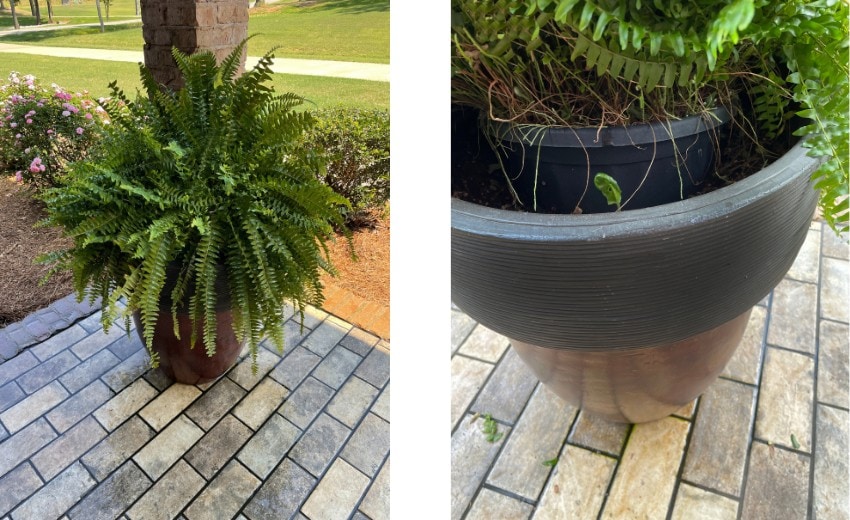
If the basket sits too high, I just remove a bit of soil. And if it sits too low, a layer of wood shavings does the trick to elevate it. It’s a flexible, no-fuss solution that looks great and makes seasonal swaps easy.
Just make sure your decorative pots have drainage holes—soggy roots are a fast track to an unhappy fern!
Watering Tips for Healthy Boston Ferns
Boston ferns like consistent moisture, but they don’t want to sit in soggy soil. I water mine at least every other day, especially since they’re still in their original plastic pots, which dry out faster than larger containers.
A general rule is 2–3 times per week, but your watering schedule may vary depending on your climate, the pot size, and where your ferns are placed. Keep an eye on your plant’s cues—yellowing fronds often mean too much water, while excessive leaf drop could mean they’re too dry.
Every now and then, I give mine a gentle spray to remove loose leaves and refresh the fronds. Just make sure there’s enough time for the plant to dry—wet leaves can invite pests or disease, though I’ve personally never had much trouble with that.
Feeding Your Ferns
When it comes to fertilizing, I like to keep it simple—bone meal is my go-to. Yes, it’s exactly what it sounds like: ground-up bones. It’s a natural source of phosphorus, which helps promote strong root growth and gives your Boston ferns (or Kimberly Queens) that rich, vibrant green color.
I typically feed my ferns every 4–6 weeks throughout the growing season. Just follow the instructions on the package, and be sure to water after applying so the nutrients can soak in. Bone meal is gentle and slow-releasing, which makes it a great low-maintenance choice for healthy, happy ferns.
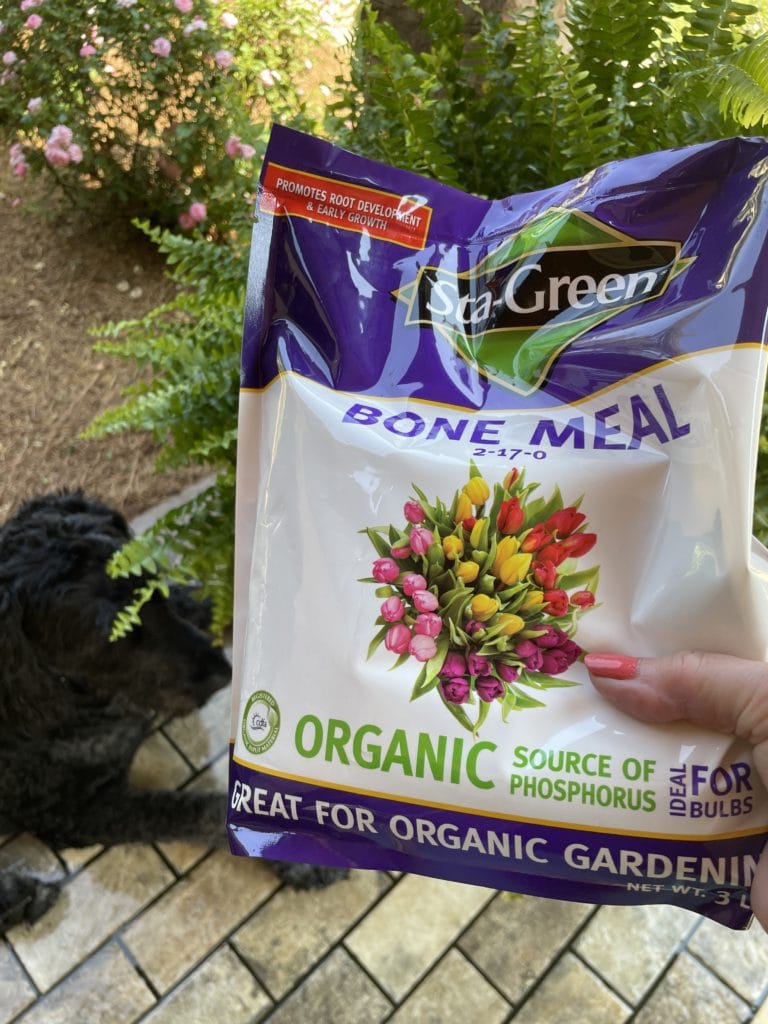
Side Note: Bone meal is organic and it doesn’t have an unpleasant smell, but it always gets Browser’s attention. Such a keen sense of smell!
It hasn’t been a problem where we live now, we have some woods in the backyard, but we’re not overrun with wildlife. Back at our old house when we lived in the country, I did get up a time or two to find my newly fertilized ferns dug completely up out of the pot and laying on the porch. Raccoons or armadillos perhaps? So, just so you know)))
Final Results: Simple, Successful, and Stress-Free
Using this low-effort method—just placing the plastic hanging pot directly into my large containers—my ferns grow just as beautifully as they did when we used to re-pot them. They look the same, thrive just as well, and best of all, I’ve cut out a ton of unnecessary work.
Sure, I pay a bit more attention to watering since the original pots hold less soil, but honestly? That’s a small trade-off for skipping the heavy lifting and messy cleanup.
And when the season’s over, it’s easy—just lift out the pot, slip it into a trash bag, and you’re all set for a fresh start come spring.

More from My Blog