Grocery Bag Holder – Easy No-Sew Solution!
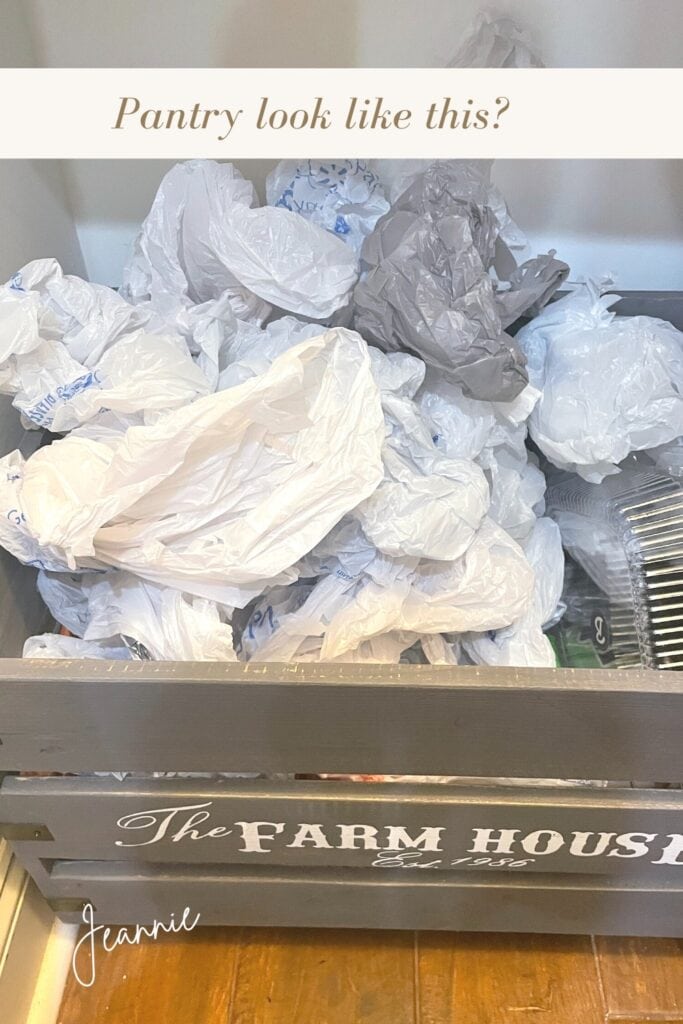
The Plastic Bag Dilemma
A grocery bag holder – let’s be honest—we all have a stash of plastic grocery bags crammed somewhere in our homes. While reusable bags are the better option, I always seem to forget mine when heading to the store! So, instead of letting the plastic bags pile up, I decided to get my pantry organized with a simple solution.
A Quick & Easy Grocery Bag Holder
I’ve considered buying one of those cloth grocery bag holders that neatly hang in the pantry, but every time I think about it, I can never seem to find one. So today, I decided to make my own—no sewing required!
Using just scrap fabric and a few simple tricks, I put together an easy, functional holder that keeps my plastic bags contained and accessible. If you’re tired of the mess and want a fast DIY fix, this project is for you!
Stay tuned for the step-by-step tutorial and get your plastic bag situation under control in just minutes. 😊
Supplies
Cotton Fabric
Elastic
Stitch Witchery
Safety Pins
Chenille Stems
Iron
Fabric
Choose a cotton fabric that will withstand the high temperature of an iron. Mine was a cotton canvas from my scrap bag. But the easiest thing to do would be to pick up a Fat Quarter at Walmart or a craft store.
Fat Quarters are usually about 18″ x 21″ and only cost a dollar or two. Plus there is a wide selection of fabrics to choose from. I don’t know why they call them Fat Quarters, do you?
Cut fabric 16″ x 24″. But again, if you’re using a Fat Quarter, use that whole piece just as it is. You don’t have to cut it and the edges should be nice and straight already.
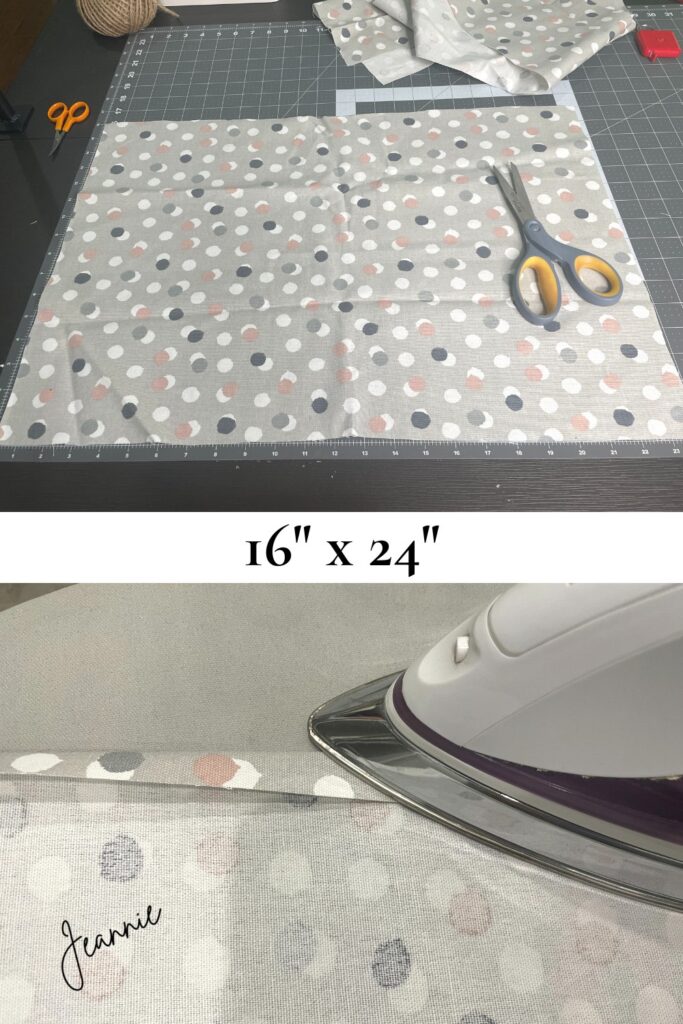
Press the entire piece of fabric with an iron. On the long side, turn down about an inch from the top and press the wrong sides together. This will make a hem at the top of the grocery bag holder
Stitch Witchery
Stitch Witchery is a handy little product to keep in your sewing basket for fabric repairs. It’s a fusible bonding material that is web-like and about half an inch in width.
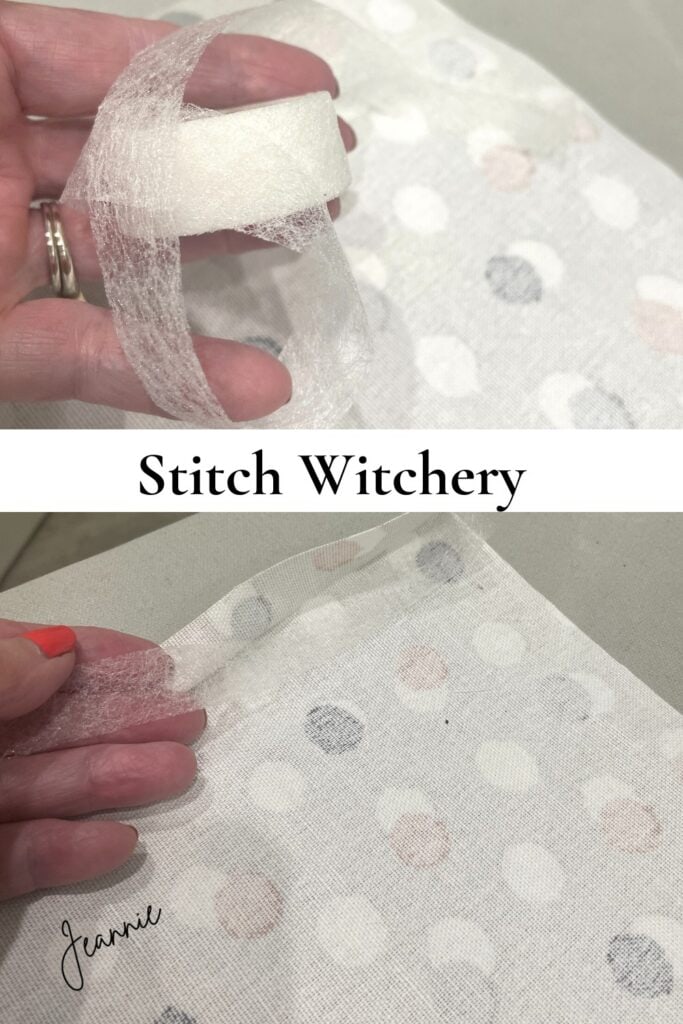
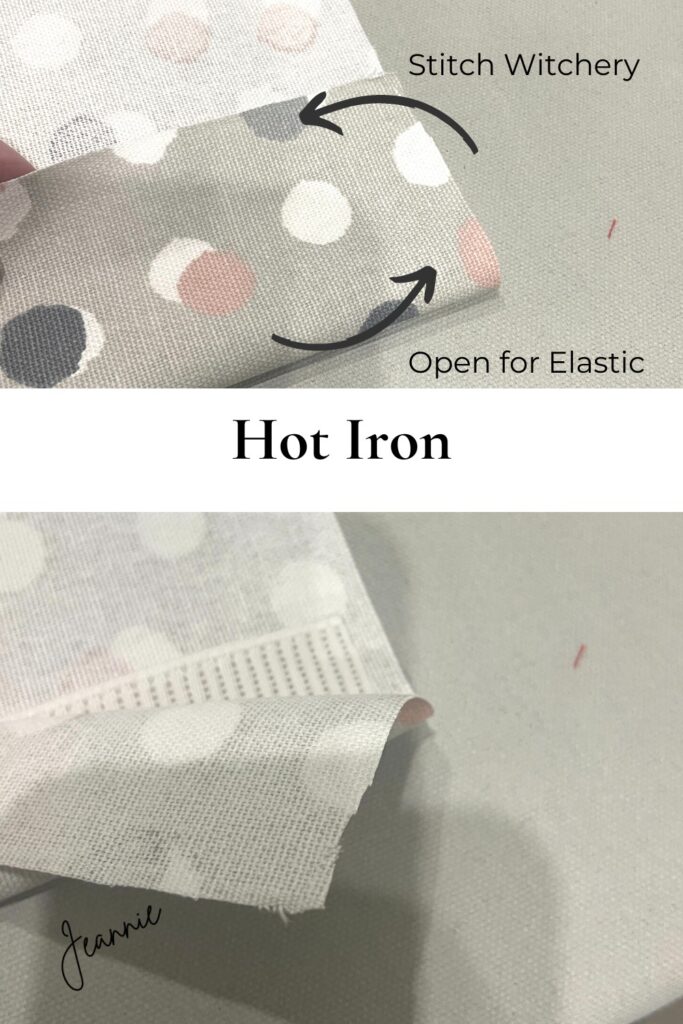
Place the Stitch Witchery in the fold and use a very hot iron to press. Move the iron over the fold by pressing an area, pick up the iron and press another area moving over the entire piece. It helps not to go in a back-and-forth motion with the iron until you know the fusion is holding correctly.
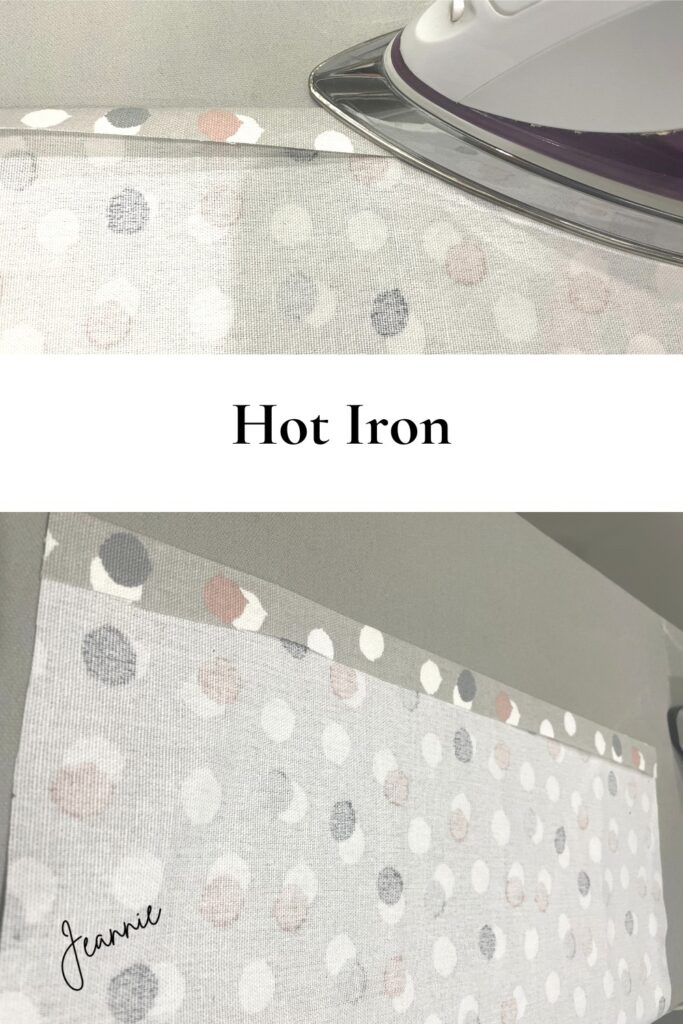
Peel back a little and test in spots to make sure you have a good fusion. If the hem did not fully fuse, press again with iron.
My elastic was about 3/4″ so my bottom hem needed to be about 1.5″ to 2″ If your elastic is narrower than 3/4″ you won’t need a hem quite that deep. Three-fourths inch was just what I happened to have in my sewing basket. Half-inch would work fine too.
Press the bottom hem and fuse with the Stitch Witchery in the same manner, but place the Stitch Witchery at the top of the fold and not in the crease. You want to leave a space open and unfused so that you can thread your elastic through later. Place your elastic in the crease just to check to make sure you are not fusing the area that needs to remain open.
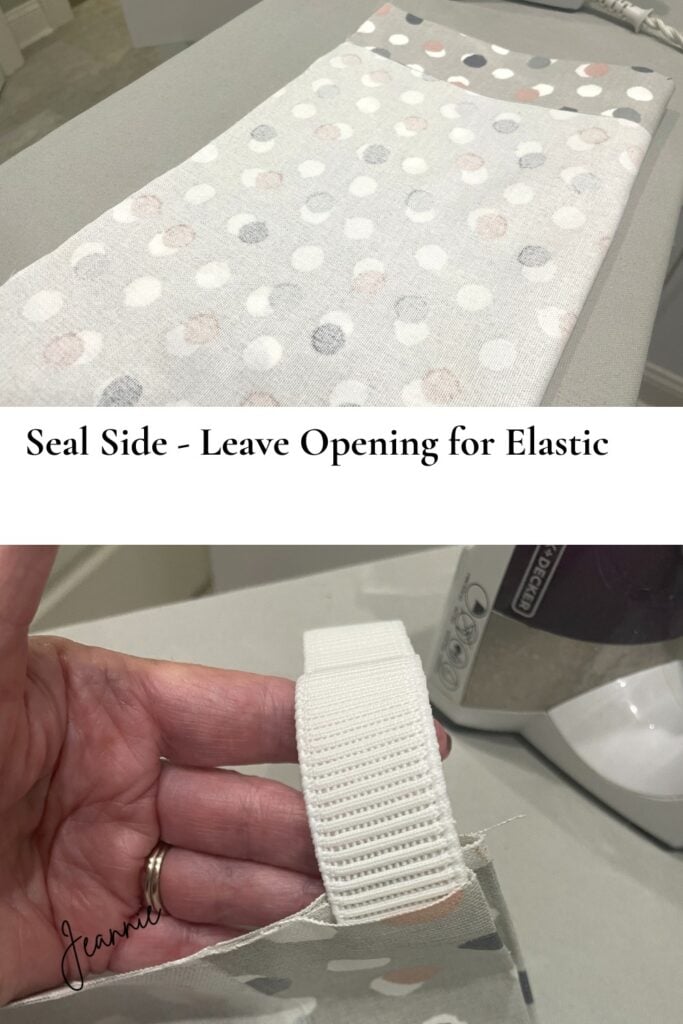
The next step is to fuse the sides together. Place the right sides together this time and put Stitch Witchery between the fabric. This is on the long edge of the fabric.
I wanted to make a small seam so I folded the stitch witchery in half as I pressed with an iron. Press all the way from the top hem to the bottom hem, but leave the space open at the very bottom where you will be threading in your elastic.
Elastic
Cut a piece of elastic about 10″ This is more than you will need, but it’s easier to work with a longer piece. Place a medium-sized safety pin in one end and start threading it through the opening at the bottom of the grocery bag holder.
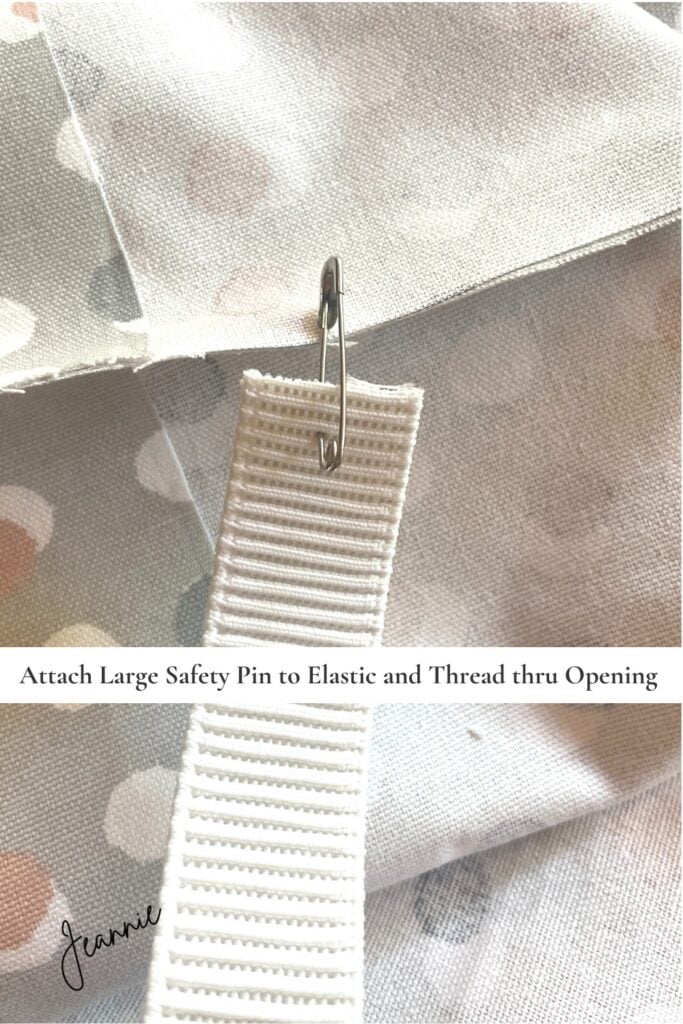
Be sure not to pull the other end of the elastic into the opening. You can place a pin holding the other end of the elastic to the fabric to safeguard this.
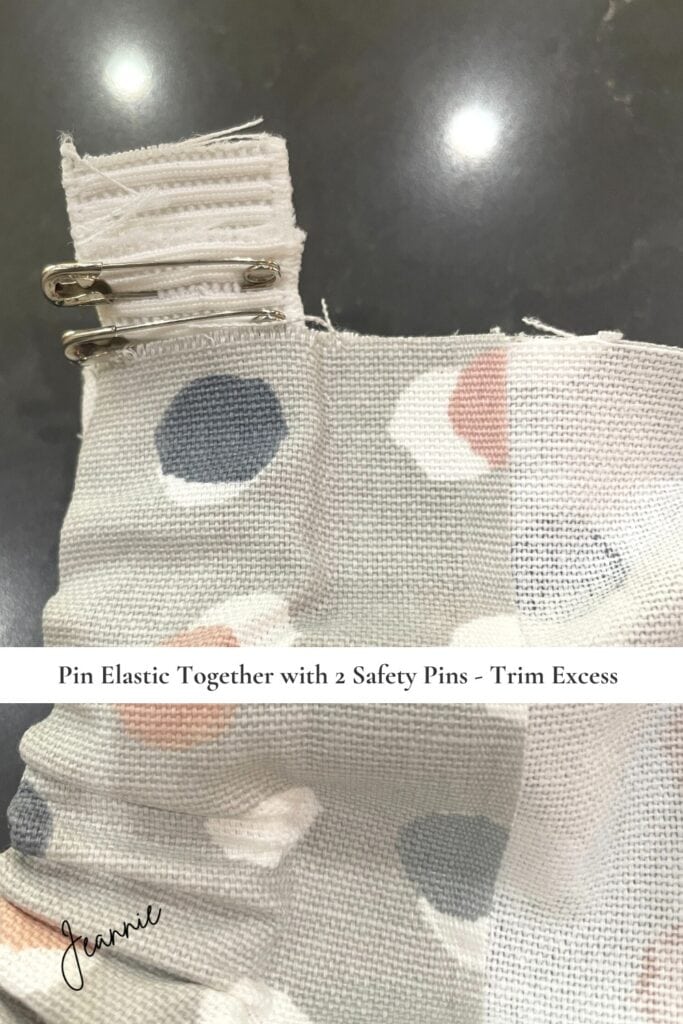
Use two safety pins to pin the two pieces of elastic together. Adjust the size of the grocery bag holder to make it small enough so that bags don’t fall out, but large enough that you can reach your hand into the opening to pull out bags.
Bag Opening
Bags will not pull out like tissues))) Bags should be loaded individually into the top and pulled out from the bottom. Now, there may be a way to fan-fold bags before you put them in the holder, but I promise, you will not want to do this every time. Just stuff them into the top individually.
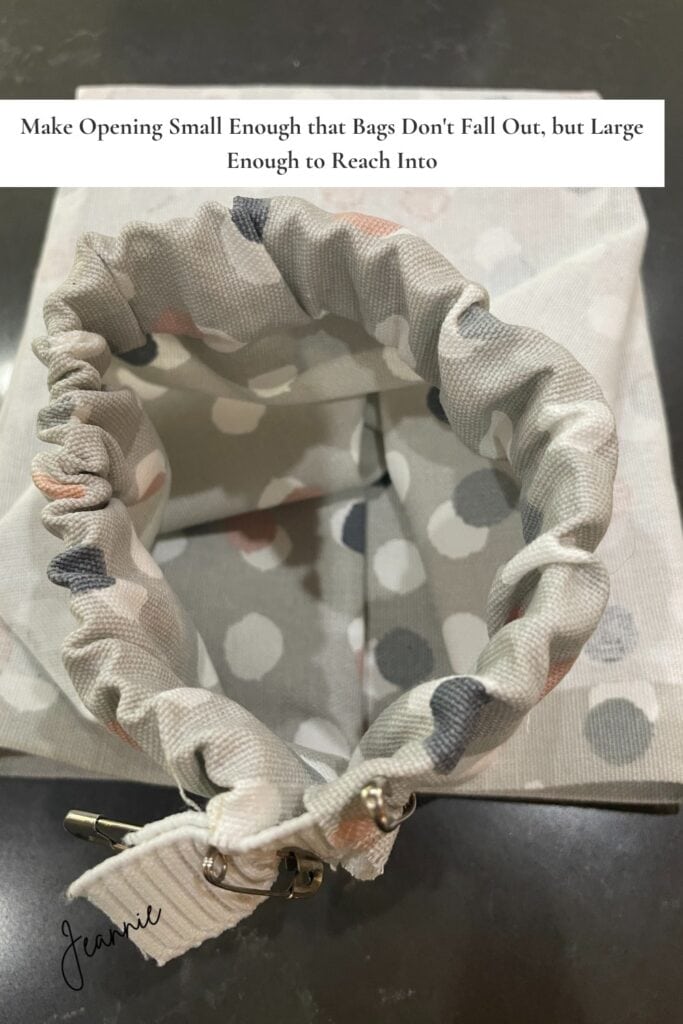
Test the size of the opening. When I made my first plastic grocery bag holder, I didn’t do this. I trimmed off my elastic nice and neat and thought everything was fine. Then I found out I couldn’t comfortably reach up into the bag to pull another one out. I couldn’t make the opening any larger because my elastic had already been trimmed and I couldn’t make the opening larger. So test it for your hand. The opening on mine is about 3″
I did finally remove the elastic from that first bag, redo it, and gave it to Carrie for her pantry))
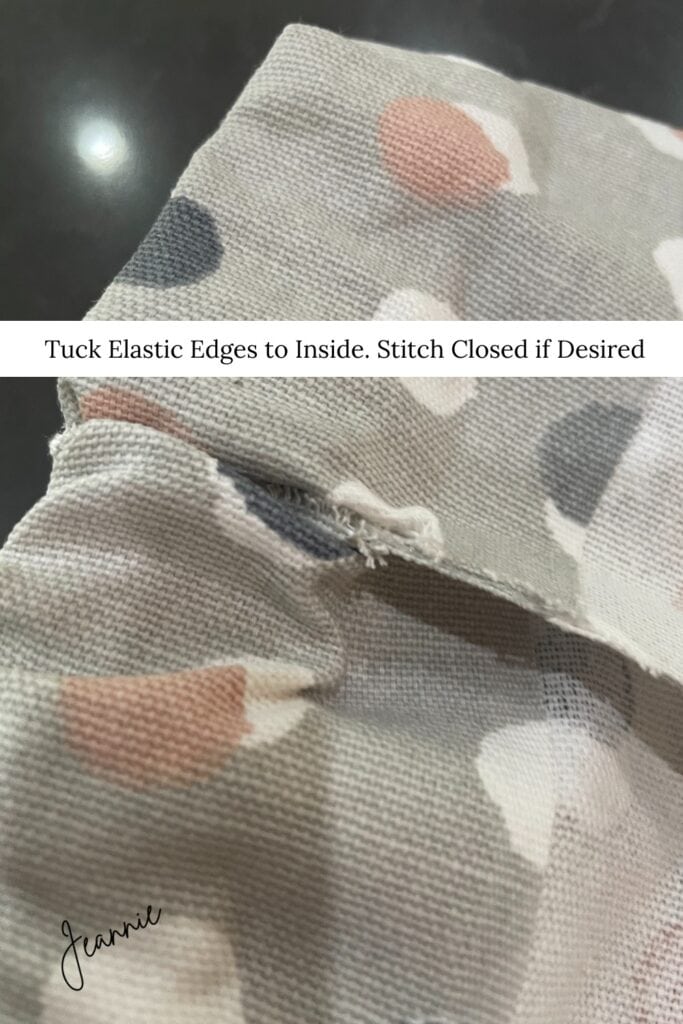
After you have settled on the size of the opening, trim any excess elastic and move the elastic around to where the pins are not showing. Now, if you want it, you could hand stitch the seam closed now. I didn’t because the grocery bag holder is just going in my closet as a convenience for me and it’s not going to show))
Grocery Bag Hanger
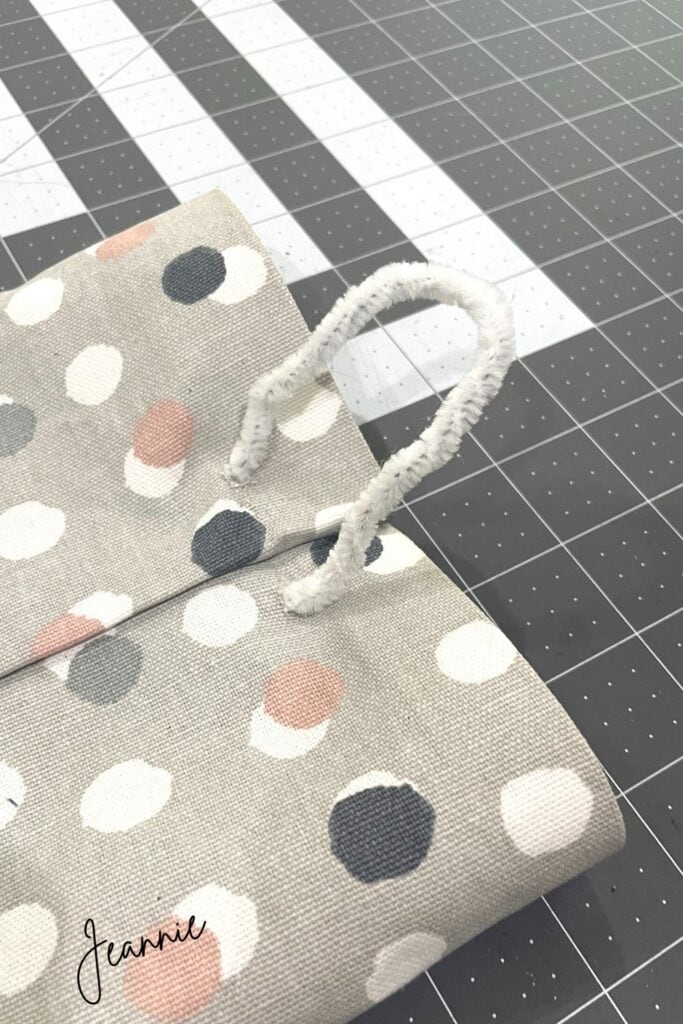
Turn the bag holder right side out and make a hanger.

You can use two chenille stems (pipe cleaners) twisted together and punch two small holes in the fabric.
Place the holder over the side seam so that when the bag hangs in the pantry the seam doesn’t show.
You could use other things such as a piece of ribbon, twine, jute string, etc. Initially, I had tried to just jute string but had too much trouble trying to thread it through the holes so I grabbed the chenille stems. Zip ties would work too. Again, I didn’t make this to be pretty, but just to be functional)) I could have made a tab holder with the same fabric but didn’t wanna get the machine out.
That’s it! Not the most attractive thing I’ve ever made but it surely is functional))) You can stuff a LOT of plastic grocery bags into that thing also!
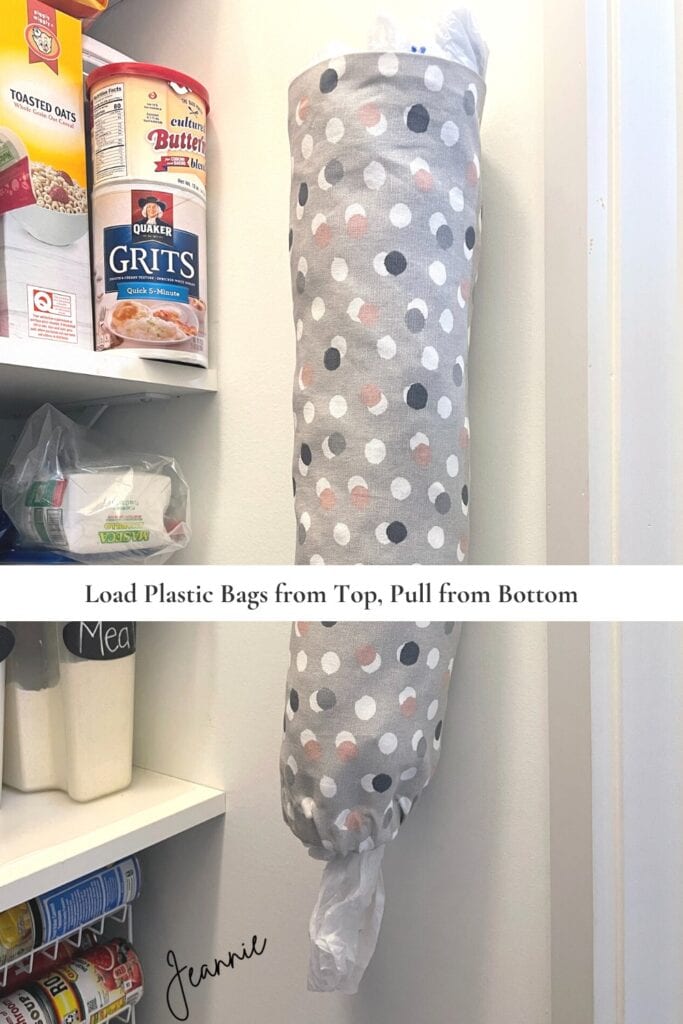
To hang my no-sew grocery bag holder, I used a Command hook—super easy and damage-free! I found that it’s helpful to remove the holder from the hook when adding multiple bags, making it easier to push them down inside.
Of course, you’ll want to load from the top and pull bags from the bottom. I didn’t want the pressure of stuffing in new bags to cause the hook to come loose, so this setup works perfectly!
One little habit I’ve started: whenever I pull out a bag, I go ahead and pull another one down so it’s ready for the next use. A small trick, but it makes grabbing a bag even more convenient! 😊
Have any Ideas to Share?
Do you have any clever kitchen storage hacks or creative ways to organize everyday items? I’d love to hear them! Drop your best tips in the comments below and let’s share ideas. 😊
If you found this DIY helpful, be sure to share it with friends who might need a little pantry organization, too! And don’t forget to follow along for more easy DIYs, home organization tips, and fun projects. Happy organizing! 🎉